Cat Tongue Wafers
| Low gluten flour 40g | Butter 35g |
| Powdered sugar or granulated sugar 35g | Egg white 35g |
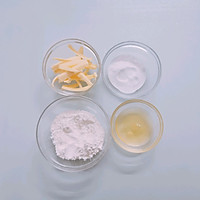
Step 1
Have all materials ready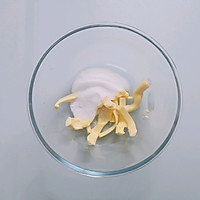
Step 2
Soften butter at room temperature, add powdered sugar, and stir evenly with a hand-held whisk. No need to useelectric egg beater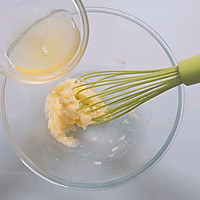
Step 3
Add egg whites and continue to mix thoroughly with a hand whisk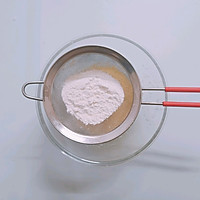
Step 4
Sift in low-gluten flour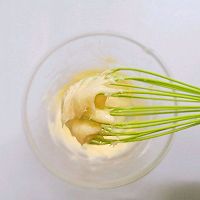
Step 5
Continue to mix evenly with a handheld whisk, and a fine batter will be ready.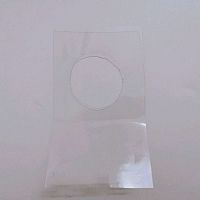
Step 6
To bake beautiful, neat and uniformly sized cat tongue cakes, we need to prepare a small tool. Find a piece of hard plastic or cardboard and cut out a circle as shown in the picture. The size of the circle can be determined according to your own preferences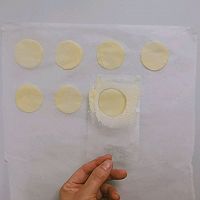
Step 7
Cut a piece of parchment paper the size of a baking sheet. Place the oil paper on the counter, use a spatula to take a small amount of batter, use the plastic template to smooth it into a thin layer of batter, and then lift the paper template, leaving a round thin layer of batter on the oil paper.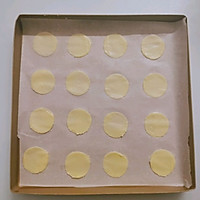
Step 8
Lift the oil paper and place it on the baking sheet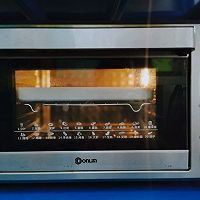
Step 9
Preheat the oven to 200℃, middle level, and bake for about 5 minutes. until the batter is golden brown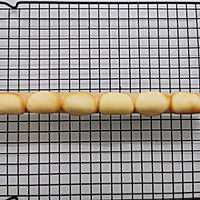
Step 10
Take out the baking sheet, scoop up the baked pancake while it's still hot, and place it on a small round rolling pin (or other slender stick-like tool) to bend it. The batter will set and become crispy as it cools. You can also bend the pancake directly with your hands. But if you are afraid of burning, it is better to wear heat-resistant gloves. The baked pancakes should be bent immediately while they are hot. It will become brittle after cooling and cannot be bent.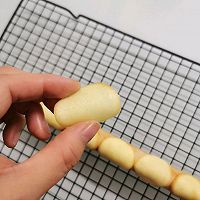
Step 11
This recipe can usually bake 65 slices. Don’t spread the batter too thick, otherwise it will be difficult to bake them crispy.
Step 12
Crispy and crumbly, I can’t stop eating it. Cat Tongue Crisp Cooking Tips1. The oven temperature and time are for reference only

