country bread
| T65 (French powder earl) 450g | Whole wheat flour (US gold medal) 50g |
| Room temperature water (78%) 360g-390g | Low sugar dry yeast (0.4%) 2g |
| Sea salt (1.2%-1.6%) 6g-8g | Salted black olives A little |
| Ripe walnut kernels A little |
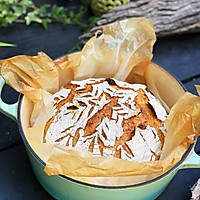
Step 1
If you can find French powder T65, it is of course the best. If you can’t find it, let’s practice, find out the feeling, and use high powder. According to experts, you can mix high powder: low powder in a ratio of 7:3, although let’s not talk about the ash content first, right? Flavor right? There is just no other way. It is recommended to use the most suitable materials if conditions permit, so as to have more flavor. In the picture, this is the first time I have made this recipe. I had a bag of T55 at home at that time, and I made a country bread just for consumption. It was delicious, so I became more and more interested.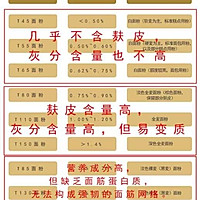
Step 2
Some data about French fans
Step 3
Some data on protein content.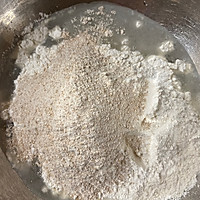
Step 4
First of all, you can determine the temperature of the flour. The hydrolysis temperature of the dough should be controlled at about 13-15 degrees. If the ambient temperature is higher than 24 degrees, please refrigerate your flour. Further lower the water temperature. The hydrolyzed dough should not exceed 18 degrees. -20 degrees. Mix gouache first until there is no dry powder. The indoor temperature is difficult to control. If the temperature difference between winter and summer is large, you can use ice water in summer and warm water in winter. Then cover it with plastic wrap and hydrate it for half an hour.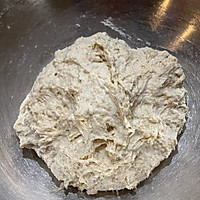
Step 5
There is a large amount of liquid and it is normal for it to stick to your hands. Just mix it simply and roughly without being careful. You can also stir it with a spatula. Mix until there is no dry powder and scrape the basin. After sealing for half an hour, add yeast and knead the yeast in. Add more salt. After the salt is removed, the gluten will temporarily shrink.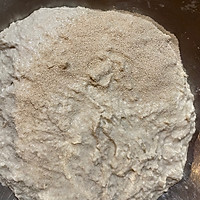
Step 6
Sprinkle low-sugar yeast, mix evenly and then add salt. Fold for the first time after ten minutes. The dough at this time has not yet fermented. In my opinion, you can still toss vigorously, or you can count and gather from the outside to the center. You can definitely beat the dough eighty times (but this is considered a fool's errand, it's purely personal freedom), then cover it and rest for ten minutes.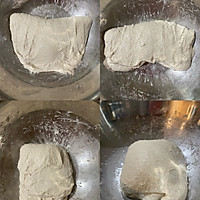
Step 7
After ten minutes, the dough at this time is still relatively wet and sticky. You can dip your hands in water to make it less sticky. Pull one side up each time to stretch the dough and fold it two-thirds from top to bottom. Once one side is finished, turn the pot around and pull out the other side, also stretching and folding it by two-thirds. Just go in this order, first up and then down, first left and then right, and finally turn the dough over smoothly. Whether the dough is sticky or not, if it is sticky, it is normal to operate it with water, so don’t worry.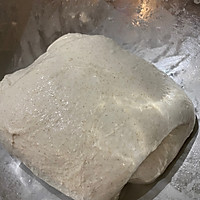
Step 8
Repeat the action, and do the second folding action after half an hour. The method is the same. The dough is obviously smooth and has a certain degree of gluten.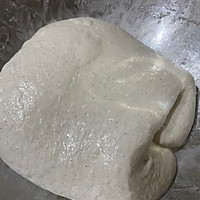
Step 9
When you do the third step, you need to start adding black olives and walnuts. Add some for each folding step. Don’t add them all. Just add them all when you do the fourth fold. The last one I made today is without adding fruit. It is made of dry ingredients, so there is no process diagram. Everyone makes up the shots by themselves. After the fourth fold is completed, it must be placed in a powdered rattan basket for the second round.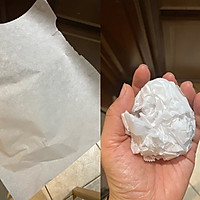
Step 10
At this time, prepare a piece of baking paper, slightly larger, for serving the dough. Because the iron pan is very hot after heating, it cannot be touched at all. Roll it into a ball, make wrinkles, and then open it to create a concave and convex feeling. Love to stick to the dough.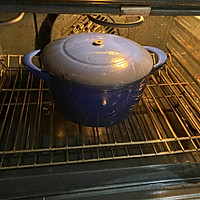
Step 11
Baking time: Preheat the iron pan half an hour in advance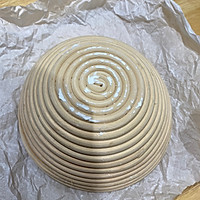
Step 12
After the second batch is completed, open the baking paper we prepared and turn the rattan basket upside down.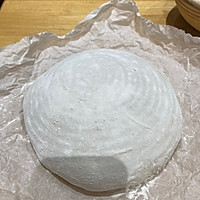
Step 13
Remove the rattan basket and gently dust off some excess powder.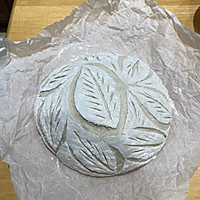
Step 14
Start cutting the bags according to your ideas. You can cut simple ones first. Then slowly learn more complex patterns.
Step 15
The blade is an ordinary old-fashioned razor blade. You can tape it on one side to prevent cutting your hands. The one with a handle is better for large movements and the angle is easier for the ears to come out. For small details, the one without a handle is better.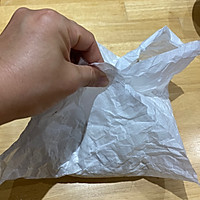
Step 16
Then lift up the four corners of the baking paper and transfer it to the already heated enamel pot (iron pot)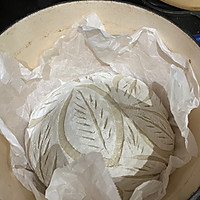
Step 17
Unfold the baking paper slightly to avoid sticking to the cut of the knife. Note⚠️The pot is very hot at this time, so pay attention to safety.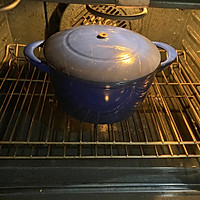
Step 18
Then cover and bake. Bake at 245 degrees for half an hour, remove the lid, and bake at 230 degrees for 15 minutes. You must wear gloves when operating, because the temperature of the iron pot is extremely high to avoid burns.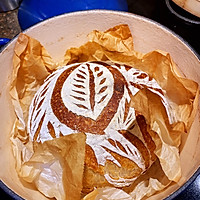
Step 19
When the time is up, take it out.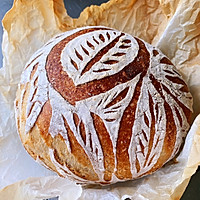
Step 20
Lift the four corners of the baking paper and lift the bread onto the baking grid to cool. Due to the high temperature of the iron pot, the bread will make a crackling sound when it comes out of the oven. It is best to cut it after 2 hours.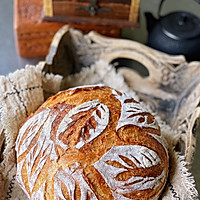
Step 21
No matter whether the cutting is good or bad, there will be a summary of experience every time. It is progress.Step 22
Let’s all make progress together. Country Bread Cooking Tips


