Dorayaki (printed version)
Ingredients
- 3 eggs
- Milk 50g
- Salt 1g
- Baking powder 2 grams
- 40g soft white sugar
- 120g low-gluten flour
- A small spoonful of honey
- Adequate amount of bean paste filling
Steps
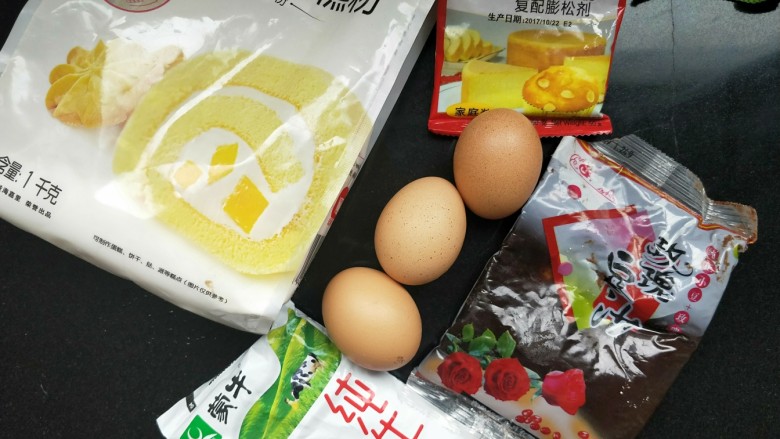
1. Prepare ingredients, the flour must be low-gluten flour
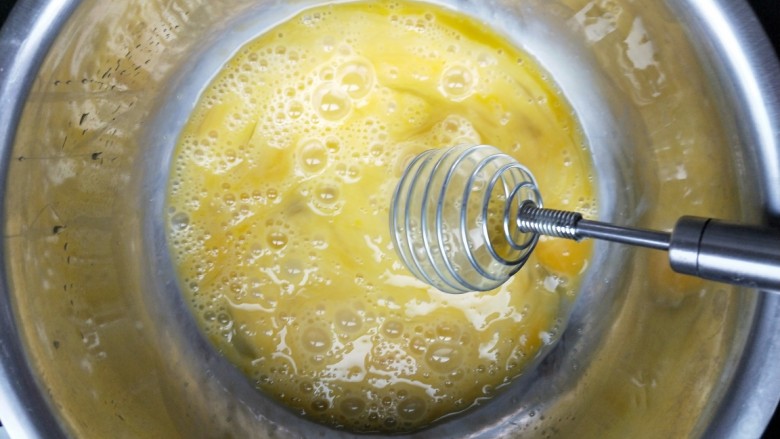
2. Beat the eggs thoroughly, add the sugar in two batches and stir, making sure it is completely melted,
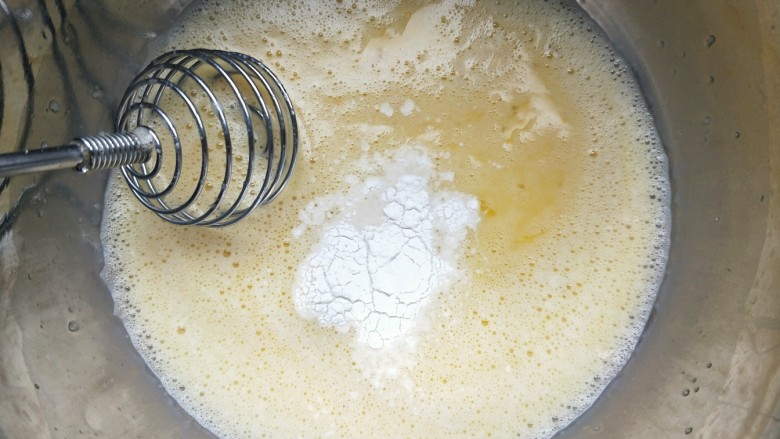
3. Add baking powder, salt, milk and honey and stir evenly
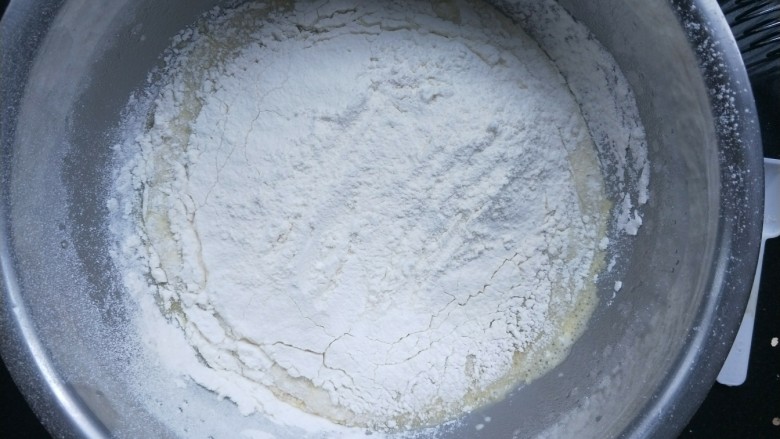
4. Finally, sift in low-gluten flour. Flour is best sifted. Mix well.
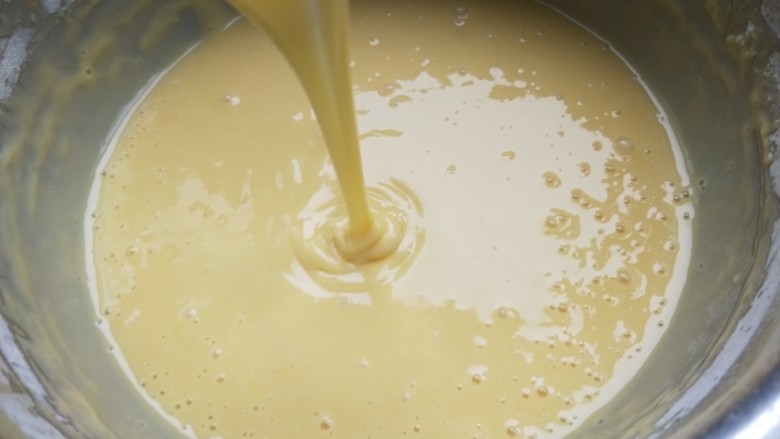
5. The consistency of the batter is determined by lifting the whisk. The linear dripping is smooth, and the batter can be melted immediately after dripping. Then let it sit for ten minutes.
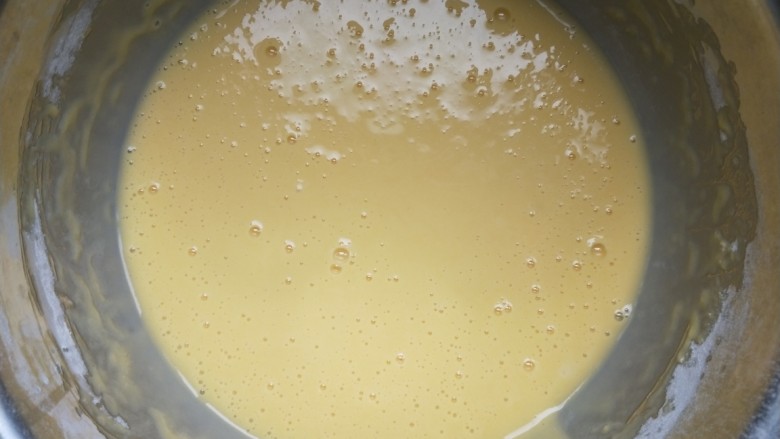
6. After a while, you will see a lot of small bubbles forming in the batter. It's ready to be baked.
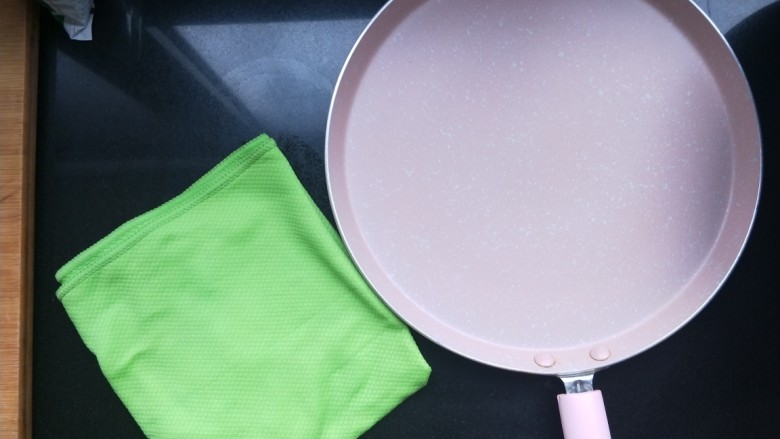
7. Prepare a pan and a wet towel. It is best for the pan to have no patterns, so that it will be flat and beautiful when baked. A wet towel is used to cool the pot.
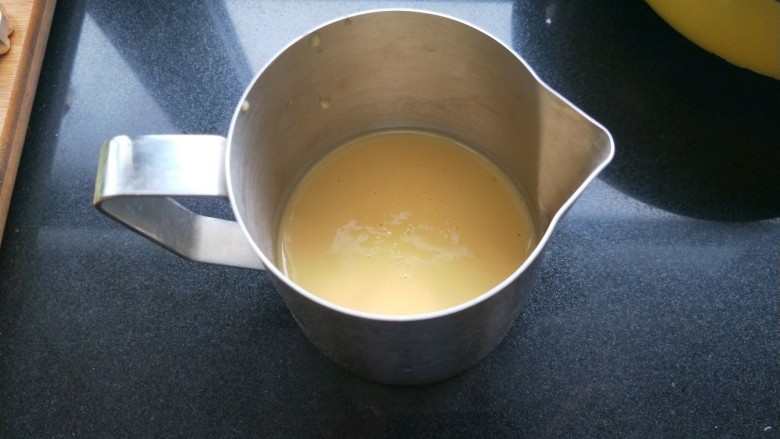
8. Pour the batter into a cup with a pointed spout. Easy to operate. If not, use a spoon.
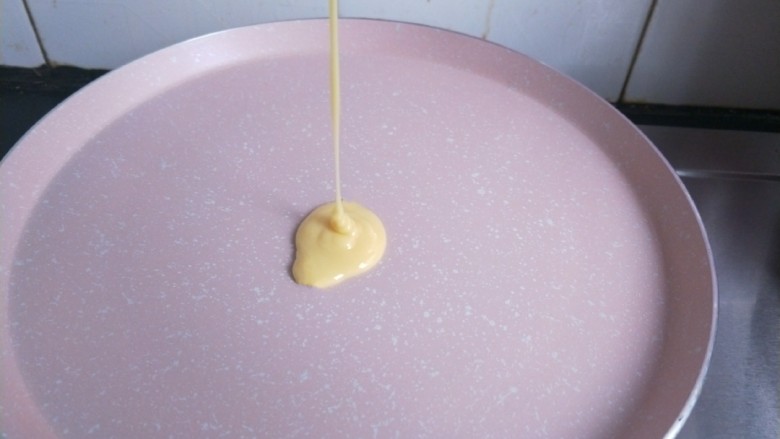
9. Turn on the low heat, heat the pan for a while, and try it with your hands. When it feels a little hot, you can pour the batter. Remember, do not apply oil, do not apply oil, dry bake, and pour the batter down from a slightly higher position. Do not move the center while pouring. The batter will automatically form a round shape, no mold required.
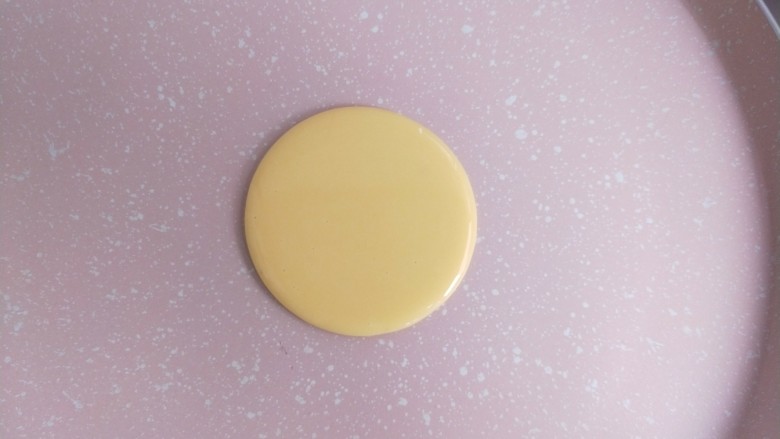
10. Control the size yourself. Either bigger or smaller. It can be very round without a mold.
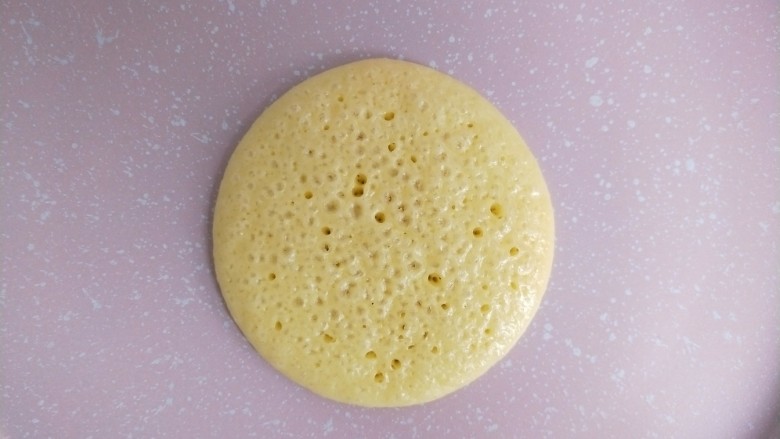
11. Slowly, you will see many bubbles rising on the surface. Then when the bubbles are basically broken and the edges are solidified, you can turn it over.
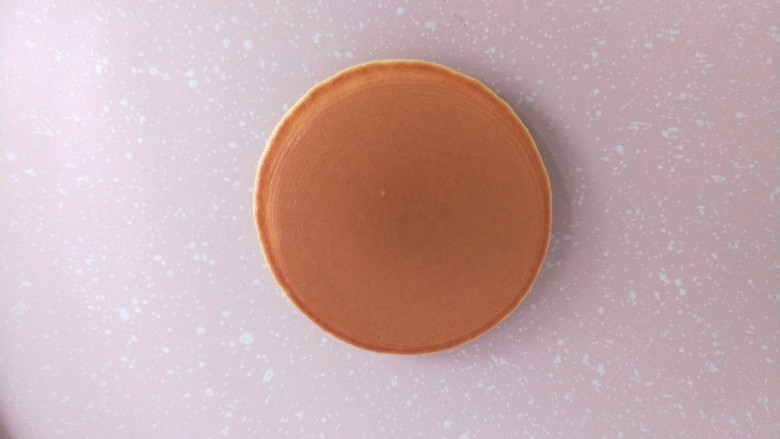
12. Turn over, the color is just right and beautiful. Flip over and fry for one minute. If it turns over and the color is very light, then extend the time for the next one. If it is mushy, shorten the time. This is under your control. Then put the pot on the wet towel, wait for two seconds when you hear the "sizzling" sound, let the pot cool down, and then bake the second one.
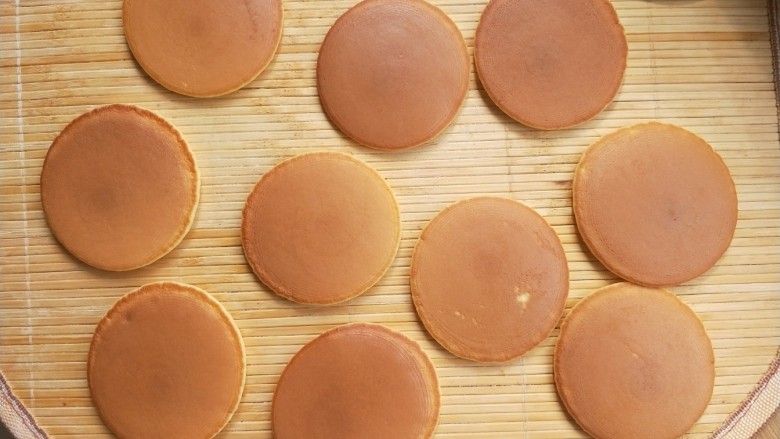
13. Brand everything in turn. Make about 24 pieces, which is 12 finished products.
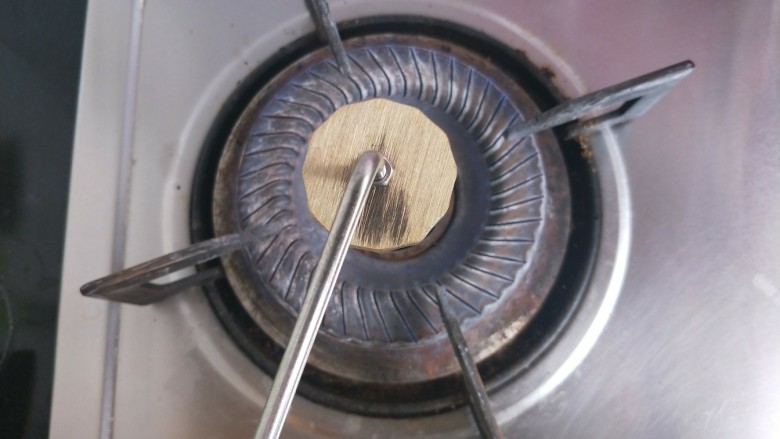
14. Place the copper brand on the flame of the gas stove and heat it for a while.
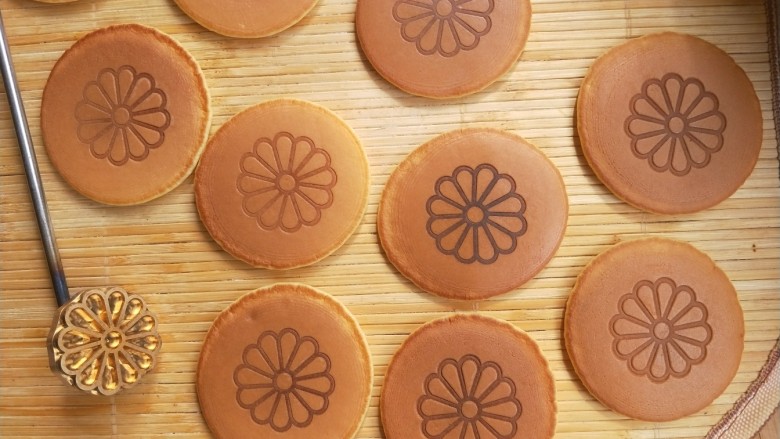
15. Then press lightly on the center of the cake to imprint the pattern. It will look much prettier all of a sudden.
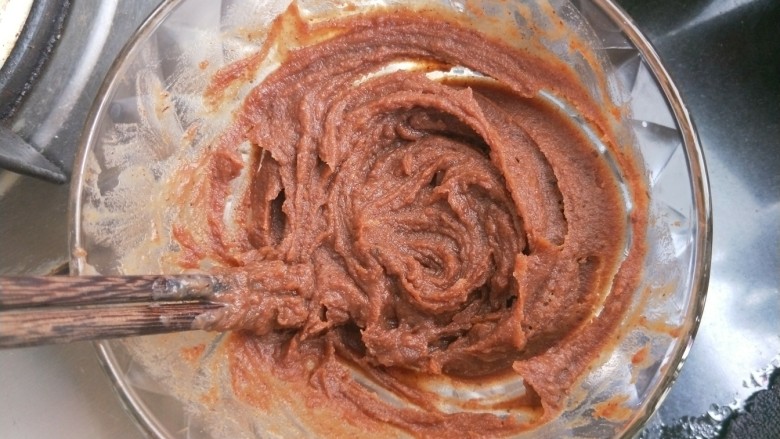
16. You can use your own bean paste filling for the filling. I bought the bean paste in bags. But I thought it was too dry and too sweet, so I added milk to dilute it.
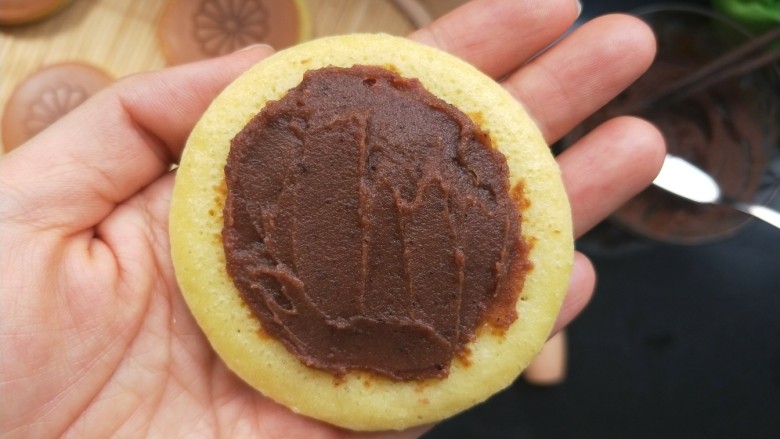
17. Then apply it on the colorless side of the waffle. When applying, it should be thick in the center and thin at the edges.

18. Take another piece and glue the two pieces together, pinch the edges tightly with your hands.

19. You can also make meat floss filling. Spread salad dressing on the back of both pieces, then sandwich with meat floss.

20. Do everything in order

21. Make it bigger or smaller according to your own preferences. I made two big ones at first. Later I made smaller ones.

22. Plate and eat. Dorayaki is a shape with a drum in the middle and thin edges.

23. Finished product

24. It can be made for breakfast or as an afternoon tea dessert. Super good-looking and delicious.

25. Finished product picture. The delicious and beautiful Dorayaki is ready.

