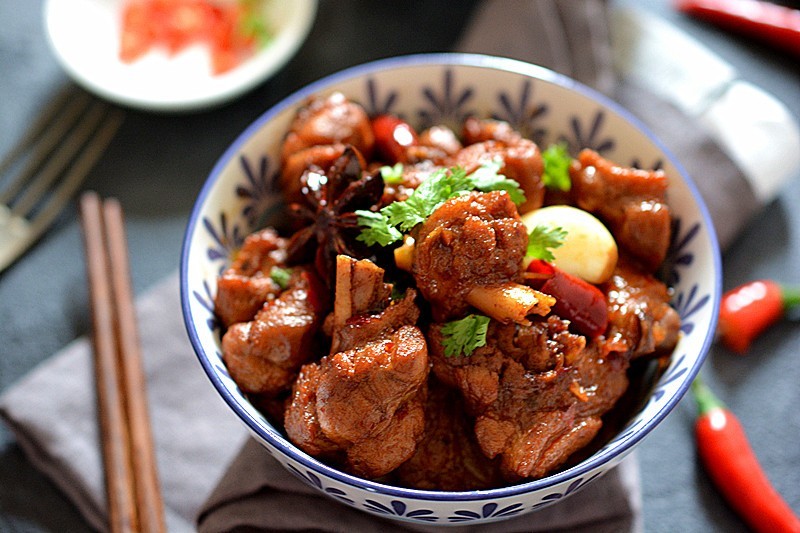
Tiger skin cake roll
Ingredients
- Low powder 60
- Water 45g
- Oil 45g
- Cornstarch 20g
- Swiss roll: eggs 4 pieces
- Fine sugar 40g
- Fine sugar 30g
- Tiger skin: egg yolk 4 pieces
Steps
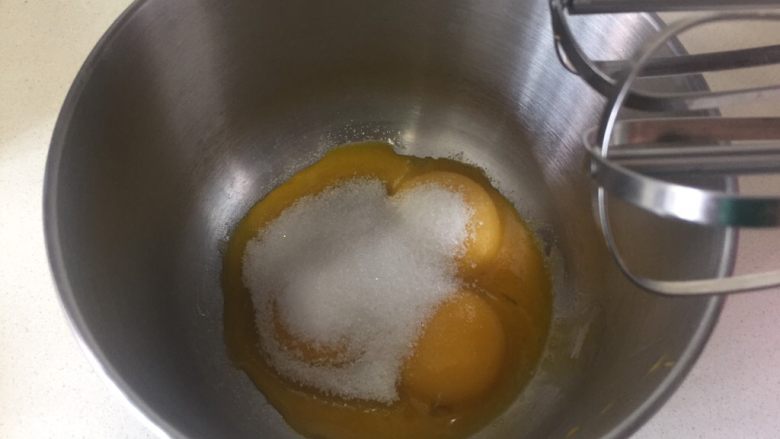
1. Divide the egg yolks into a clean egg beating bowl and add 30 grams of fine sugar.
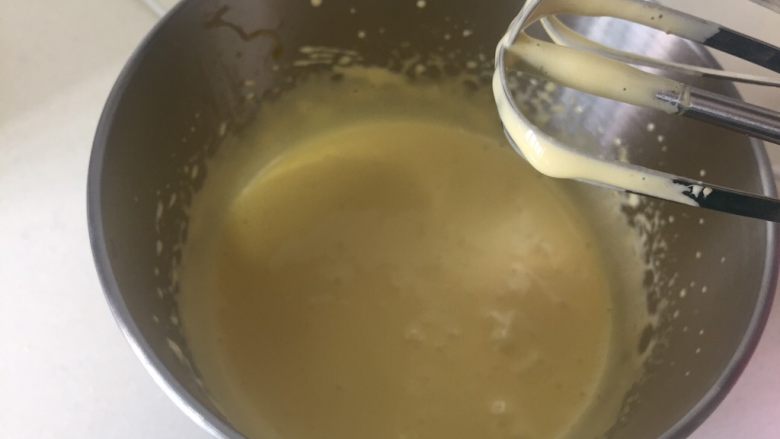
2. Use an electric egg beater to beat the egg yolks with sugar added until they are thick and slightly white in color. Lift the egg beater and it will flow finely and smoothly.
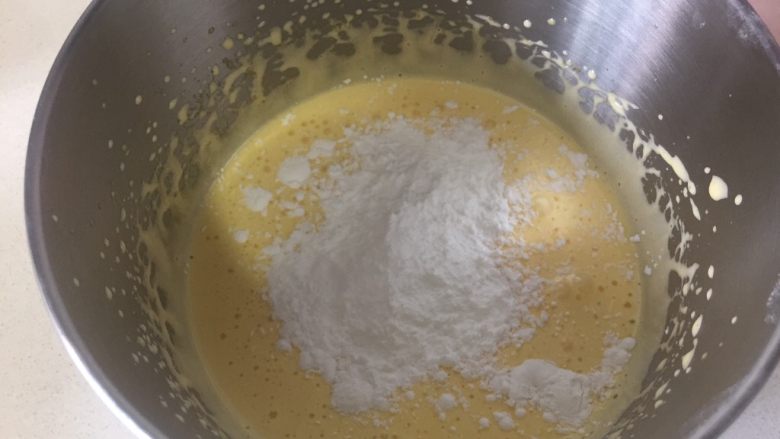
3. Sift in the low flour and beat it slightly with a whisk until the cornstarch and egg yolk paste are evenly mixed. (You don’t have to worry about corn starch becoming glutinous, it’s very easy to mix)
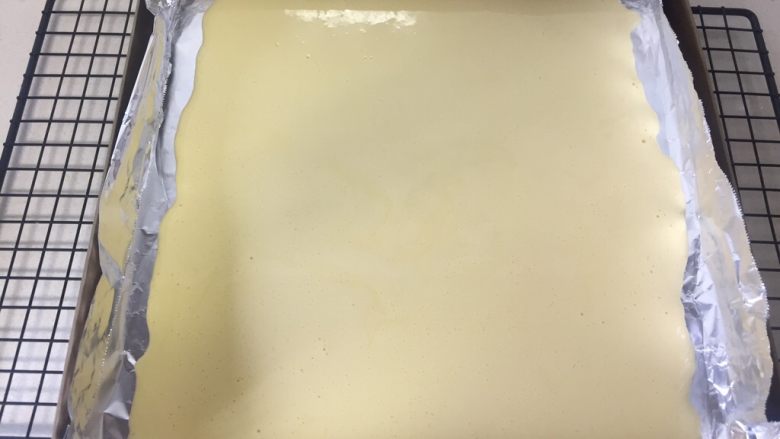
4. Pour the egg yolk batter into the baking pan and use a small spatula to spread the egg yolk batter evenly. !
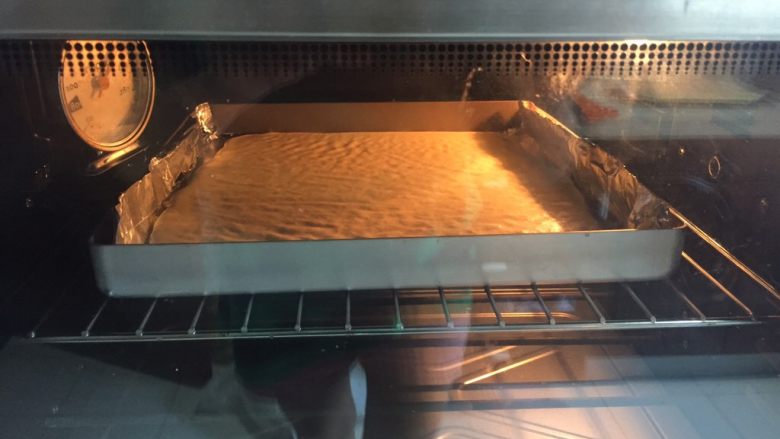
5. Put the baking pan into the preheated oven and heat it up and down at 200 degrees for 6 minutes. (Temperature and time are for reference only)
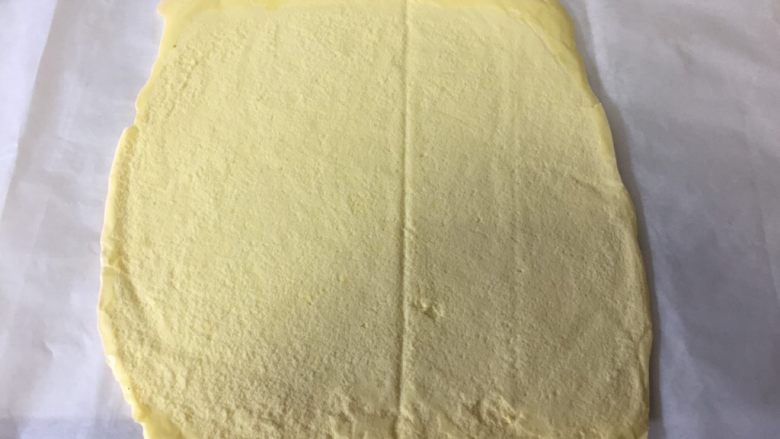
6. In the last three minutes of this step, you should stare at the oven to observe the changes and status of the tiger skin. Once the texture and color of the tiger skin appear and you are satisfied, you should end the baking in time and remove the baking sheet from the oven. Take it out. Because the temperature is high and the tiger skin is very thin, it may turn into burnt tiger skin after a little delay. Let it cool for a while, take out the tiger skin together with the baking mat and place it on a drying rack. Then prepare a piece of oil paper that is longer than the tiger skin and lay it on the work surface. Turn the tiger skin upside down on the oil paper, gently tear off the baking mat and set it aside. (Move gently, be careful of the tiger skin breaking)
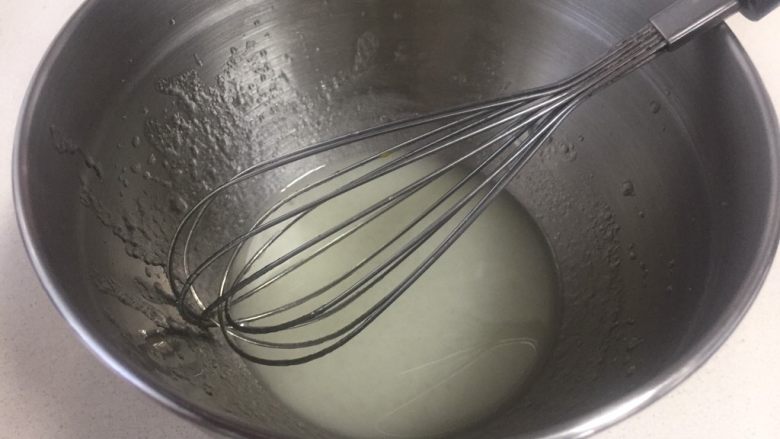
7. Next make the Swiss roll: Let’s make the egg yolk paste part first, using the post-egg method. .Add purified water and corn oil into an eggbeater, stir with an egg beater until the oil is completely mixed with the water, and no oil splash can be seen in the liquid. (This step seems simple, but it is actually very important. If the oil and water are not fully integrated, there will be a small amount of pudding layer on the bottom of the Swiss roll, which will affect the taste)
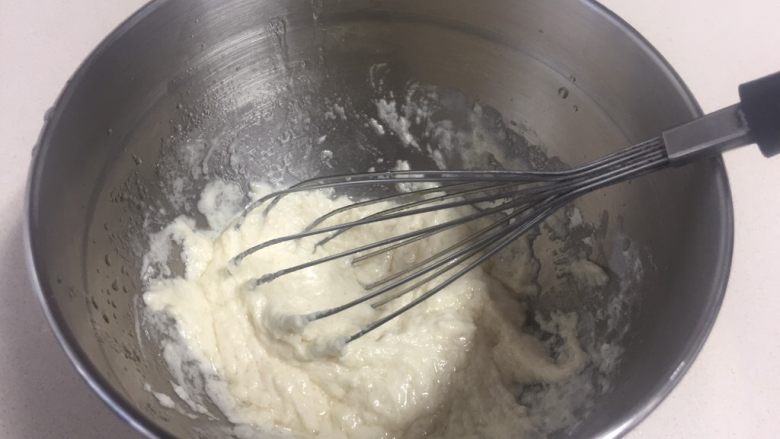
8. Sift in the low flour and stir with an egg beater to make a "Z" sign until there are no particles. (Do not stir in circles to avoid gluten formation, which will cause the cake to shrink after being baked)
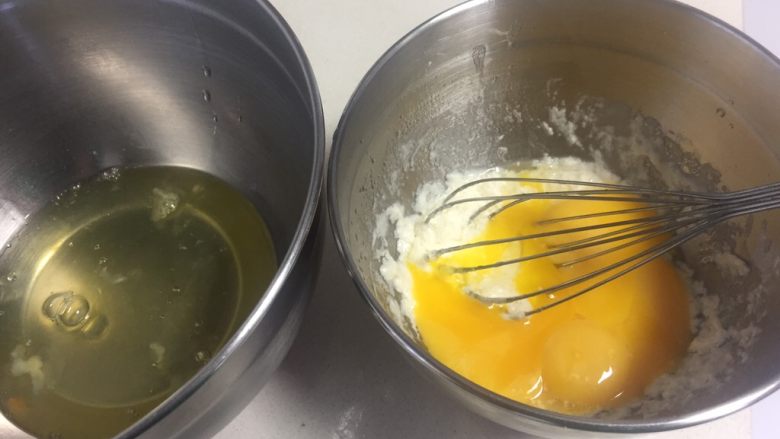
9. To separate the egg white and yolk, you can use an egg separator to separate the eggs. (The egg white basin must be free of oil and water, and there must be no trace of egg yolk in the egg white, otherwise it will not be whipped.)
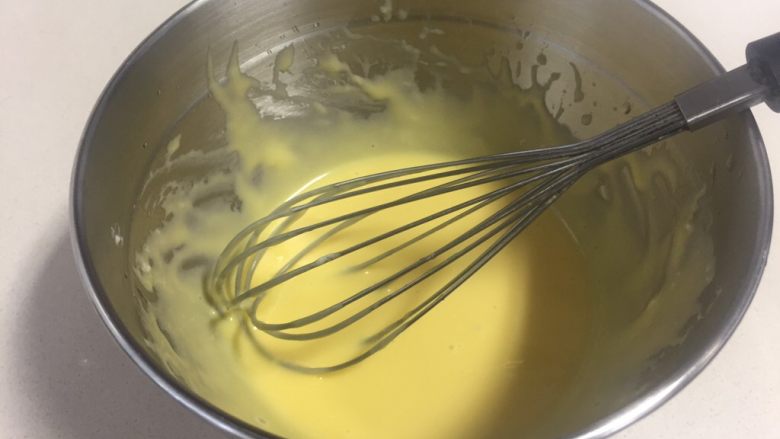
10. Use egg beaters to mix evenly, and finally use a spatula to mix until it is fine and smooth. (Also pay attention to the technique and avoid raising tendons)
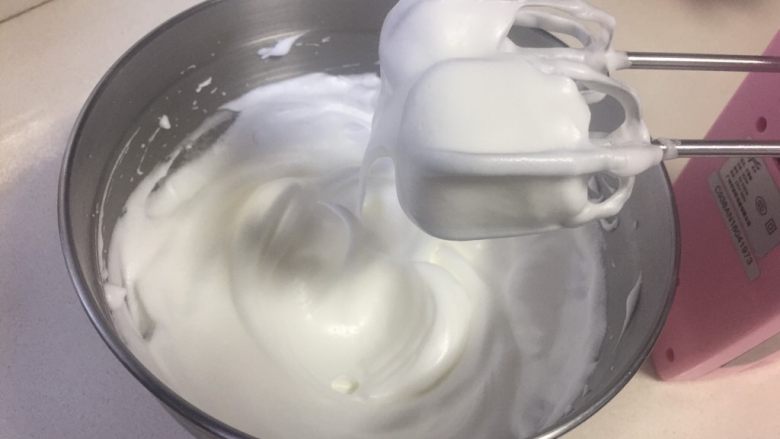
11. Add the fine sugar to the egg whites in three batches and beat until wet peaks form.Just make the whisk head form a small curved hook.
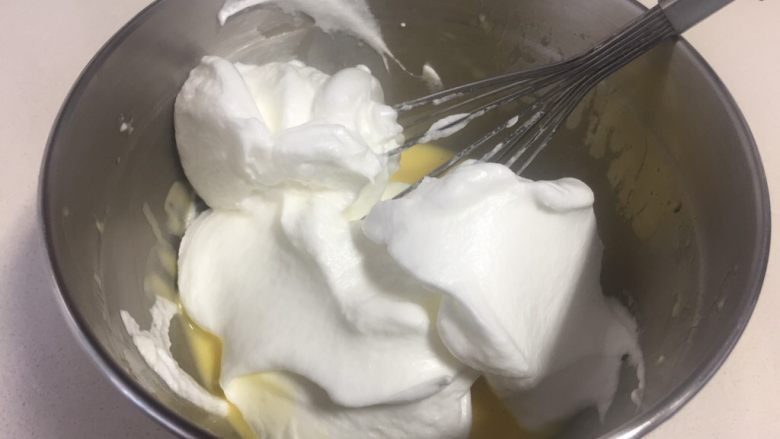
12. Add one-third of the egg whites to the egg yolk paste and stir evenly with an egg beater.
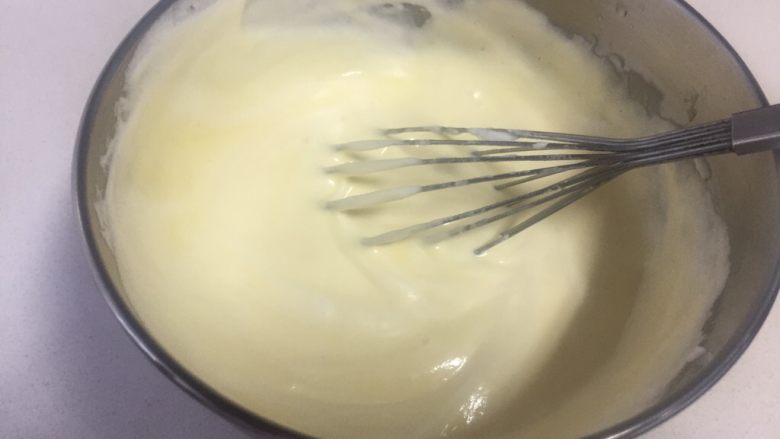
13. Pour the mixed cake batter into the remaining egg whites, and mix evenly using the same technique.
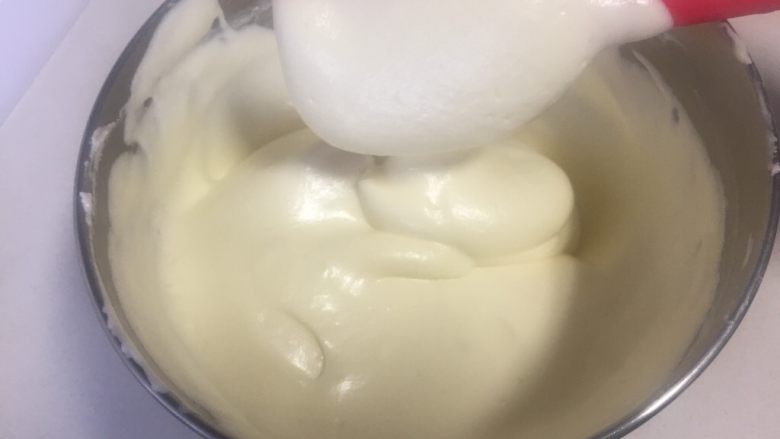
14. Mix thoroughly.
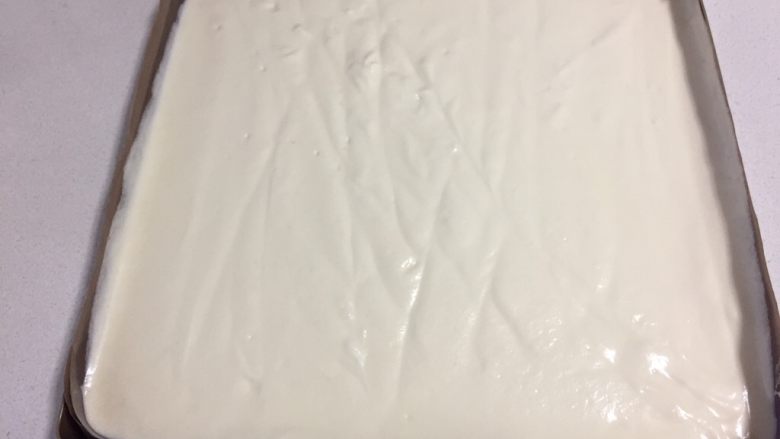
15. Slowly pour the cake batter into the baking pan, support the baking pan with both hands, and shake the baking pan to spread the cake batter evenly on the baking pan. (My egg whites are relatively soft, so this step is easier. You can also use a spatula to smooth them)
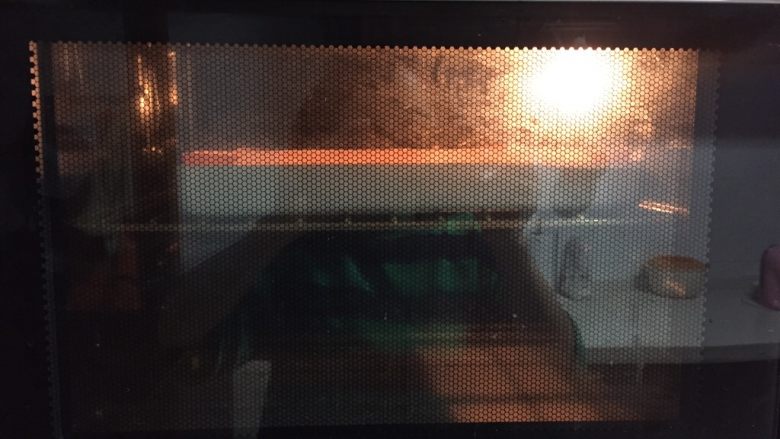
16. Shake the baking pan a few times and put it into the preheated oven. Heat it up and down at 150 degrees for 25 minutes (time and temperature are for reference only)
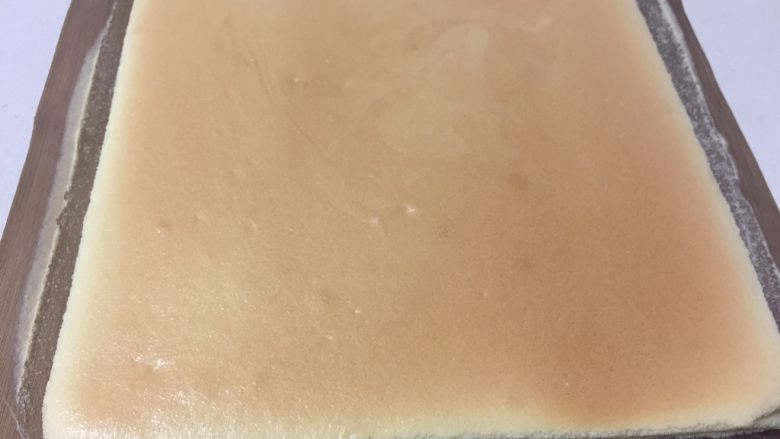
17. After baking, take out the baking pan, lightly shake it, and move the cake roll and parchment paper to a wire rack to cool.
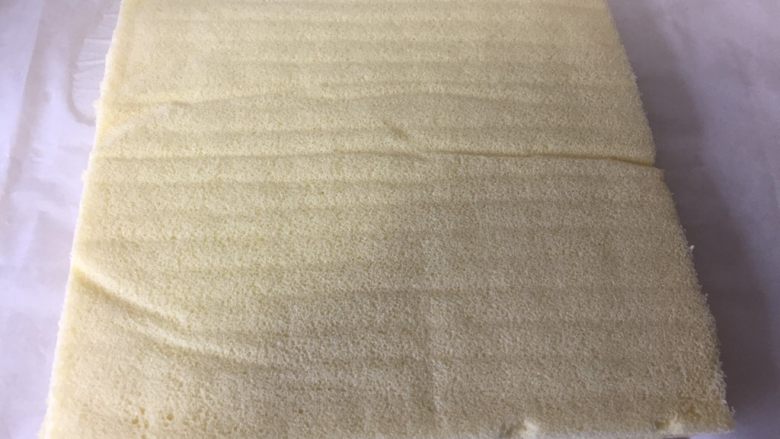
18. Cool to about 40 degrees, turn the cake upside down on the tiger skin, and gently peel off the oil paper.
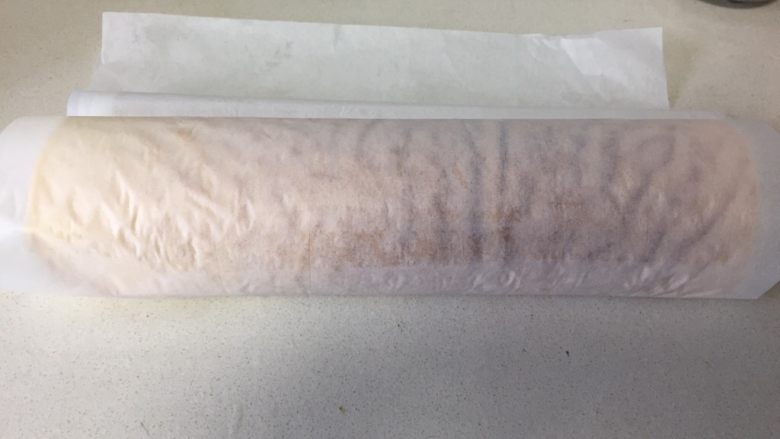
19. Roll up the oil paper with a rolling pin, press it lightly at the beginning to roll up the cake roll, and set it aside to set.
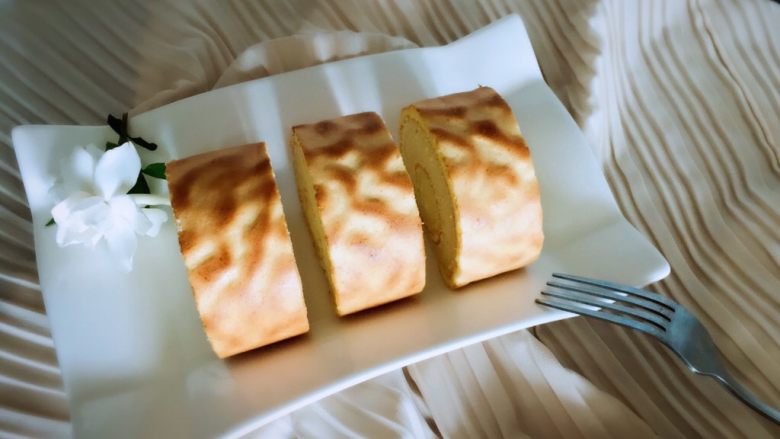
20. After half an hour, you can cut into pieces and enjoy the food.
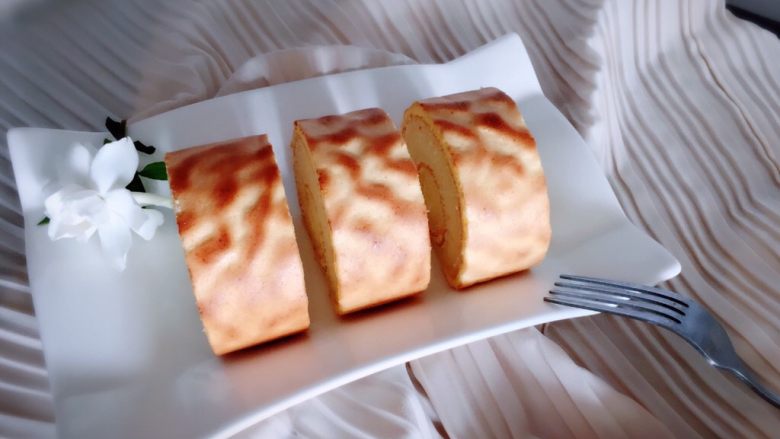
21. Finished product picture.
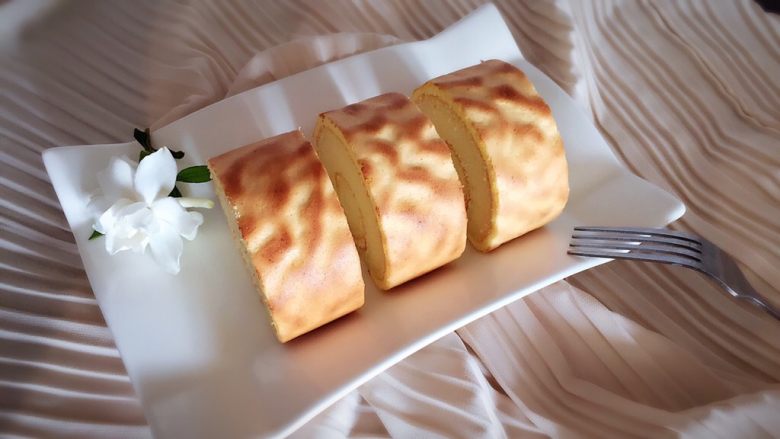
22. Finished product picture.
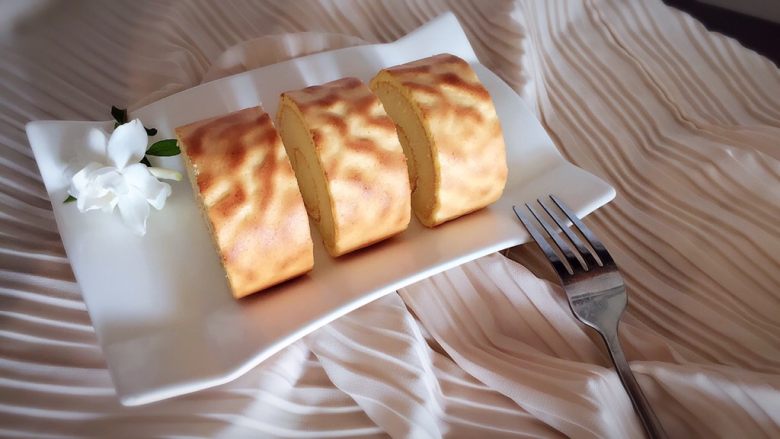
23. Finished product picture.
Tips
- 1. Novices should beat at a low speed in the final stage, and stop and check the beating status at any time to avoid over-beating and breakage during the final roll.
- 2. To bake nice-looking patterns, the egg yolks must be beaten well and avoid over-beating. After baking at high temperature, the egg yolks will be preheated and denatured. Only when it shrinks will beautiful patterns appear. The baking time is short, so be sure to keep an eye on it until it reaches your preferred coloring level. Then take out the baking sheet in time. Any uneven areas around the tiger skin can be cut off and modified.
- 3. You can stir the eggs with a whisk or a spatula, but pay attention to the stirring technique to avoid defoaming.
- 4. The length of the tiger skin is shorter than the Swiss roll. Just cut it diagonally and align it on one side. The place close to the body needs to be rolled up from the beginning.

