Black sesame egg yolk mooncake
| Black sesame filling: | Peeled mung beans 300g |
| Black sesame seeds (fried) 200 grams | Maltose 100 grams |
| Butter 105 grams | Fine sugar 40g |
| Mooncake skin material: | Invert syrup 240g |
| Peanut oil 98 grams | Jianshui 5.5 grams |
| Low gluten flour 380g |
Step 1
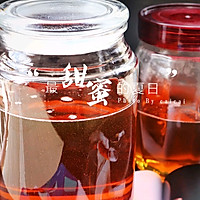
The invert syrup is boiled by Cai Cai in advance. There are many invert syrup recipes in the kitchen. You can choose the one you like. Cai Cai also has another recipe for Cantonese-style mooncakes. You can follow that recipe if you like.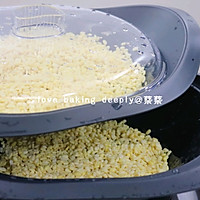
Step 2
Soak the peeled mung beans in advance. You can soak them overnight, at least 3 to 4 hours.Then put it into the GEM steamer. I put it in both upper and lower layers, so that there won't be too much on each layer and it will be easier to cook.
Step 3
Turn on the heating button to start steaming mung beans. Set the time to about 45 minutes and the temperature to 110 degrees. Steam it until it can be broken into pieces by gently pinching it with your hands. You can watch the video above.
Step 4
After the mung beans are steamed, remove the steamer and empty all the water in the main cup. Then add fried black sesame seeds and 40 grams of fine sugar to the main cup. Set for 2 minutes and speed at 8. Crush the fried black sesame seeds first.Step 5
Crush black sesame seeds and add steamed mung beans.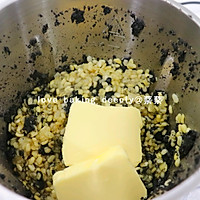
Step 6
Add maltose and butter (you can also use olive oil or corn oil)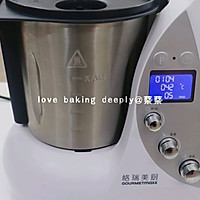
Step 7
Set to level 5 and break in 2 minutes.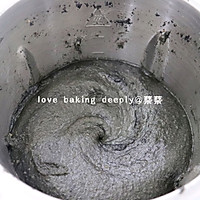
Step 8
The 5th gear and 2 minutes is basically the most delicate one.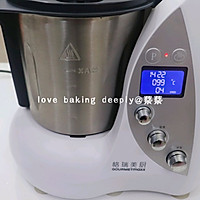
Step 9
Start frying the stuffing. Set 22 minutes, 99 degrees, speed 4. Do not cover the top white measuring cup lid throughout the process. When frying the stuffing, be sure to choose 99 degrees. 99 degrees is the golden temperature for frying the stuffing at Green Kitchen. It will not stick to the bottom when fried.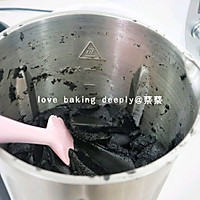
Step 10
Just stir-fry until it doesn't stick to a spatula. The fried mooncake fillings are a little drier than the fillings we usually make for bread. This kind is oily, not wet. You can add or add it at this time according to the state. Reduce, if it's thin, add a little more time.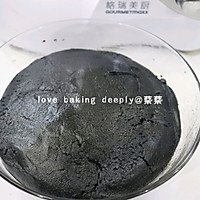
Step 11
After the prepared black sesame filling is cooled, cover it with plastic wrap and seal it. You can store it in the refrigerator first. If you don’t have an all-in-one machine, you can use a wall-breaking machine to break it, then put it in a non-stick pan and stir-fry until it reaches the same state.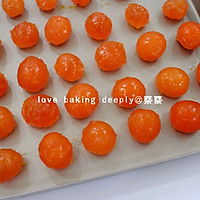
Step 12
The egg yolks I use are fresh ones I buy at the local market and cracked immediately. I personally don’t like the vacuum-packed egg yolks online. Friends who can't buy it can buy vacuum-packed egg yolks online. If you buy freshly cracked egg yolks of very good quality, you can choose not to bake them, but the quality requirements for unbaked egg yolks are very high. The egg yolks I bought are of very good quality. I don't use oil or soak them in oil. I wash the beaten egg yolks, remove the white film, put them in a baking pan, and spray them with high-strength white wine.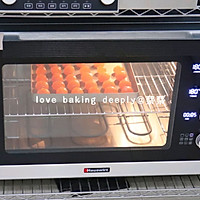
Step 13
There is no need to preheat the oven. Just put the baking pan with the egg yolks into the oven. Turn on the oven at 180 degrees and set the time for 6 to 7 minutes. Then pay attention when baking. Do not bake until the entire egg yolk changes color or becomes oily. Only the baking pan is needed. It's done when there's a little bubbling at the bottom that's in contact with the egg yolk. If you buy an egg yolk that has not been marinated thoroughly, it will have a white core and the entire yolk will be hard; an over-salted egg yolk will also have a white core, but the entire yolk will be soft and will appear stratified; and if you bake it Overcooked egg yolks will also cause white cores, so be sure not to overbake them.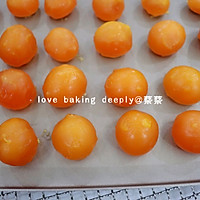
Step 14
Bake it until the whole egg yolk starts to dry out a little bit, but there is no oil, then it is good. Remember not to overbake it, as I have said repeatedly before.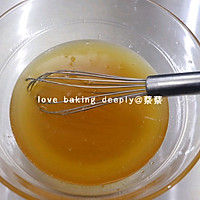
Step 15
Put the invert syrup, peanut oil and water into a large bowl. Use a hand whisk to mix thoroughly and evenly. You can safely stir in circles.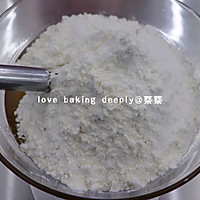
Step 16
Add low-gluten flour. The most authentic way to make Cantonese-style mooncakes is to use low-gluten flour. Of course, many friends choose to use all-purpose flour. You can also choose to use all-purpose flour. Some friends use low-gluten flour and then add Ten to twenty grams highGluten flour is also available.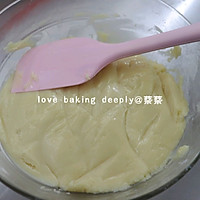
Step 17
Add the low-gluten flour in the previous step and use a spatula to fold evenly to form a pie crust.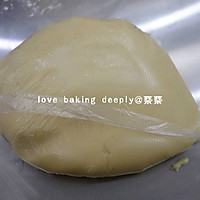
Step 18
When I use this formula myself, I don’t need to let it rise for two hours. I can use it in half an hour.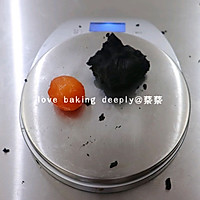
Step 19
All the mooncakes I make are packaged in a ratio of 3:7, that is, the skin is about 23 grams and the filling (equal to black sesame filling + egg yolk) is about 52 grams. 2: The 8-pack of mooncakes has a thin skin and a lot of filling, so it is not suitable for novices. If a novice has not wrapped mooncakes before, it will easily break the skin, and I personally feel that too much filling will make it greasy. The crust of the 4:6 package is relatively thick and the taste is not very good. 3:7 pack is my favorite and the most commonly used one. I feel that the texture of the skin and filling is just right and the pack is better. Of course, this is just my personal opinion. You can use whatever ratio you like. When wrapping, take the egg yolk and place it on the electronic scale, then take the black sesame filling. The total of egg yolk and filling is 52 grams.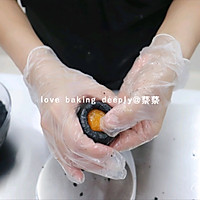
Step 20
Gently press the black sesame filling with the palm of your hand, put in the egg yolk, and gently close it with the tiger's mouth.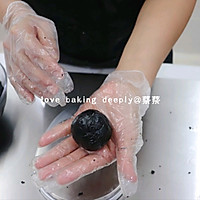
Step 21
After closing the mouth, use the palm of your hand to gently roll it into a round shape.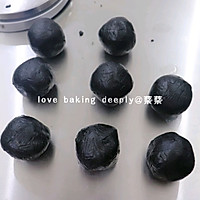
Step 22
Prepared egg yolk and black sesame filling.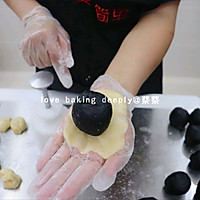
Step 23
The crust can be used after it has been rested for 30 minutes. If you use all-purpose flour to make this recipe, you can choose not to rest it. I always use low-gluten flour when making Cantonese style. Let the pie crust rest for 30 minutes, then weigh 30 grams of a piece of pie crust, place it in the palm of your left hand, flatten it with your right hand, and then place the prepared black sesame egg yolk in the middle of the pie crust.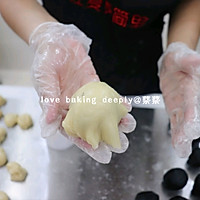
Step 24
Turn the pie crust on your left hand and gently place it upside down on the palm of your right hand. Put it on your left hand, and then use the tiger's mouth of your right hand to push it up gently, being careful not to break the skin, and push it all evenly to close the mouth.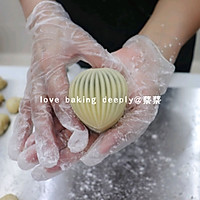
Step 25
Put the prepared mooncake skin into corn starch or cake flour, and lightly dip it in a little flour to facilitate the mold release. As mentioned in the video of the main picture, if you choose a relatively high-end and heavier mooncake mold, you don’t need to brush it with oil or dip it in powder, so we omit the step of dipping it in powder. The weight and quality of high-end molds are very good. It’s no cheaper than the commercially available molds that cost 20 to 30 yuan, so it doesn’t stick to oil or powder, and it won’t stick to the mold. If you are using an ordinary mooncake mold, dip it in powder, tap off the excess powder with your hands, and then press it into the mold. Generally, when I press the film, I press it lightly three times before demoulding, with moderate attention.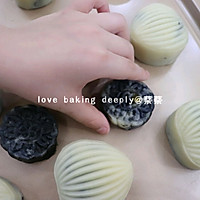
Step 26
Press everything into the mold and place it on the baking sheet. These two black devils were made by my little bandit. He insisted on mixing the crust and fillings together and made two cakes by himself. He said one was for him and one for my sister. I could already see my sister’s disgusted expression~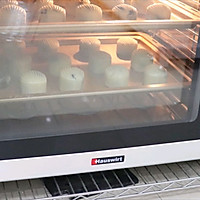
Step 27
Use a watering can to spray water on the surface of the mooncake, remember to spray it all evenly, but not too much. Place in the oven preheated at 210 degrees and set at 200 degrees for 5 minutes. The S80 oven I use, I turn it on to 185 degrees for 5 minutes in the wind stove mode.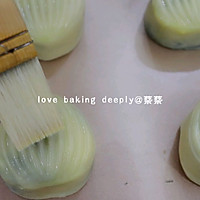
Step 28
After setting the shape, take it out and continue to heat it in the oven at 190 degrees. (When I use the S80, I directly turn on the stove mode and let it heat at 175 degrees.) Take an egg yolk and add 15 grams of purified water, mix well and filter, then use a wool brush to gently brush the egg liquid water on the surface of the mooncake. The egg liquid must be brushed evenly, but not too thick or too thick. After brushing with egg wash, put the mooncakes into a preheated oven at 180 degrees and bake at 180 degrees for 15 minutes. I use the open air stove mode of the S80 oven and I use 155 degrees for 12 minutes. The time and temperature are adjusted according to the actual conditions of each oven. If you make 50g or 65g mooncakes, the corresponding time will also be shortened.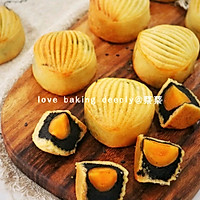
Step 29
I baked it at night. I cut this on the morning of the second day after it cooled out of the oven. The surface of the mooncake has begun to soften and gradually return to the oil, but it has not yet reached the state where the oil has completely returned. When the oil has completely returned, it will be shiny. It will look better.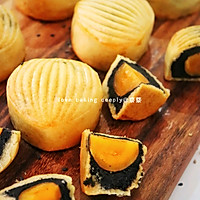
Step 30
The sesame seeds I used were grown by my mother-in-law and sent to me. The stuffing fried by myself is also very fragrant. If you want to eat the stuffing fried by yourself in the short term, you can reduce the sugar a little bit, but not too much. Fry it yourself. You can control it according to your own taste, but mooncakes are high in oil and sugar if they are to be stored for a long time. If they are to be stored for several months, it is recommended to buy fillings. Black sesame egg yolk mooncake cooking tipsYou can refer to the video in the main picture. If you can see the steps clearly, there will basically be no problem. If you have any questions, you can leave a message to Cai Cai or add WeChat: dejuanxuanhao_
For common mooncake questions, please refer to my other Cantonese-style mooncake recipe.

