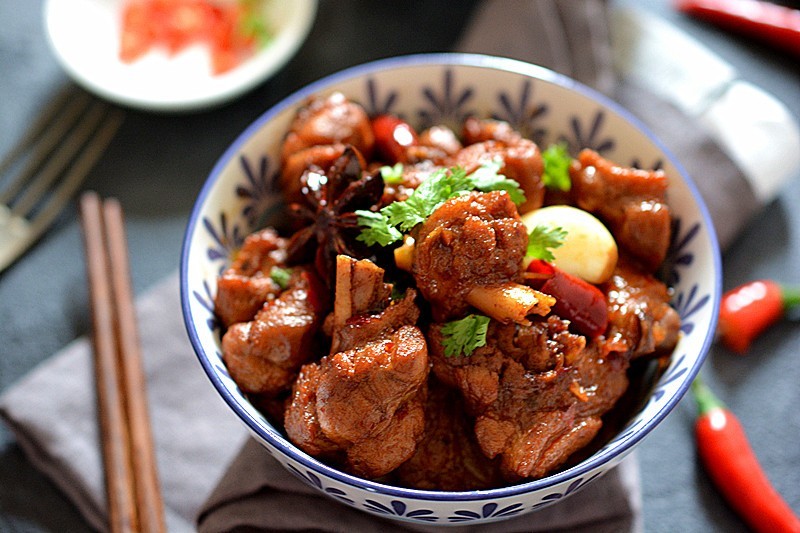
Cantonese date paste mooncake
| All-purpose flour 300g | Invert syrup 220g |
| Jianshui 3~4 grams | Milk powder 20 grams |
| Corn oil (or peanut oil) 75 grams | Date paste filling: red dates 870g |
| Date paste filling: corn oil 40g | Date paste filling: cooked glutinous rice flour 90 grams |
| Moon cake surface: 1 egg yolk + 1 tablespoon egg white |
Step 1
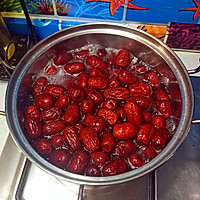
First make the jujube paste filling: add enough water to the red dates (the water should cover the red dates), and cook the red dates over medium heat;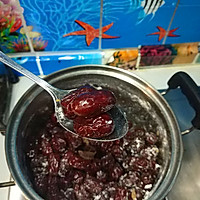
Step 2
Cook the red dates until they become large and plump, take them out and let them cool, then turn off the heat. Do not pour away the red date water, keep it aside for later use;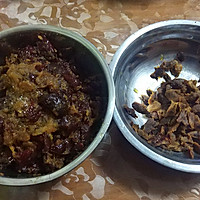
Step 3
Peel out the red date core;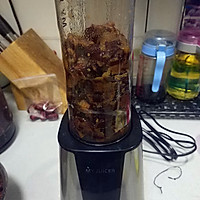
Step 4
Put the peeled red dates into the food processor, add an appropriate amount of water to cook the red dates and stir (do not add too much water, as long as the food processor can run. Too much water will increase the frying time);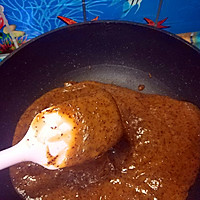
Step 5
Pour the whipped red dates directly into the non-stick pot. I didn't remove the jujube skins, and the food was already very broken in the food processor. After frying, I couldn't even taste the jujube skins. If you are very particular, you can sift the crushed red dates at this step;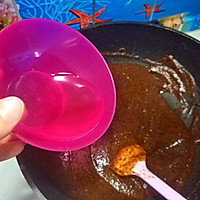
Step 6
Fry the jujube paste over medium-low heat. Stir the jujube paste constantly. Add corn oil in three batches and stir-fry. After each time the oil and date paste are completely combined, add the remaining oil;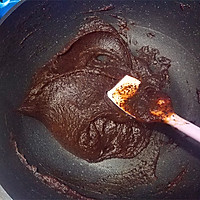
Step 7
The jujube paste will be slowly stir-fried into a dough, but the jujube paste will still stick to the shovel;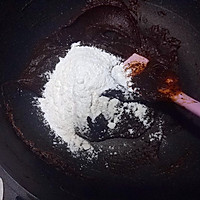
Step 8
Add the previously fried glutinous rice flour and continue to stir-fry over medium-low heat;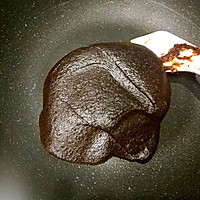
Step 9
When the jujube paste is stir-fried until the water dries up, it becomes difficult to stir, and it becomes hard, you can turn off the heat.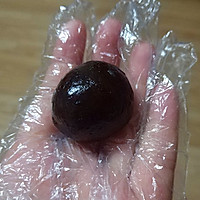
Step 10
After the jujube paste has cooled down, put it in the refrigerator. The refrigerated jujube paste will not stick to your hands when you press it with your hands. If it sticks to your hands, it is best to stir-fry again;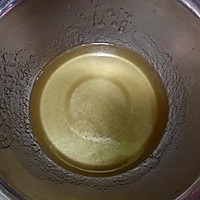
Step 11
Next, make the mooncake skin: invert syrup + water + corn oil, stir evenly;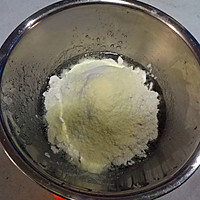
Step 12
Sift in flour and milk powder, mix well, and knead into a ball; cover the kneaded dough with plastic wrap and let it rest at room temperature for 1 to 2 hours;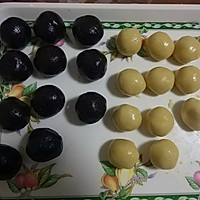
Step 13
Divide the mooncake skin into 20g/piece, and divide the jujube paste filling into 30g/piece; I use a 50g mooncake mold, and the ratio of skin to filling is 4:6. I like thicker skin. This depends on personal preference. If you like thin skin, the ratio is 3:7 (skin 15, filling 35) or 2:8 (skin 10, filling 40).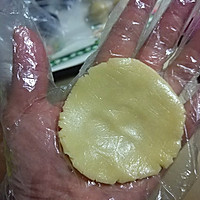
Step 14
Divide the mooncake skin into 20g/piece, and divide the jujube paste filling into 30g/piece; I use a 50g mooncake mold, and the ratio of skin to filling is 4:6. I like thicker skin. This depends on personal preference. If you like thin skin, the ratio is 3:7 (skin 15, filling 35) or 2:8 (skin 10, filling 40).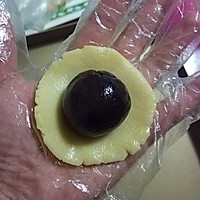
Step 15
Place a rounded amount of filling on the dough sheet;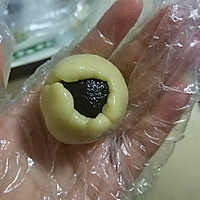
Step 16
Press the filling lightly with the thumb of your left hand, and slowly push the crust upward along the edge of the filling with your right hand in a circular motion;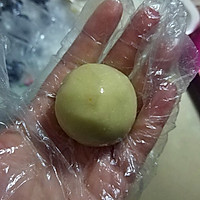
Step 17
Until the pie crust completely wraps the filling, pinch and seal;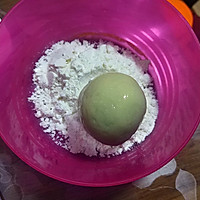
Step 18
Roll the wrapped mooncakes in flour;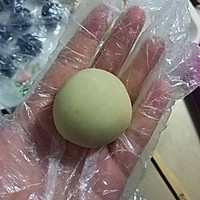
Step 19
Then tap off the excess flour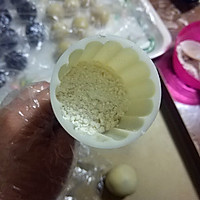
Step 20
Pour an appropriate amount of flour into the mooncake mold and shake it around, then pour out the excess flour;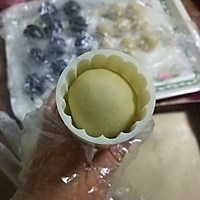
Step 21
Roll the mooncake into a slightly thin circle to avoid scratching the skin when pressing the mooncake mold, and place it into the mold;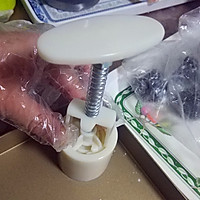
Step 22
Place the mooncake mold on the baking sheet;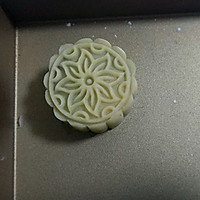
Step 23
Press out the mooncake shape and lift the mooncake mold;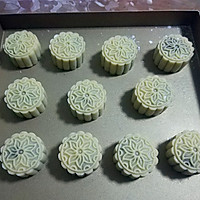
Step 24
Preheat the oven to 180 degrees, spray water on the surface of the mooncakes, put them in the middle of the oven, bake for 5 minutes before taking them out; The temperature should be adjusted according to your own oven conditions, mine is only for reference.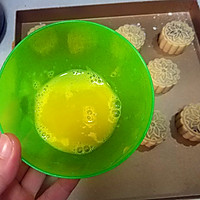
Step 25
Take an egg yolk, add a tablespoon of egg white and mix well;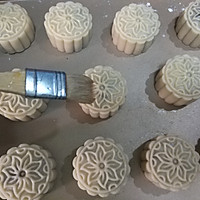
Step 26
Dip the brush into the egg wash, then place the brush next to the bowl and press off the excess egg wash. Brush a thin layer of egg wash on the surface of the mooncake. Do not brush too much, otherwise the mooncake pattern will be blurred after baking. Place back in the oven and bake until the surface of the mooncake is golden brown and the sides of the mooncake are puffed up. After the mooncakes are cooled, put them in a fresh-keeping box or bag and wait for four to five days before enjoying.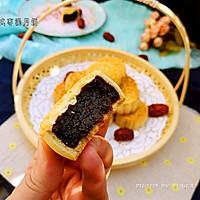
Step 27
Finished product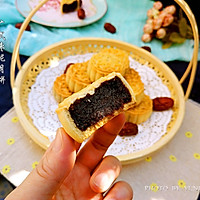
Step 28
Finished product
Step 29
Finished product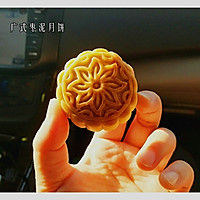
Step 30
Mooncakes after oil return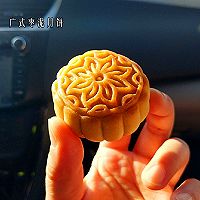
Step 31
Mooncakes after oil return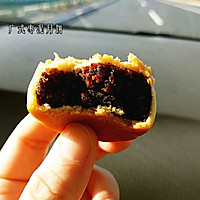
Step 32
Mooncakes after oil return Cantonese date paste mooncake cooking techniques
