Chive and pork floss rolls
| High powder 160g | Cake flour 40g |
| White sugar 32g | Milk powder 8g |
| Egg liquid 20g | Butter 20g |
| Salt 3g | Yeast 3g |
| Water 105g | White Sesame Appropriate amount |
| Chives Appropriate amount | Salad Dressing Appropriate amount |
| Egg liquid (for facial brushing) Appropriate amount |
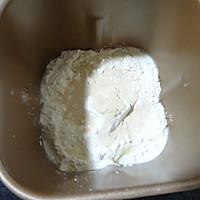
Step 1
Put the ingredients except butter into the bread bucket and start kneading the dough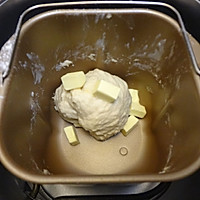
Step 2
Knead until the dough has a smooth surface, cut the butter into cubes and continue kneading for 30 minutes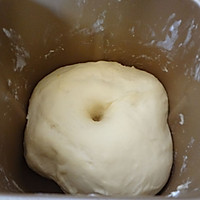
Step 3
After being reconciled, fermentation begins until it doubles in size.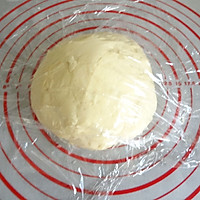
Step 4
After fermentation, take it out to deflate and let it rest for 15 minutes.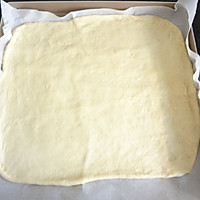
Step 5
Use a rolling pin to roll the dough into a square shape. Place a layer of parchment paper on a baking sheet and place the dough on it. Start secondary fermentation.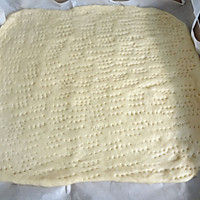
Step 6
Use a fork to make some small holes in the fermented dough.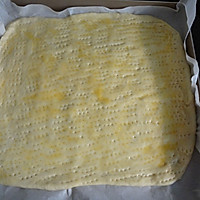
Step 7
Brush a layer of egg wash on the surface of the dough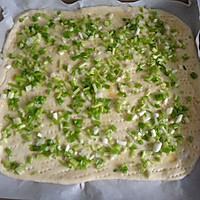
Step 8
Then sprinkle with a layer of chives and an appropriate amount of white sesame seeds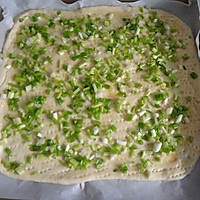
Step 9
Preheat the oven to 180° and bake for 12 minutes.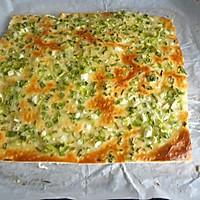
Step 10
While the dough is still hot, cut off the excess around the dough, as shown in the picture, and cut it into a regular square shape.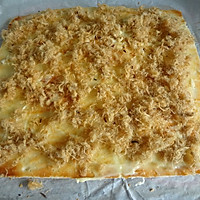
Step 11
Flip over and apply a layer of salad dressing and sprinkle with appropriate amount of pork floss. Make a few cuts without cutting off the rolled portion of the roll.
Step 12
Wrap the rolls into shape with the help of parchment paper.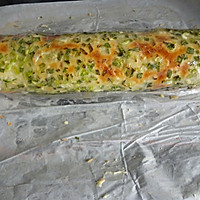
Step 13
Then wrap the rolls tightly with plastic wrap and leave them for 1 hour so that they can set quickly.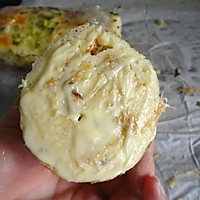
Step 14
Spread a layer of salad dressing on both ends of the diced rolls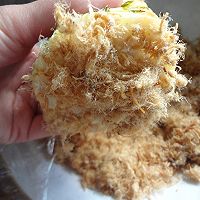
Step 15
Then cover it with meat floss and that’s it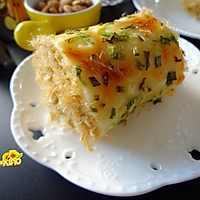
Step 16
Finished product picture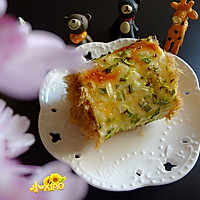
Step 17
Finished product picture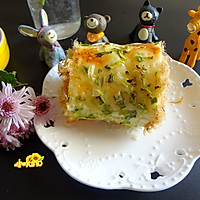
Step 18
Finished product picture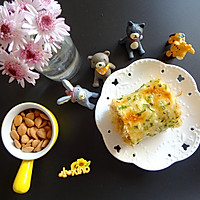
Step 19
Finished product picture Cooking tips for chive and meat floss rollsWarm reminder:
1. Start rolling the rolls while they are still warm, so that they can be easily shaped.
2. After rolling, wrap it tightly with plastic wrap and let it rest for one hour. This keeps the shape better.
3. Use a knife to make a few cuts on the wrapped section of the roll without cutting it. This makes it easy to roll up without splitting.
4. Poke some small holes in the rolled dough to prevent the instant noodles from over-expanding due to heat.


