Decorated cake
| Six-inch sponge cake or chiffon cake 1 | Anchor Whipped Cream 500 grams |
| White bean paste 800g | Food coloring (ac or Wilton) Appropriate amount |
| Decoration tip Three |
Step 1
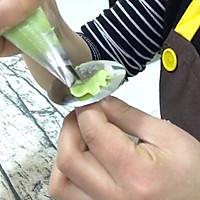
Add water to the bean paste to make it soft, delicate and smooth, add green to bring out the color of the leaves, use a 104 flower mouth, and mount the leaves on oil paper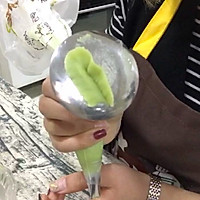
Step 2
Pull the direction from one point up to the top and then back to the origin, and a leaf is ready (just look at the direction of the leaf shape)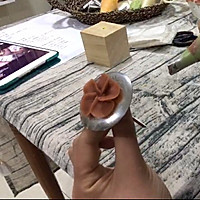
Step 3
Five-petaled flower, 104-flower mouth. I chose bean paste red. You can mark the position of the five-petaled flower by dotting five points on the mounting nail. With the small mouth of the flower mouth facing downwards and the large mouth of the flower facing upwards, draw a semicircle arc from the starting point and pull it back to the origin. Then, place the five petals in sequence (place them on the oil paper). (Up)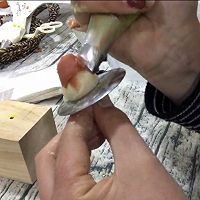
Step 4
Buttercup, 104 flower mouth. First use a round nozzle to make a pile, wrap two layers of red bean paste as the center of the flower, with the small mouth facing downwards and the large mouth facing upwards, choose a point close to the pile and press the decorating mouth inward at 10 o'clock to draw a semicircle. The starting point of the second petal is at the first Between the petals, wrap a total of five petals, two layers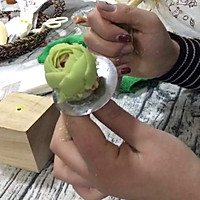
Step 5
Use the color of the leaves and wrap three layers of flower centers at 10 o'clock in the same way as before (note that one layer is higher than the other)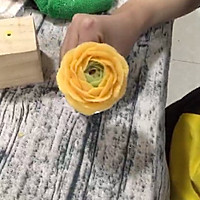
Step 6
Use yellow to frame the outermost layer. The first layer is at 11 o'clock and is higher than the center of the flower. The second layer is at 12 o'clock and is higher than the previous layer. The third layer is at 1 o'clock and is shorter than the previous layer. The fourth layer is at 2 o'clock. , shorter than the front floor. And so on until the size you want is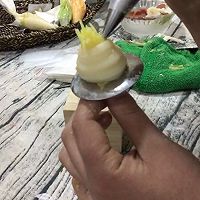
Step 7
Peony, 124 flower mouth After piling, use the smallest round flower mouth to pull out the stamens (the more they look better)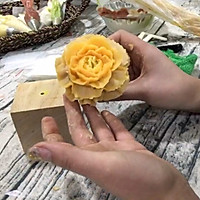
Step 8
Use the same technique as the buttercup to make peonies. The only difference is that when mounting the petals, mount the first piece of peony first, and the starting point of the second piece will be at the end of the first piece, that is, the pieces are not connected to each other until you want it. The size can be finished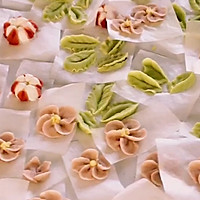
Step 9
The finished flowers and leaves can be placed directly indoors to dry (make them one day in advance).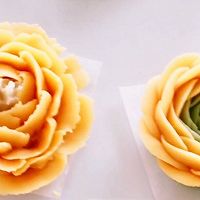
Step 10
Peonies and buttercups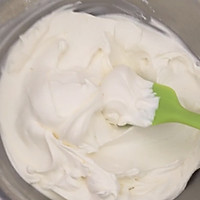
Step 11
Whip animal cream until stiff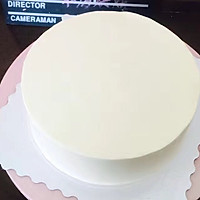
Step 12
Apply a round embryo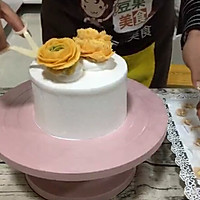
Step 13
Next, assemble. Where to place the flowers, squeeze some butter first to make the flowers stand out.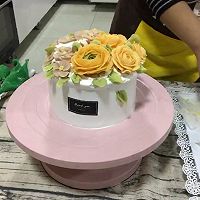
Step 14
Match and assemble according to the look you want. The flowers can be high or low, big or small, which is more natural and beautiful.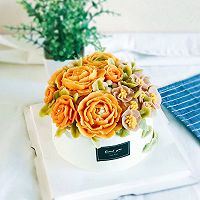
Step 15
This is what the final product looks like Decorated cake cooking tipsIf you don’t like bean paste, you can also decorate directly with butter, you just need to be quick. Then the flowers need to be large or small, and there should be no gaps during assembly. If you choose red bean paste for decoration, it is best not to put it in the refrigerator. The moisture will make the bean paste flower soft all the time. Just air dry it indoors. For the last bit of embryo, it’s best to use a sponge cake with better load-bearing capacity, so it won’t collapse easily.


