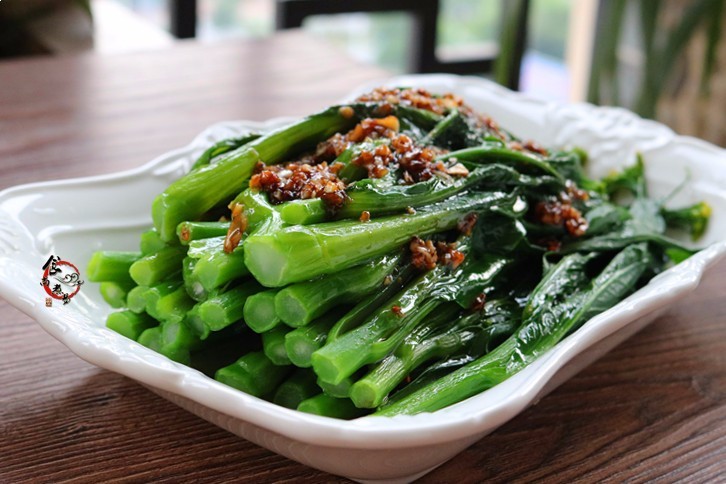
Lieba
| Low gluten flour 320g | High-gluten flour 80g |
| White sugar 60 grams | Eggs Two |
| Yeast 4 grams | Milk 130g |
| Warm water 30g | Butter 25 grams |
| Corn oil 20 grams | raisins 100 grams |
| Walnut kernel 100 grams |

Step 1
Use a small bowl to dissolve 4 grams of yeast with 30 grams of warm water.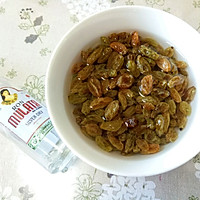
Step 2
Take 100 grams of raisins and soak them in rum. If you don’t have rum, you can soak them in water, but the raisins soaked in rum will have a better flavor!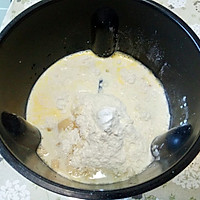
Step 3
Put low-gluten flour and high-gluten flour into the kneading bucket, add sugar, pour in the melted yeast, then beat two eggs well, leaving half an egg in a small bowl, and the other one and a half eggs. Pour into the dough bucket, add 20 grams of corn oil, mix all ingredients together and knead the dough.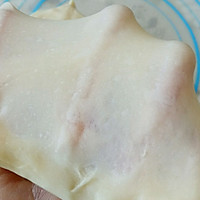
Step 4
The dough mixer I use adds softened butter after about 15 minutes and continues kneading. After another 10 minutes of kneading, it has reached the expansion stage and the film can be pulled out.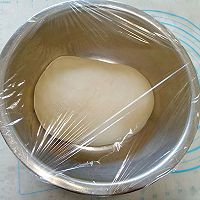
Step 5
Put it in a basin, cover it with plastic wrap and let it ferment in a warm place. Depending on the room temperature, it usually takes about two hours in winter.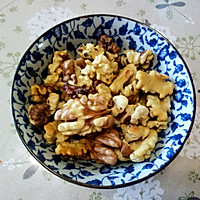
Step 6
When fermenting, you can prepare walnut kernels and bake them in the oven for about ten minutes. You can gently rub the walnut kernels to remove the thin layer of skin, which will make them taste better.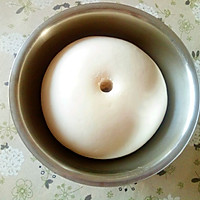
Step 7
After two hours, the dough will be fermented and will be twice the size before fermentation. Dip your finger in flour and poke holes. If it does not shrink or collapse, it means it is fermented!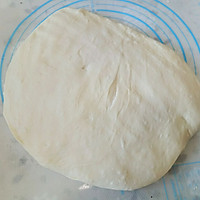
Step 8
Take out the dough and flatten it on the kneading mat, pressing to deflate the dough, gently!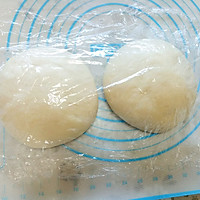
Step 9
Then divide the dough into two pieces, roll into a ball, cover with plastic wrap and let rise for 15 minutes.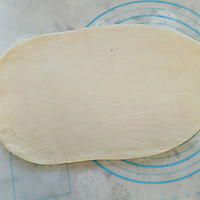
Step 10
Take a piece of dough and roll it out into a rectangular shape, with one end thinner.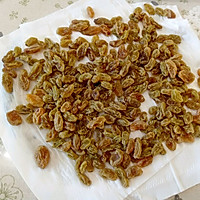
Step 11
Use paper towels to absorb excess water from the raisins.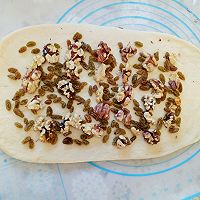
Step 12
Sprinkle walnut kernels and raisins evenly on the large dry dough sheet.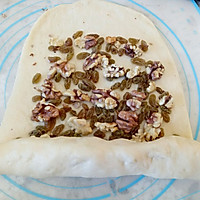
Step 13
Roll up from the thick end, make it tight when rolling, and pinch both ends tightly while rolling.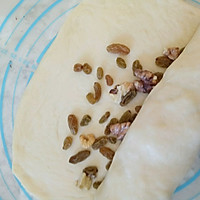
Step 14
You can brush a little water on the thin edge to help the dough stick together.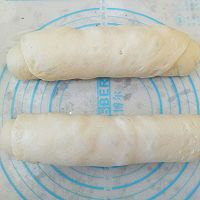
Step 15
Roll both of them up like this, pinching the short sides at the end and sticking them firmly.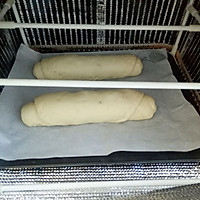
Step 16
Put it into a fermentation box or oven for secondary fermentation. The simple fermentation box I use is fermented at 38 degrees. You can also use the fermentation function in the oven to ferment, with a bowl of hot water underneath to increase the humidity.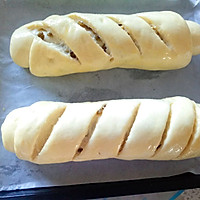
Step 17
After 40-50 minutes, the secondary fermentation is completed. The bread will rebound slightly when pressed with your hands, and then cut with a razor blade to expose the nuts. Beat the remaining half of the egg mixture evenly and use a silicone brush to brush the surface of the bread evenly.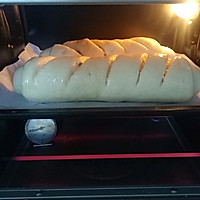
Step 18
Put it in the preheated oven and bake it at about 150-60 degrees for 40 minutes. My oven temperature is on the high side, so I bake it at 150 degrees.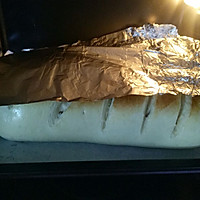
Step 19
Pay more attention when baking, and cover with tin foil after the surface has colored.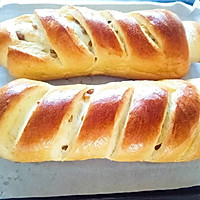
Step 20
After 40 minutes, the Da Lieba bread was baked and came out of the oven. It smelled very fragrant. Take it out and let it cool.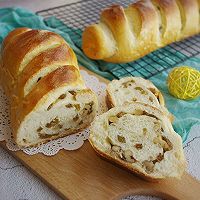
Step 21
It is full of nuts after being cut, not very hard, and has a sweet taste. It is suitable for the elderly and children to eat!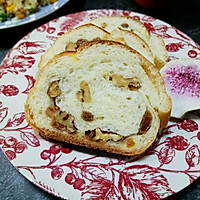
Step 22
Slicing it for breakfast is a great choice! Lieba’s cooking skills1. Different flours absorb different amounts of water, and the amount of liquid can be adjusted by yourself. The amount of liquid in this recipe is larger than that of traditional Da Lieba bread, and the dough is not very hard.
2. You can also put other dried fruits in the nuts, such as cranberries, peanuts, cashews, pistachios, etc., to make the taste richer and more delicious!
3. The baked bread should be sealed in a plastic bag and can be kept for three days without becoming hard. If you want to extend the shelf lifeIt can be stored frozen and re-roasted when eating.


