Light Cream Almond Cookies
| Butter 255 grams | Salt 5 grams |
| Powdered sugar 100 grams | Light cream 210 grams |
| Low gluten flour 435 grams | Almond flour 150g |
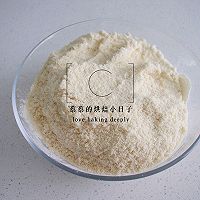
Step 1
First sift the low-gluten flour and almond flour and set aside. Be sure to sift, don't be lazy. During the sifting process, more air will be incorporated into the flour, and the cookies will be crisper.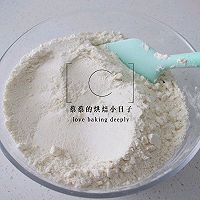
Step 2
Mix the sifted flour together, or you can mix it first and then sift it.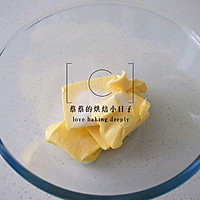
Step 3
The butter is softened, not liquefied! Soften enough that you can poke holes lightly with your finger. Add the salt and butter together and mix briefly with a spatula. AgainTurn the electric mixer on low speed and beat until evenly mixed, allowing the salt and butter to be absorbed.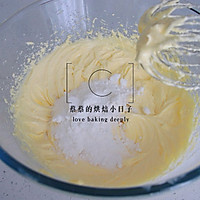
Step 4
Add powdered sugar in three more batches (try to use powdered sugar instead of coarse sugar. You can buy powdered sugar, or you can beat it yourself. If you beat it yourself, don’t beat too much at one time. You can add a little cornstarch to prevent moisture). After each addition of powdered sugar, beat the egg mixture at medium speed until all the sugar and butter are absorbed before adding the next amount of powdered sugar. If you only make 1/3 of the recipe for a small dish, you can add the powdered sugar all at once.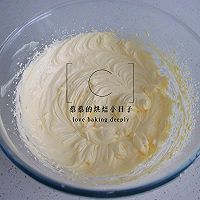
Step 5
This is the state after adding three times of powdered sugar. It is white in color and fluffy and feathery.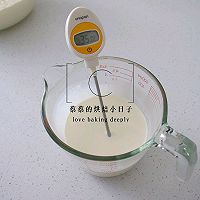
Step 6
Heat the light cream to about 35~40 degrees, not exceeding 40 degrees.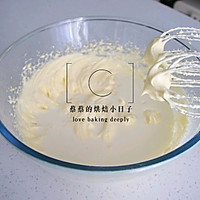
Step 7
Add warm whipping cream in three additions. After each addition of light cream, use a whisk to slow down and beat evenly. After the light cream and butter are completely absorbed and blended, add the next amount of light cream until all the light cream is added.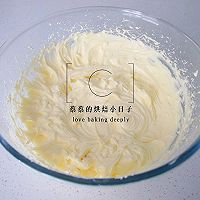
Step 8
The final whipped state after adding light cream is delicate and shiny, with good fluffiness and no separation of oil and water.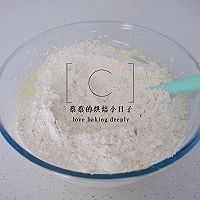
Step 9
Then add the powder from the first and second steps and use a spatula to cut or stir to mix evenly.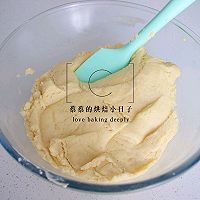
Step 10
Mix until there is no dry flour and it is smooth. The dough only needs to look smooth. Do not over mix.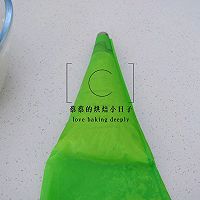
Step 11
Put the mixed biscuit batter into a piping bag. Don't put too much at one time. After filling, push it forward with a scraper to squeeze out the air.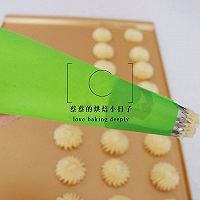
Step 12
The biscuit batter made with this recipe is easy to squeeze, and I can easily operate it with one hand, so I just use a piping bag. The piping bag can be slightly thicker like this.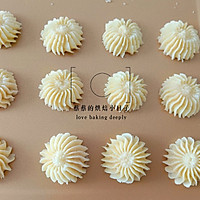
Step 13
Pipe into the shape you like. Which decoration tip you use depends on what you like. Whether you bake one plate in the open oven or several plates in the wind oven, the flowers should be as consistent in size and shape as possible, so as to ensure that they are cooked in the same state at the same time.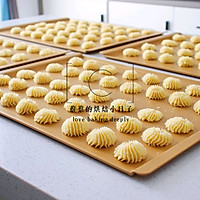
Step 14
If you are making a small amount of 1/3 of the recipe, then the batter can be put into a large piping bag at one time. If you are making a large amount, only a small portion can be filled. The excess cookie dough in the basin can be covered with plastic wrap or a wet towel. If you don't cover it, some will have small jagged edges when squeezing the flowers. However, this does not affect the taste of the food. However, those who are more demanding can cover it with a wet towel or plastic wrap. Let the piped cookie batter sit at room temperature for 15 minutes before baking, so you can wait until you finish piping before preheating the oven.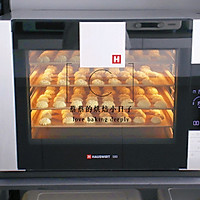
Step 15
I use the air stove to bake 4 trays at the same time. The oven is preheated at 180~190 degrees in the air stove mode! Then put 4 trays of cookies into the fully preheated wind oven at the same time, 155 degrees, 20 minutes! It is recommended to use a household open-hearth oven at about 170~175 degrees and bake for 18 minutes until the edges are slightly golden. The time and temperature are for reference only. The specific temperature and time are based on the actual conditions of each oven.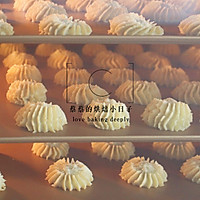
Step 16
Baking cookies~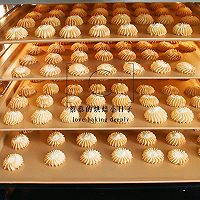
Step 17
After baking, all 4 layers are baked evenly.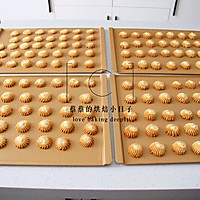
Step 18
After taking it out of the oven, let it cool and store it in a sealed bag.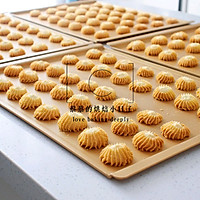
Step 19
I have made cookies countless times, but the one with light almond butter is my favorite. It has a super rich milky flavor.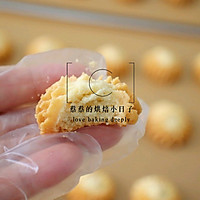
Step 20
So crispy that it falls apart!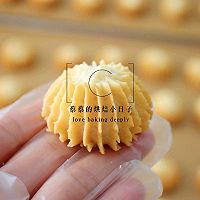
Step 21
Beautiful~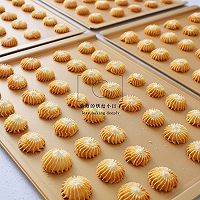
Step 22
Each one is evenly colored and the color is beautiful.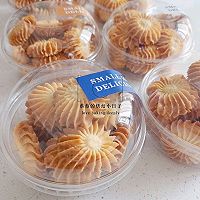
Step 23
Decorate and share with friends! Light Cream Almond Cookies RecipeThe time and temperature mentioned in the recipe are for reference only. The temperature of each oven is different, and there are also big differences between wind and flat ovens. Follow the actual adjustments of your own oven.
Some of the problems that will arise during the operation have been mentioned at the beginning. If you have any other questions, please leave a message.

