Milk cube cookies
| Low gluten flour 145 grams | Eggs 15 grams |
| Butter 35 grams | Milk 40g |
| Milk powder 15 grams | Powdered sugar 40g |
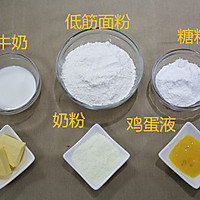
Step 1
Prepare materials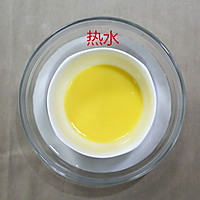
Step 2
Cut the butter into small pieces and melt it over hot water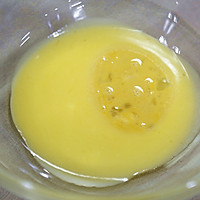
Step 3
Pour the melted butter into another container and add the beaten egg liquid (egg yolk + egg white)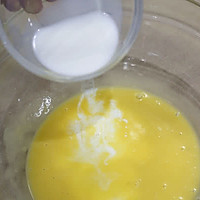
Step 4
Add milk and stir evenly with a hand whisk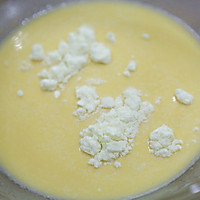
Step 5
Add the milk powder in portions and mix well (it is recommended to add the milk powder in portions and slowly add it little by little while stirring). Add the milk powder in portions and mix well (it is recommended to add the milk powder in portions and slowly add it little by little while stirring).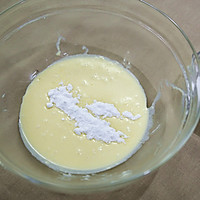
Step 6
Add the powdered sugar in batches and mix well (it is recommended to add it in batches and slowly while stirring)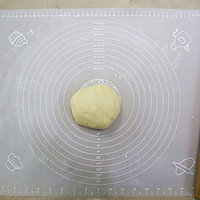
Step 7
Sift in the low-gluten flour, stir into floc, pour it onto a silicone mat and knead into a smooth dough.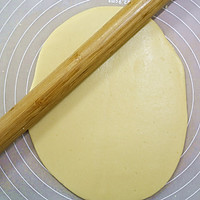
Step 8
Then use a rolling pin to roll it into a 0.3 cm thick cake shape.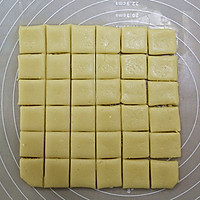
Step 9
Use a knife to cut into squares with neat sides, and then cut into square pieces.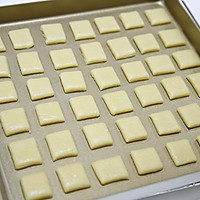
Step 10
Preheat the oven to 180 degrees for 10 minutes. While preheating, arrange the cut square cookies neatly on the baking sheet (because my baking sheet is non-stick, there is no grease paper, if yours is ordinary (It is recommended that you put a layer of parchment paper on the baking sheet before placing the biscuits on it)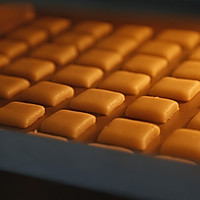
Step 11
Bake: 180 degrees, middle level, upper and lower heat modes, 15 minutes (baking time and temperature are for reference only)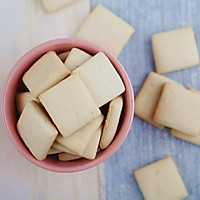
Step 12
Cute little square milk biscuits are ready~ Milk cube biscuits recipe1. When mixing liquid and powdery objects, it is recommended to put them in little by little. On the one hand, it avoids the separation of liquid and powdery objects and causes uneven mixing. On the other hand, it saves time!
2. Finally, you can increase or decrease the amount of flour according to the water absorption of your flour and the softness and hardness of the dough. The dough can form a ball without sticking to your hands.
3. Oven: TO5332; the baking time and temperature are for reference only, adjust according to the conditions of your own oven
4. Because the baking pan I used is non-stick, I did not put oil paper on it. If yours is a regular baking pan, it is recommended that you put a layer of oil paper on it first and then put the cookies on it

