milk toast bread
| High-gluten flour 250g | White sugar 30g |
| Salt 3 grams | Yeast 3 grams |
| Eggs Half | Milk 100 grams |
| Water 30g | Butter 30g |
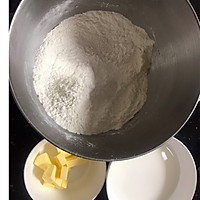
Step 1
Soften the butter at room temperature and cut it into small pieces for later use, then mix the milk and water for later use; mix all the ingredients except these three in a container for later use.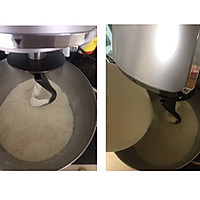
Step 2
Add the egg liquid to the dough mixer and mix at low setting for 2-3 minutes. Slowly add water mixed with milk and mix at medium setting for 5 minutes to form a dough. Add butter and continue mixing for 2-3 minutes. Change to high setting and mix for 5 minutes. Minutes, the dough will be more flexible at this time; continue mixing for another 5 minutes, the dough will become smooth and pliable and can be touched.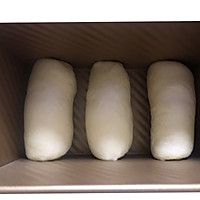
Step 3
Knead the dough slightly and divide it into three parts. After each part is rolled into a round shape, roll it into a beef tongue shape, then roll it up and put it into the toast baking pan. Place three parts at a time and cover them for secondary fermentation.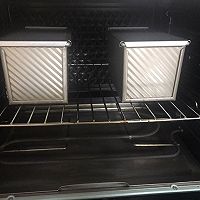
Step 4
Fermentation: You can ferment at room temperature or use the fermentation function of the oven. The fermentation time at room temperature is variable, just wait until the toast box is nine minutes full; fermentation time in the oven at 30-40 degrees is about 1 hour.
Step 5
Bake the middle and lower layers at 170 degrees for 30-35 minutes. The milky aroma is rich and very delicious! Milk toast bread cooking tipsIf you can make steamed buns, even if you don’t have a dough mixer, you can still make dough in the same way as making steamed buns. Knead the dough several times, and finally put the three pieces of dough into a toast box for secondary fermentation. , just bake for another 30 minutes when the last 9 points are full. I think the effect should be the same. Next time I will try this method of making steamed buns. I look forward to sharing the photos of the finished product with you!

