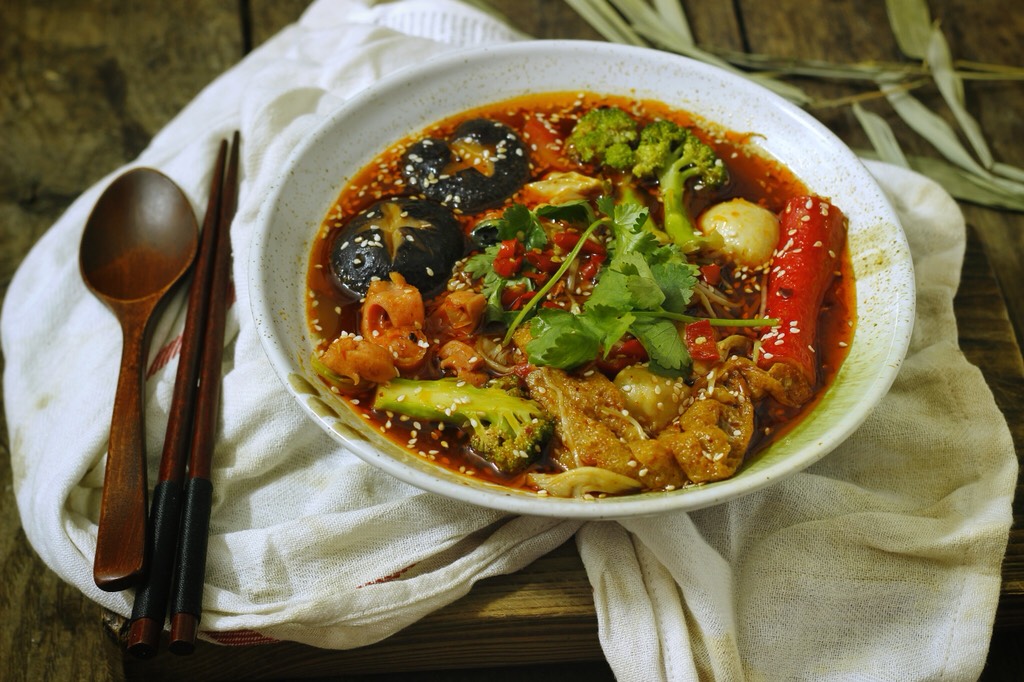
Peanut Tile Crisp
| Egg white 3 | Fine sugar 50g |
| Butter 15g | Low gluten flour 20g |
| Peanut 100g |
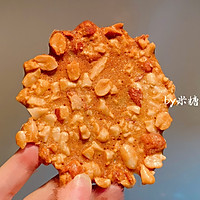
Step 1
Let’s look at the actual picture first. Thin and crispy, with a super rich peanut flavor.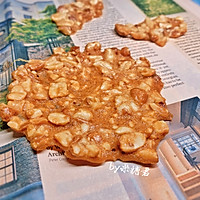
Step 2
Finished product.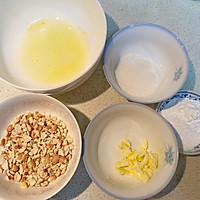
Step 3
The raw materials are as shown in the picture. Take out the butter and egg whites in advance and bring them to room temperature. Peanut chips are the best if you can buy them. If it is unpeeled red peanuts, you need to roughly peel them: put the peanuts in a bag and crush them with a rolling pin, the skins will fall off on their own.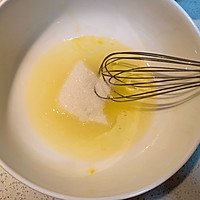
Step 4
Add sugar to the egg whites.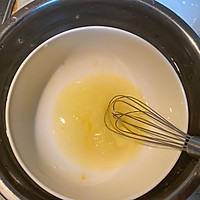
Step 5
Isolate warm water (30-40 degrees, slightly warm to the touch) and stir slowly by hand until the sugar is completely dissolved.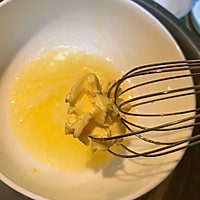
Step 6
Add melted butter. Stir gently until completely combined.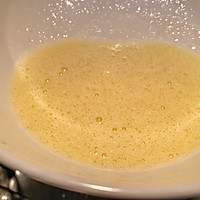
Step 7
The mixed state is as shown in the picture. Never use your hands too quickly to expand the liquid.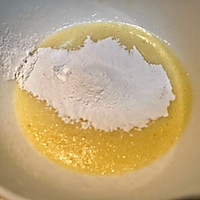
Step 8
Sift in the cake flour and stir gently! (Excessive mixing will cause gluten and affect the taste)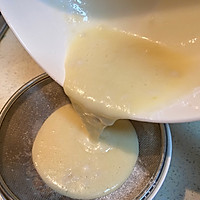
Step 9
Stir until there is no dry powder and sift the batter.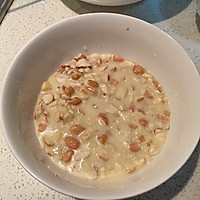
Step 10
Add chopped peanuts. Gently tap the container a few times to remove any bubbles.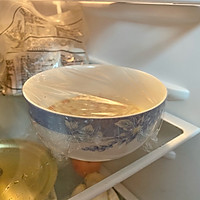
Step 11
Cover with plastic wrap and refrigerate for more than 1 hour. The peanuts absorb the liquid and roast more crispy.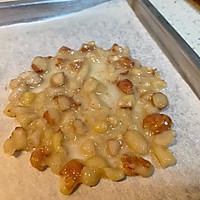
Step 12
Take it out of the refrigerator and let it warm for a while. Preheat the oven to 150 degrees. Line a baking sheet with parchment paper and spread the peanut batter into thin slices. (The thickness is as shown in the picture, try to be as thin as possible without any gaps)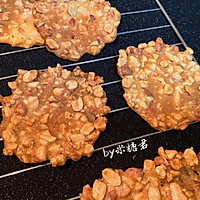
Step 13
Bake in the oven at 150 degrees for 15-20 minutes, until slightly darker in color and take out.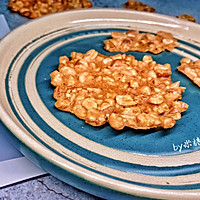
Step 14
Crispy and delicious, let it cool and then pack it into a box and eat it as a snack.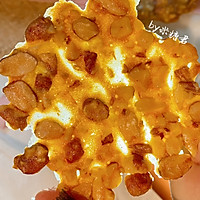
Step 15
Ultra-thin, ultra-brittle, and translucent. Peanut Tile Crisp Cooking TipsDo not stir all the ingredients together at once, as this may cause the egg whites to be beaten. For the best taste, follow the steps and stir each ingredient added.


