Teething Cookie Sticks
| flour 100 grams | Milk powder 5 grams |
| Warm water 20 grams | sugar 5 grams |
| Egg yolk 1 only |
Step 1
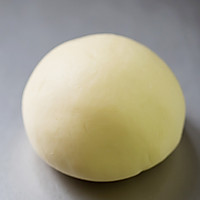
Dissolve the sugar in warm water, then mix all the ingredients together, knead into a smooth dough and let it rest for 30 minutes;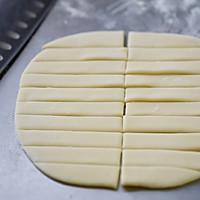
Step 2
Divide into two parts, roll one part into 0.3cm thick slices, and cut into 5*1.5cm strips with a knife;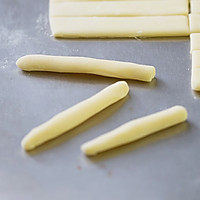
Step 3
Take one, roll it up and pinch it tightly, then shape it into an even stick shape with both hands;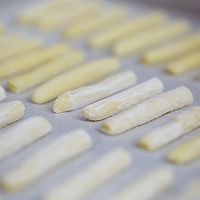
Step 4
Place everything on a baking tray lined with greaseproof paper and bake at 180 degrees for about 25 minutes.Step 5
◆◆◆◆◆◆◆◆◆◆The following is a display of the finished product, click to view a larger image◆◆◆◆◆◆◆◆◆◆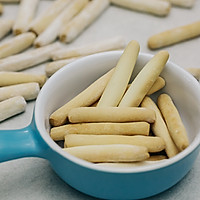
Step 6
Finished product 1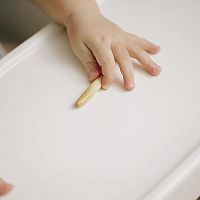
Step 7
Finished product 2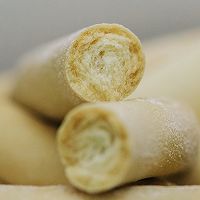
Step 8
Finished product 3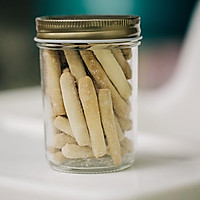
Step 9
Finished product 4 Teething Cookie Sticks Cooking Tips1. Different flours have different water absorption properties. This time I used Wudeli Seven Star Snow Powder. The proportion is just right. If it is too dry, you can wet your hands and knead it;
2. The length and thickness of the cutting determines the rod size of the finished product;
3. Different ovens have different temperaments. IStart with an upper heat of 150 degrees, then lower the heat to 180 degrees and bake for 10 minutes. Then the upper heat is also adjusted to 180 degrees. In order to prevent over-baking, close observation and adjustment are required;
4. Let cool and then seal and store it to keep it hard and crisp.

