Cake roll guide
| Baking pan size 28X28 It is recommended to use high temperature oil cloth | Vanilla chiffon cake roll |
| Egg yolk paste: four egg yolks | Corn oil 64 grams |
| Milk 64 grams | Fine sugar 24 grams |
| Low gluten flour 95 grams can be reduced to 80 grams | Vanilla extract Three four drops |
| Egg white paste: four egg whites | Fine sugar 55 grams |
| Lemon juice A little | Wrap in cream |
| Light cream 100g | Powdered sugar 12 grams |
| Appropriate amount of fruits of personal preference |
Step 1
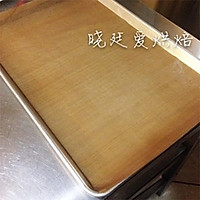
For the large baking pan used in the demonstration process, I have modified the recipe to fit the 28x28 three-energy gold plate, so there is no need to add or subtract it. Let’s talk about the preparation work first: the perfect cake roll is made step by step by summing up experience. At first, I used oil paper and also used silicone mat. Until now, I feel that the best thing to use is high-temperature oil cloth. The cake roll made in this way. It has a "towel bottom" texture, no wrinkles, oily skin, delicate and does not crack. The high-temperature oilcloth you bought can be cut as needed to make it larger than the baking pan. This will help the cake roll to be lifted out, as shown in the picture.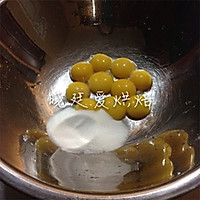
Step 2
Split egg cake roll Crack the egg yolks and egg whites into two basins respectively (the basin for the egg whites needs to be water-free and oil-free) Beat the egg yolks and sugar lightly until the sugar melts, no need to beat.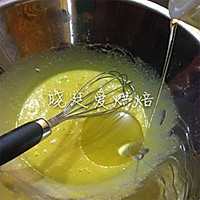
Step 3
Slowly add corn oil and beat evenly until emulsified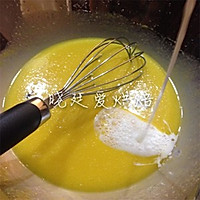
Step 4
Add milk and stir evenly. I have seen someone say: "Don't stir in circles." I don't think so. Stirring in a circular motion before adding the flour will have no effect.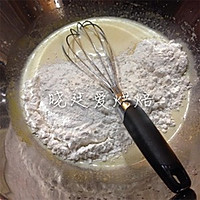
Step 5
Add the sifted low flour and stir in a "z" shape. Do not stir in circles at this time to avoid gluten, which will cause the cake to shrink significantly. It doesn't matter if you feel there are small lumps. We have the next step, the egg yolk paste needs to be sieved.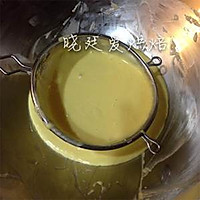
Step 6
Delicate and lump-free cake rolls depend on your process. Don’t be too troublesome. Although there is an extra step, it is by no means unnecessary. Sift the egg yolk batter and keep it aside.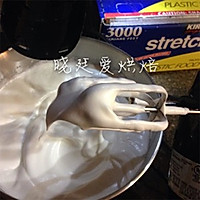
Step 7
Beat the egg whites with the egg beater at medium speed. Because I have a small desktop for my family, it is very labor-saving and not expensive. After it is installed, the egg beater basin will automatically rotate. When the fish eyes are frothy, add a little lemon juice and add the fine sugar to the egg whites. When the egg whites are smooth and have no big bubbles, add one-third of the egg whites for the second time, and then beat for the third time until the egg whites are like a bird's beak. Don’t beat the egg white too hard. If it expands too much, there will be many wrinkles on the front, which will affect the appearance of the curl if you want it to be straight.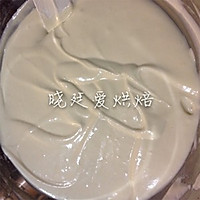
Step 8
8. Take one-third of the beaten egg white batter and mix it with the egg yolk paste. Don’t be afraid of defoaming. Stir as much as possible. Stir-fry as you usually do for stir-frying. It’s simple enough. When adding the egg white batter for the second time, the action can be light. Add the third protein paste and stir to combine. Shake gently a few times to pop large bubbles on the surface.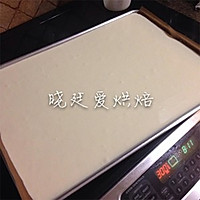
Step 9
9 Lift it higher and pour it down from the top, and pour it into a baking pan that has been lined with high-temperature oilcloth. The oilcloth can be anti-stick with a kitchen towel dipped in a little corn oil. The process of pouring it down will help the large bubbles disappear. Gently pop the bubbles on the surface and place in the preheated oven.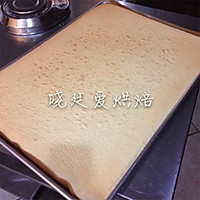
Step 10
1Baking time according to your own oven temperature: about 170 degrees for 15 minutes. If you are rolling, you need to turn on the circulating air function and bake for another three minutes to strengthen the outer skin to prevent it from peeling off when rolling. If the bottom crust is browned, the solution: either reduce the time or lower the temperature. The skin is not dry enough and there is residual moisture. Solution: extend the time or increase the temperature. In short, find the rules according to the situation. Each oven has different brands and temperaments. Summarizing them will be more helpful for progress.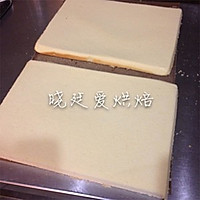
Step 11
After the baking time is up, take out the baking pan, shake it hard to release the heat, use the edge of the oilcloth to lift the cake and the oilcloth away from the baking pan, and open the surrounding net to release the heat. This is a cake that has already been baked. I turned it over to take pictures. It is very delicate and even, not too shrinking, no wrinkles, and no oily skin.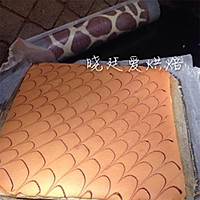
Step 12
Baking a perfect cake roll is only the first step, the second step is how to roll it and how to roll it perfectly. What I am demonstrating today is a large baking pan, so I will use an old picture to demonstrate it. After the cake is cooled, if you want to re-roll it, you don’t have to separate from the oilcloth. Roll it up with the oilcloth and set it first. After this step, the cake will The roll will basically not crack, just like the giraffe pattern roll at the back of the picture. Once rolled, leave it for a while to set. If it is being rolled, you need to cover the cake with a new piece of oil paper and turn the cake over. In the same way, roll the cake together with the oil paper to shape. If the cake skin is not old enough, this process may stick to the skin, so the skin will basically peel off. The grilling power is not enough.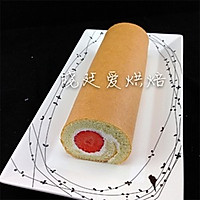
Step 13
This is a cake roll with the front rolled up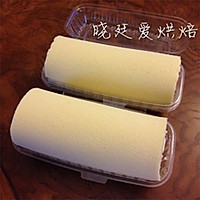
Step 14
This is a cake roll rolled up from the other side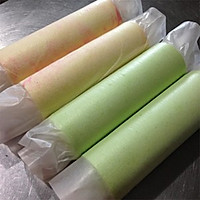
Step 15
Roll up to shape the roll Cooking tips for cake roll guide
