Danish Shredded Thousand Layer Bread
| ------ -------- | Dough ingredients |
| High-gluten flour 125g | Low gluten flour 125g |
| Salt 4 grams | sugar 30g |
| Yeast 4 grams | Water 60 grams |
| Milk 65ml | Butter 15 grams |
| ------ -------- | Butter slices |
| Butter 120g | ------ -------- |
Step 1
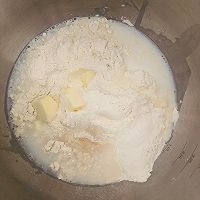
First we make the dough and put all the ingredients into the kneading cylinder. We need to pay attention here that the salt and sugar do not come into direct contact with the yeast. All liquid ingredients need to be refrigerated.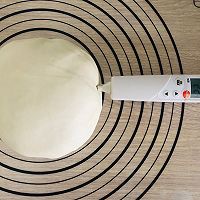
Step 2
Knead the dough with a chef's machine at medium speed for about 8 minutes. Once the surface of the dough is smooth, measure the temperature of the dough. It needs to be below 24 degrees.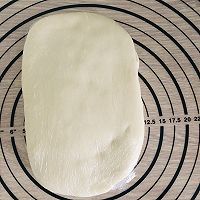
Step 3
Wrap in cling film, roughly shape into a rectangle and refrigerate for half an hour until ready to use.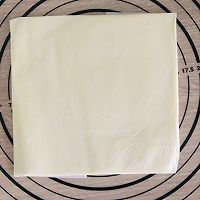
Step 4
Fold the baking paper into 15×15 cm, put 120 grams of refrigerated butter into it, roll it into even sheets, put it in the refrigerator for 20 minutes and set aside.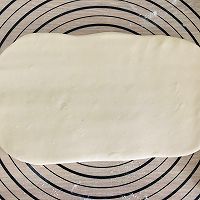
Step 5
Roll the rested dough, smooth side down, into a rectangle 32 cm long and 17 cm wide.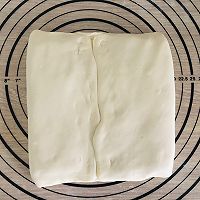
Step 6
Wrap the butter slices in the middle and seal tightly.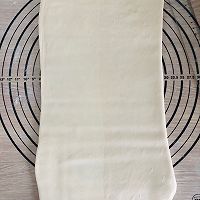
Step 7
Roll it out, about 18 cm wide and 45 cm long.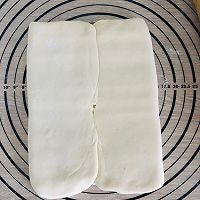
Step 8
Fold both sides to the middle.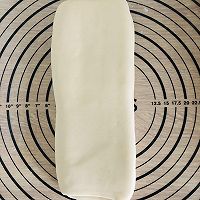
Step 9
Fold in half again.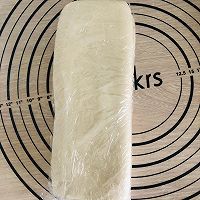
Step 10
Wrap it in plastic wrap and refrigerate it for half an hour. The first quarter fold is done.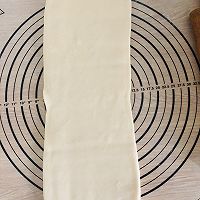
Step 11
Take out the relaxed dough and continue to roll it out to a width of 18 cm and a length of about 50 cm.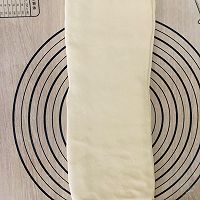
Step 12
Cut off the uneven parts at both ends.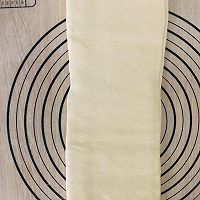
Step 13
Sweep the smooth side down to remove excess dry flour and spray with a little water.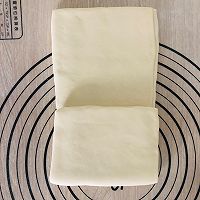
Step 14
Fold it up.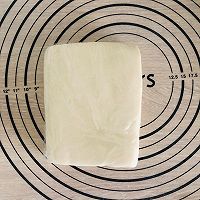
Step 15
Wrap in cling film and refrigerate for half an hour, then fold in thirds for the second time.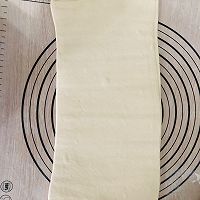
Step 16
Take out the relaxed dough and continue to roll it out to a width of 18 cm and a length of about 50 cm.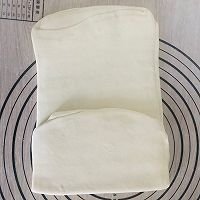
Step 17
Still sweep away the excess flour, spray a little water, and fold it again.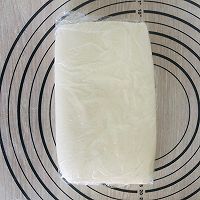
Step 18
Wrap it in plastic wrap and refrigerate it for half an hour. The third fold is completed. At this point, the folding step is completed. A total of 4×3×3, 36 layers.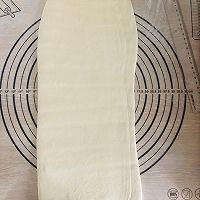
Step 19
Take out the relaxed dough and perform final shaping. With the smooth side facing down, roll it out to 50 cm long and 18 cm wide.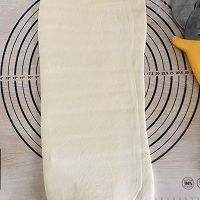
Step 20
Cut off the uneven part of the head, sweep away excess flour, and spray with a little water.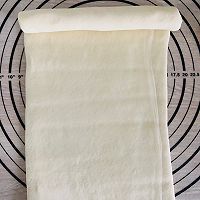
Step 21
Roll up from top to bottom.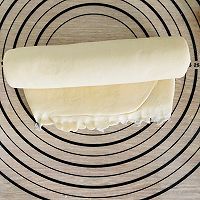
Step 22
Make the bottom edge thin and seal tightly.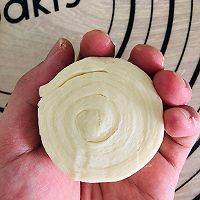
Step 23
Cut into three-centimeter pieces, and you can see clear layers on the cut surface.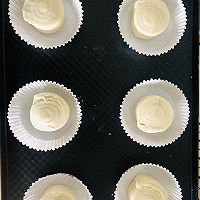
Step 24
Put it in a paper tray and let it ferment under 28 degrees. Remember not to make the temperature too high. If the butter melts in advance, all the efforts will be wasted. When fermentation is about to finish, preheat the oven to 220 degrees and 190 degrees for 15 minutes.
Step 25
The fermented dough has doubled in size. Brush the surface with egg wash and place it in the middle and lower racks of the oven for baking. The time can be adjusted flexibly according to the conditions of your own oven.
Step 26
After the bread comes out of the oven, brush the surface with butter and let it cool before eating!
Step 27
Appreciate the layers, they are well-defined and very crispy.
Step 28
Real hand-pulled bread can be torn and eaten.
Step 29
The layers are clear and as thin as cicada wings. Danish Shredded Thousand Layer Bread Recipes


