Matcha cheesecake
| Anchor Cream Cheese 250g | Anjia unsalted butter (for cheesecake body) 60g |
| Plain water 130g | White sugar 80g |
| Mei Mei Low Gluten Flour 40g | Cornstarch 30g |
| Eggs (yolk & egg white separation) 4 | Anjia unsalted butter (for biscuit base) 50g |
| Spanish Valley Digestive Biscuits 100g | Qinglan Matcha Powder 10g |
|
Lemon juice
|
Step 1
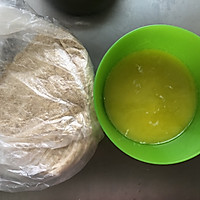
Put the digestive biscuits into a food bag (two layers), crush it into foam with a rolling pin, and heat 50g butter in a microwave until it is completely melted.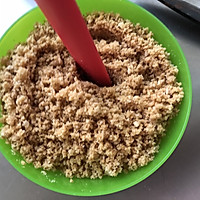
Step 2
Pour the melted butter into the digestive biscuit foam and mix wellStep 3
Wrap a layer of tinfoil on the bottom of the 6-inch removable bottom mold because I am baking it in a water bath this time.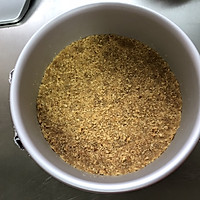
Step 4
Spread the butter biscuit foam into the bottom of the mold, compact it tightly, and refrigerate until use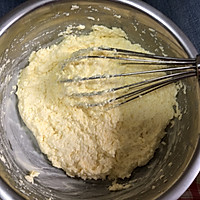
Step 5
Soften the cream cheese + butter together and stir into a paste (you can melt it in water, or you can melt it in the oven at low temperature)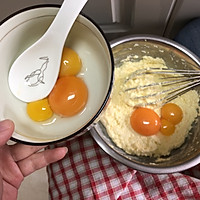
Step 6
Add half of the egg yolk into the cheese batter and mix well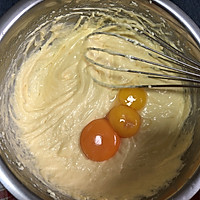
Step 7
Add the other half of the egg yolk and mix well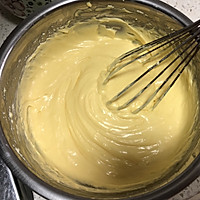
Step 8
The mixed cheese paste has started to become very smooth.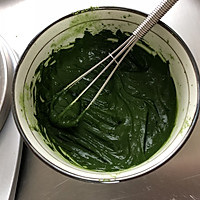
Step 9
Add 10g of matcha powder to 40g of boiled water in the formula, mix and stir first (I am a poor person who does not have a tea whisk, so I have to use a mini egg beater...)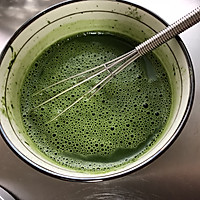
Step 10
Add the remaining 90g of water in the recipe to the matcha, and stir into a uniform tea soup without particles.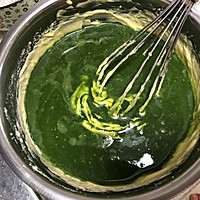
Step 11
Pour matcha soup into cheese batter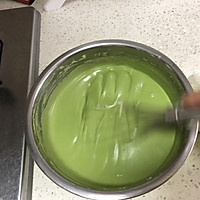
Step 12
Mix well in "Z" shape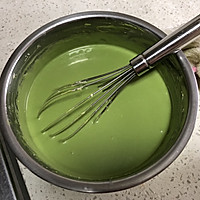
Step 13
Mixed matcha cheese paste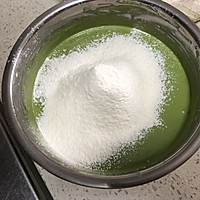
Step 14
Sift in all the powder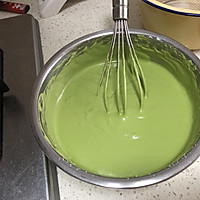
Step 15
Mix well in a "Z" shape, and the batter will be fine and smooth.Step 16
Start processing the egg whites that have been kept in the refrigerator for later use - beat the egg whites at low speed until they are thick and then add a few drops of lemon juice.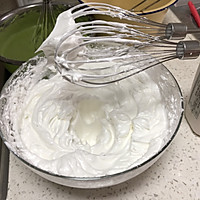
Step 17
Add sugar in two batches and continue to beat the egg whites until they become wet peaks (there is a small curved hook when you lift the egg beater). I actually got distracted during this step... After beating a little, it reached hard peaks. (When you lift the egg beater, there is a small straight hook)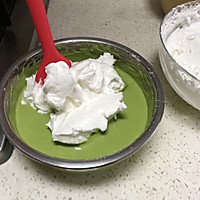
Step 18
Take 1/3 of the protein paste and put it into the matcha cheese paste using the "stir" method (from the bottom to theTake out the batter) and stir evenlyStep 19
Mixed lookStep 20
Pour all the matcha batter into the egg white bowl and continue to mix evenly using the "pull out" method (pull out the batter from the bottom up)Step 21
Pour the batter into the mold until it is 80% full, preheat the oven to 160 degrees, add warm water to the baking pan and place it into the mold. Bake at 150-155 degrees for about 60 minutes. It depends on your oven. After baking, you can take it out for about 10 minutes. PS: To judge whether it is cooked or not, press the center surface of the cake. If the elasticity is very good and the rebound is obvious, it is generally good. It tastes better if refrigerated after unmolding~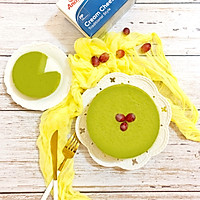
Step 22
Finished product picture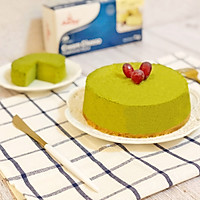
Step 23
Finished product picture Matcha cheesecake cooking tips1. Put the egg yolk and egg white into clean water-free and oil-free basins respectively. Because the egg whites are post-processed, so after separation, put the egg white basins in the refrigerator for later use. We also remind everyone that egg whites are best used. Pack it in a large bowl, because the volume increases a lot after whipping;
2. I wrote 4 eggs in this 6-inch recipe, but since the green-shelled eggs I used were relatively small, I added two quail eggs on a whim, which ended up making a little more batter. Fortunately, I have a 4-inch mini anode mold at home, so I made two more small 4-inch ones in addition to the 6-inch one~
If you make it, just use 3 ordinary eggs. If you use 3 large eggs or 4 eggs, and there is too much batter in the end, you can bake one in a small cup cake mold to avoid wasting ingredients~
3. When making the biscuit base, if you have milk at home, you can add two tablespoons of milk and a pinch of salt and mix it with the butter. The texture will be richer;

