Mousse
| Strawberry yogurt mousse ingredients | Strawberry puree 55 grams |
| Light cream 93 grams | Yoghurt 200 grams |
| Milk 60 grams | Gelatin tablets 5 grams |
| sugar 16 grams | Finger Cookies 6 blocks |
| Strawberry, blueberry, raspberry Appropriate amount | Strawberry yogurt mousse surface decoration material |
| Light cream 100 grams | sugar 8 grams |
| Strawberry blueberry raspberry Appropriate amount | Black mousse material |
| Heiqiao 100 grams | Light cream 185 grams |
| Egg yolk 2 | sugar 33 grams |
| Gelatin tablets 3 grams | Milk 180g |
| Finger Cookies 6 blocks | Black mousse surface decoration material |
| Light cream 130g | Cocoa powder 3 grams |
| sugar 17 grams | Mango mousse ingredients |
| Mango puree 60 grams | Milk 80g |
| Light cream 95 grams | Yoghurt 200 grams |
| sugar 20 grams | Gelatin tablets 5 grams |
| Finger Cookies 6 blocks |
Mango cubes
|
| Mango mousse surface decoration material | Passion fruit 1 |
| Mango puree 100 grams | Water 6 grams |
| Gelatin tablets 3 grams | sugar 22 grams |
| Mango and Kumquat Appropriate amount |
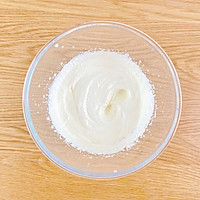
Step 1
First, make the strawberry yogurt mousse paste. Add the whipping cream and sugar, and beat with an electric whisk at high speed until 5 to 6 times distributed, which is thick and fluid. Beat and set aside for later use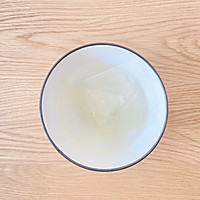
Step 2
Then soak the gelatine slices in cold water until soft. The gelatine slices can also be replaced with an equal amount of gelatine powder.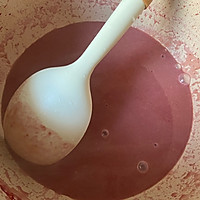
Step 3
Drain the soaked gelatine slices and place them in a milk pot. Pour in the strawberry puree and milk. Heat over medium-low heat until the gelatine slices are completely melted. Then turn off the heat.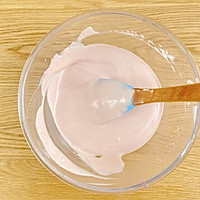
Step 4
Let the cooked liquid cool for 1 minute, then pour it into the light cream basin together with the yogurt, and stir evenly with a spatula. Yogurt must be original thick yogurt.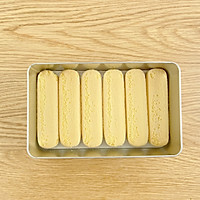
Step 5
Prepare a rectangular box and line the bottom with finger biscuits. The box used today is a biscuit box. The dimensions are: 18cm long x 11cm wide x 5.5cm high. You can refer to it when making it. This amount of mousse paste can just fit into one box.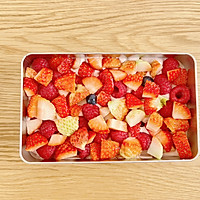
Step 6
Pour half of the mousse paste, then sprinkle with strawberries, raspberries and blueberries. You can sprinkle more to make it more enjoyable.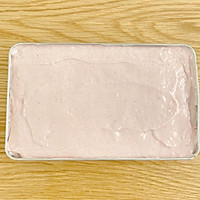
Step 7
Pour in the remaining mousse paste, smooth the surface roughly, cover with a lid, and refrigerate for two hours.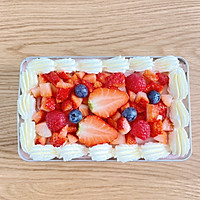
Step 8
Next, make the surface decoration part of the strawberry yogurt mousse. Add the light cream and sugar, beat until it is about 90% thick, put it into a piping bag, use a 10-tooth piping nozzle, squeeze it around the edge of the mousse box, and add another layer in the middle. Sprinkle strawberries, blueberries, and raspberries for decoration, and you’re done!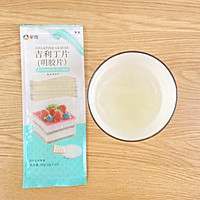
Step 9
Next, make the dark chocolate mousse. Place the gelatine slices in a bowl and soak them in water until soft.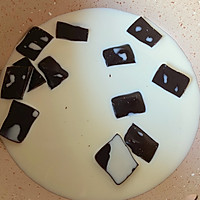
Step 10
Then pour the dark chocolate and milk into the pot, heat over medium-low heat until the chocolate melts and the edges are slightly bubbling, then turn off the heat. Stir constantly during heating to avoid burning the bottom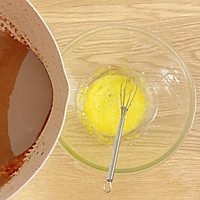
Step 11
Beat the egg yolks and sugar until the color becomes lighter. Pour in the milk and dark liquid in small amounts while it is hot. Stir quickly while pouring. When you first pour it in, you must do it slowly, otherwise the egg liquid will easily become cooked and lumpy.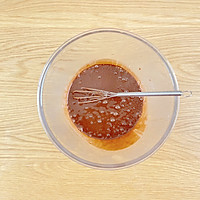
Step 12
While the liquid is still warm, drain the soaked gelatine sheets and put them in, stir until completely melted, then place in the refrigerator and refrigerate until the liquid thickens. Warm reminder, if your gelatine tablets are not dissolved well in this step, you can heat it over water until it melts.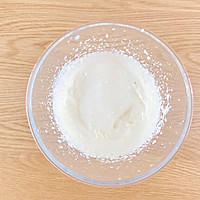
Step 13
Pour the light cream into a basin and beat with an electric egg beater at high speed until 5 to 6 minutes thick.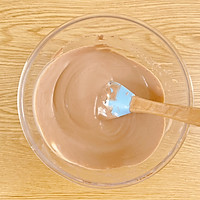
Step 14
When the milk and black chocolate egg yolk liquid has thickened, take it out from the refrigerator and pour it into the light cream basin, stir evenly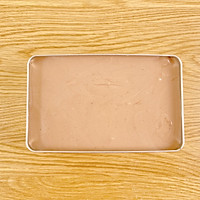
Step 15
Spread the finger biscuits in the box, pour the dark chocolate mousse paste in, shake the surface until it is flat, cover it, and put it in the refrigerator for 2 hours.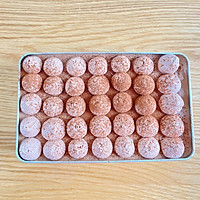
Step 16
After the dark chocolate mousse has been chilled, you can do the surface decoration part. Pour the light cream, cocoa powder and sugar into a bowl and beat until 9 times. Then put it into a piping bag and use a medium round piping nozzle. , squeeze out small balls into the mousse box, and then sprinkle with a little cocoa powder.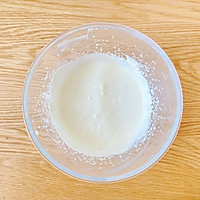
Step 17
Next, make mango mousse, add light cream and sugar, use an electric egg beater, beat at high speed until 5 to 6 points. Here is a reminder: when making any mousse paste, whipping cream does not need to be too hard, otherwise it will not be well integrated with the following ingredients and affect the taste.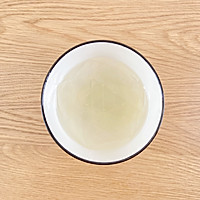
Step 18
Then put the gelatine slices in a bowl and soak them in water until soft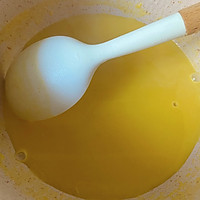
Step 19
Pour the soaked gelatine sheets, milk and mango puree into the pot and heat over low heat until the gelatine sheets are completelyWhen melted, turn off the heat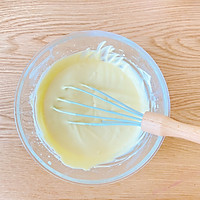
Step 20
Let the cooked liquid cool for 1 minute, then pour it into the bowl of light cream together with the yogurt, and mix evenly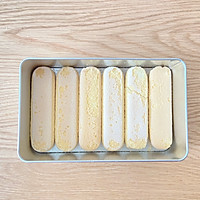
Step 21
Then we put finger cookies on the bottom of the box. Finger biscuits can also be replaced with cake slices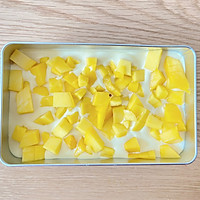
Step 22
Pour half of the mousse paste and sprinkle with some diced mango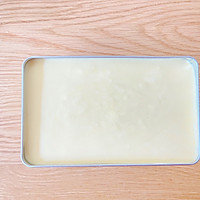
Step 23
Then pour in the remaining mousse paste, shake it until the surface is smooth, cover it, and refrigerate it for 2 hours.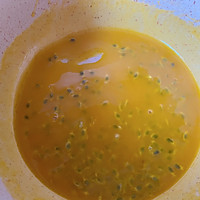
Step 24
Next, make the surface decoration part of the mango mousse. Pour the passion fruit pulp, soaked gelatin sheets, water, mango puree and sugar into the pot. Heat over medium-low heat until the ingredients are combined.Turn off the flame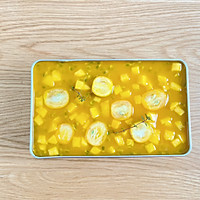
Step 25
After it cools to residual temperature, pour it into a mousse box, sprinkle with diced mango and kumquats, send it to the refrigerator, and refrigerate it until the surface solidifies, and you're done.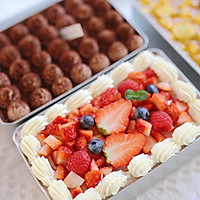
Step 26
The finished product looks pretty good, right? It’s beautiful and delicious, not inferior to the ones sold in cake shops.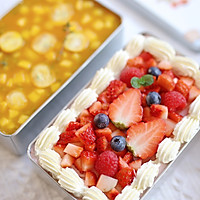
Step 27
worth a try Mousse cooking tips1. The finished mousse cake should be eaten within three days and needs to be refrigerated.
2. The mousse cake I made today is already a low-sugar version, so don’t reduce the amount of sugar when making it, otherwise it will not be sweet.
3. The egg yolks used in the black chocolate mousse must be sterile eggs. Ordinary unsterilized eggs on the market cannot be used as they will cause diarrhea

