Strawberry chiffon cake
| 6-inch chiffon cake ingredients: | Pure milk 45g |
| Corn oil 35g | Powdered sugar 30g |
| Eggs 2 pieces (including 60 grams of eggshell/piece) | Cake flour 50g |
| Table salt A few pills | Rice vinegar 2 drops |
| Vanilla extract 2 drops | Naked Cake Decoration: |
| Light cream 200-250 grams | Powdered sugar 20g |
| Strawberries (various fruits) 300g | Sugar beads 6 pieces |
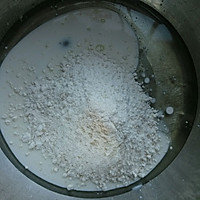
Step 1
Pour milk, cooking oil, and 6 grams of white sugar into a mixing bowl and stir evenly. Then sift the low-gluten flour into the mixing bowl and mix evenly.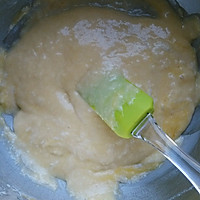
Step 2
Separate the egg yolks from the egg whites, add the egg yolks to the flour batter and mix well, then add a few drops of vanilla extract and mix well, set aside.
Step 3
Put the egg whites into a water-free and oil-free egg beating basin, then add salt and a few drops of rice vinegar (the vinegar is added to prevent the egg whites from defoaming. If you have tartar powder at home, you can use 1 gram of tartar powder instead of rice vinegar. ).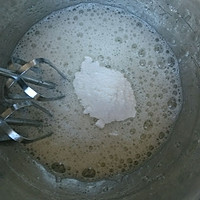
Step 4
When using an electric mixer on low setting to make fish-eye bubbles, add 8g of powdered sugar.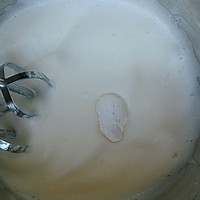
Step 5
When using an electric mixer at high speed to create fine white foam, add 8 grams of powdered sugar.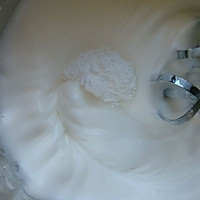
Step 6
Then beat the egg whites at a high speed. When the egg whites have clear lines, add 8 grams of powdered sugar and continue beating.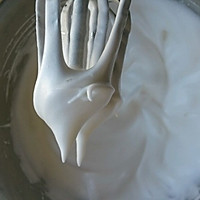
Step 7
When the egg whites are beaten, lift the egg beater to pull up the small sharp corners, and the small sharp corners do not bend.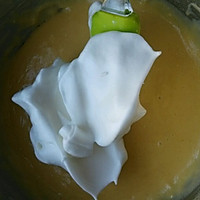
Step 8
Take 1/3 of the egg white and put it into the egg yolk batter, stir it up and down, do not stir in circles! Mix well.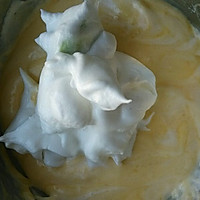
Step 9
Add another 1/3 of the egg whites into the batter, stir up and down, do not stir in circles!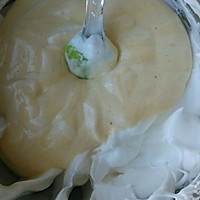
Step 10
Pour the mixed batter into the remaining 1/3 of the egg whites, stir up and down, and mix evenly.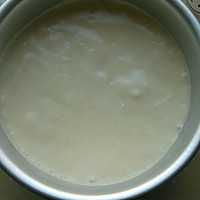
Step 11
Pour the mixed batter into a 6-inch live-bottom cake mold (put a layer of tin foil inside the mold to prevent the bottom of the cake from getting wet when the water vapor rises!), and shake it vertically downward a few times at a height of 20-30cm. What it looks like after bubbles appear.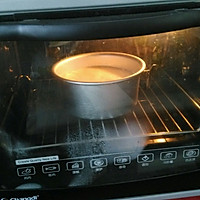
Step 12
Put the cake into a preheated 130℃ oven, place it on the second layer from the bottom, bake for 30 minutes, then turn the cake mold, and continue baking at 150℃ for 5 minutes for coloring (depending on the specific conditions of your oven) ).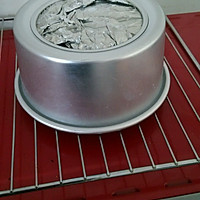
Step 13
After the cake comes out of the oven, use a toothpick to check if it's done. If it's still a little sticky on the knife, put it in the oven and bake it for another 5 minutes to try! Until cooked! After the cake is baked, take it out of the oven and place it upside down on the baking grid. It cannot be unmoulded until the cake cools down!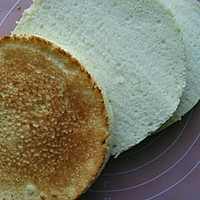
Step 14
The chiffon cake is ready after demoulding. At this point, the chiffon cake is ready to bake. Use a knife to divide the cake into 3 slices (or 2 slices!) and set aside.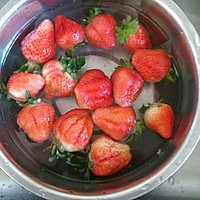
Step 15
While the cakes were cooling, we started working on the strawberries. First put the strawberries in a sink, add 1 tsp of salt and 1 tsp of flour, then add an appropriate amount of purified water, soak for about 3 minutes, and rinse.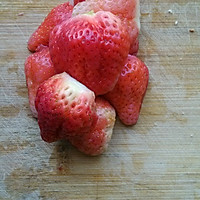
Step 16
Cut the washed strawberries in half and set aside.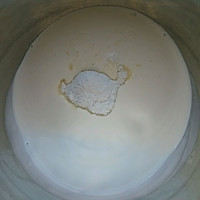
Step 17
Then we start whipping the whipped cream: prepare ice cubes. Pour the whipped cream into the whipping bowl and add 20 grams of powdered sugar. Place the basin on ice. Because the amount of whipping cream is a little less than the basin, you need to tilt the basin more.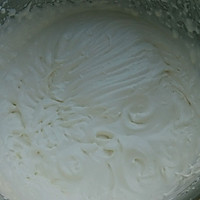
Step 18
First use a whisk to beat at medium speed. After beating for a while, big bubbles will form and the volume of the light cream will begin to increase. Turn to high speed. Whip the light cream until it reaches 7 or 8 points. It is barely fluid, and because there is no squeezing, the whipping cream does not need to be completely whipped.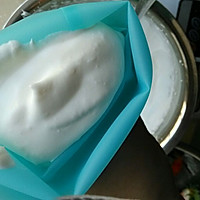
Step 19
Put the whipped cream into a piping bag. I used a round nozzle. If you don't have one, you can cut a hole about 1CM in diameter in front of the piping bag and pipe it directly.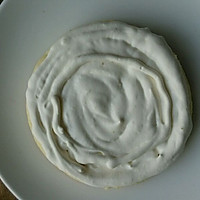
Step 20
Take the cut cake slices, flip the top slice over and place it on a plate as the base, then pipe a layer of whipped cream on it.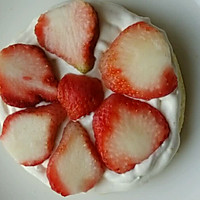
Step 21
Arrange the cut strawberries one by one. I put the cut side up. I think it will be more stable when placed this way (this is purely a personal feeling!).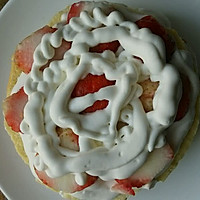
Step 22
After arranging the strawberries, add some whipped cream. This layer does not need to be crowded, but the outermost layerA circle of cream must be squeezed on the fruit so that the cake slices can be propped up and the sides will look good. The same operation is performed on the second layer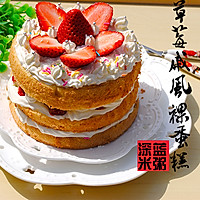
Step 23
I turned the bottom of the cake over to use it as a top, this side was flatter. For the cream on top, I didn’t squeeze a lot of cream. I first arranged the strawberries, then squeezed them a little for decoration, and finally placed sugar beads on the cream for decoration. Dear friends, you can DIY as you like!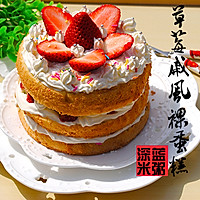
Step 24
The beautiful strawberry original chiffon naked cake is ready! Strawberry chiffon cake cooking tipsIf the cake often cracks when baked, please put a little water on the baking sheet, place the baking sheet on the last grid of the oven, put the baking mesh on the second to last grid, and bake together! This will make the surface of the cake less cracked! Give it a try! Dear friends!

