Sweet and fluffy wedding cake
Ingredients
- All-purpose flour 250g
- Fine sugar 60g
- Peanut oil 45g
- Eggs 2
- Milk 25g
- Yeast powder 3.5g
Steps
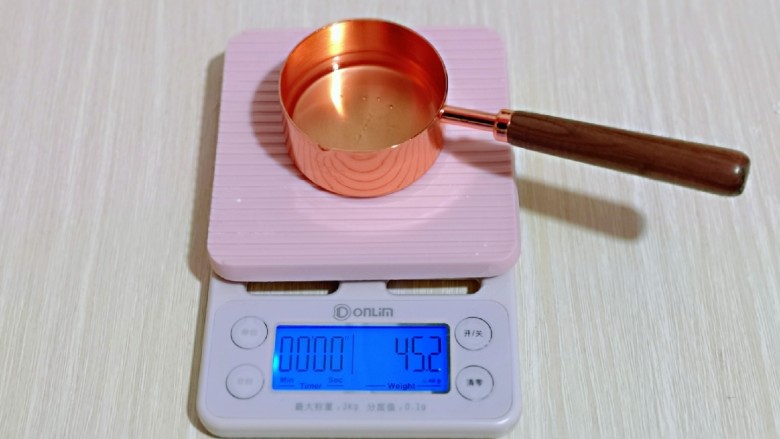
1. First weigh the peanut oil.
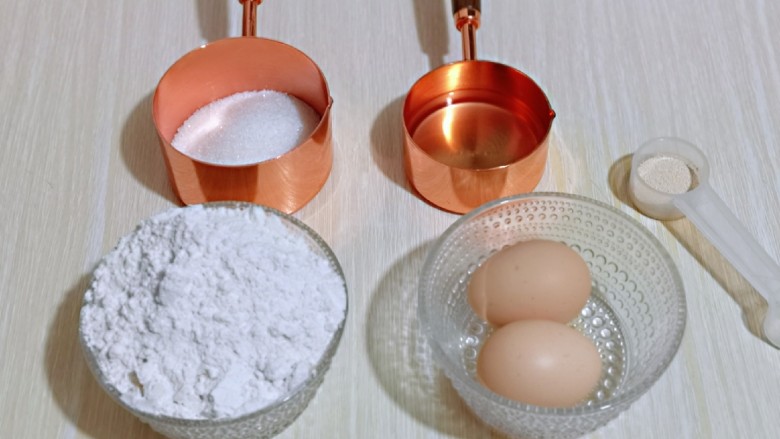
2. Weigh all the ingredients and prepare them.
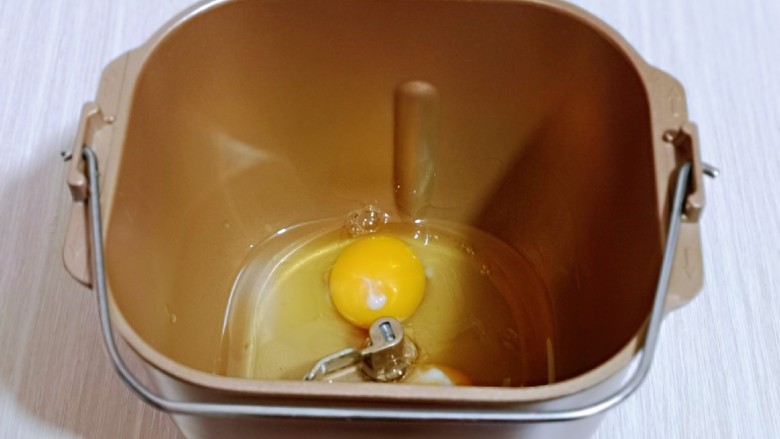
3. First add peanut oil and eggs into the bread bucket.
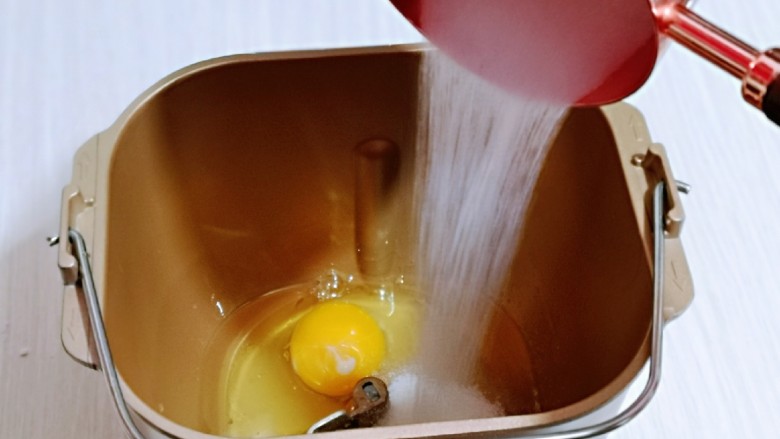
4. Add sugar and milk.
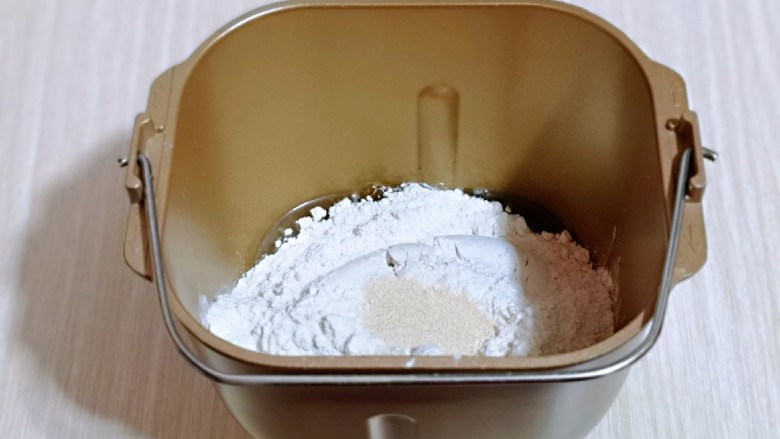
5. Add flour, finally add yeast powder, start the bread machine and knead the dough for 15 minutes.
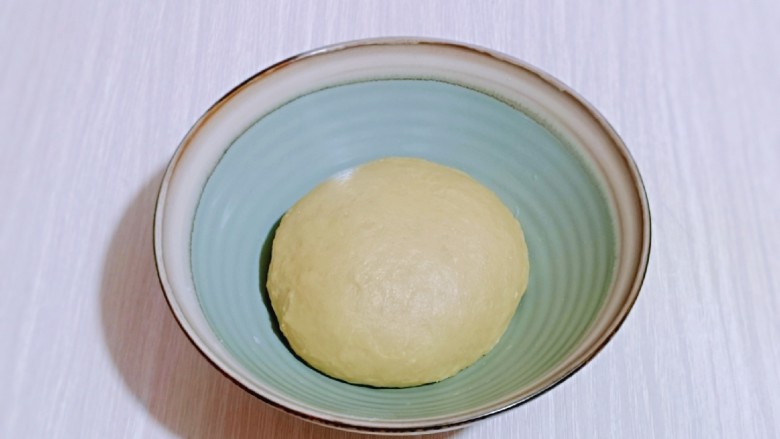
6. Take out the kneaded dough and roll it into a round shape, cover it with plastic wrap for fermentation. (You can also ferment directly in the bread machine)
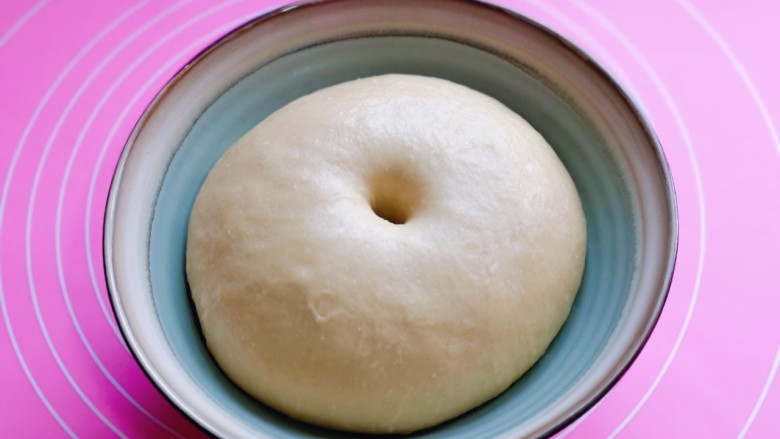
7. The fermented dough is twice as big as the original. If it does not shrink or collapse when pressed with your fingers, the fermentation is complete.
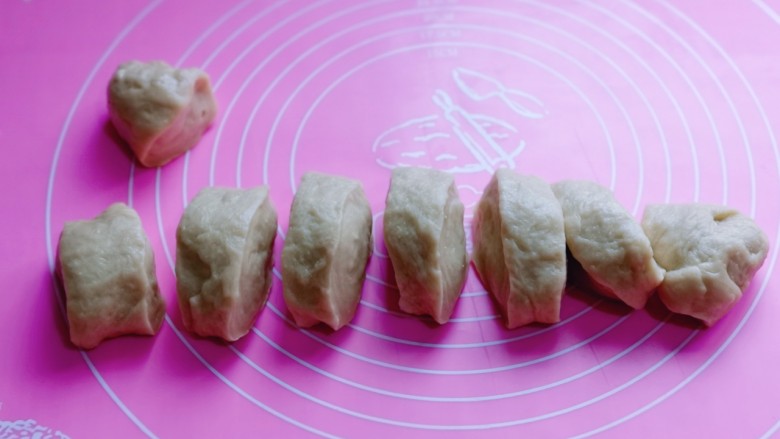
8. Divide the fermented dough into 8 equal parts, cover with plastic wrap and rest for 10 minutes.
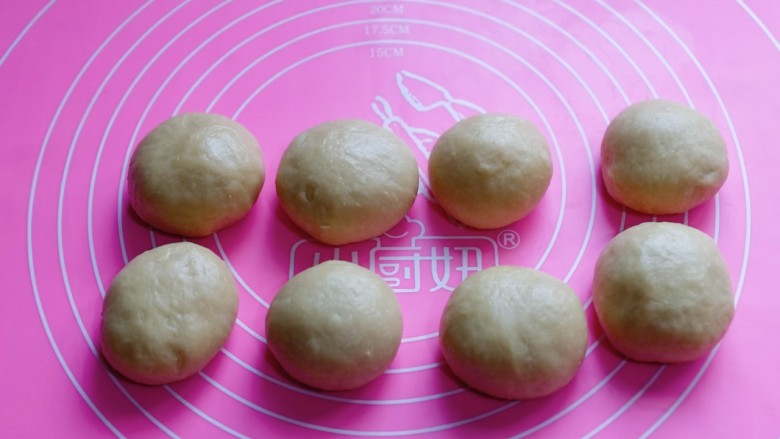
9. Turn the loosened dough with the edge facing down, pinch it tightly, and then knead it into a round shape.
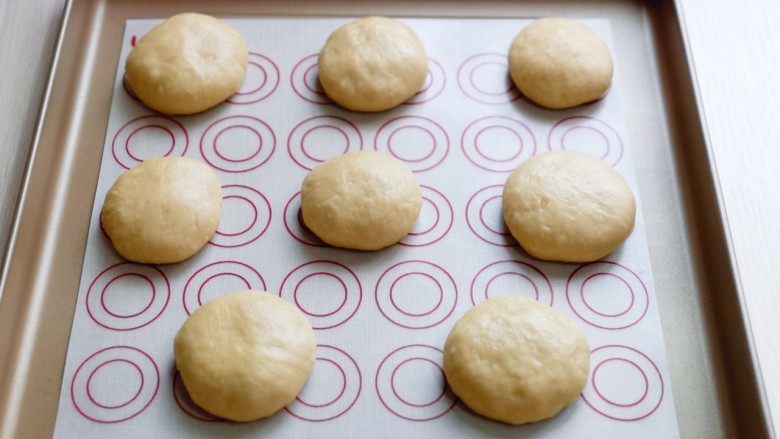
10. Place on greased paperIn the baking pan, press lightly with a knife and space them apart.
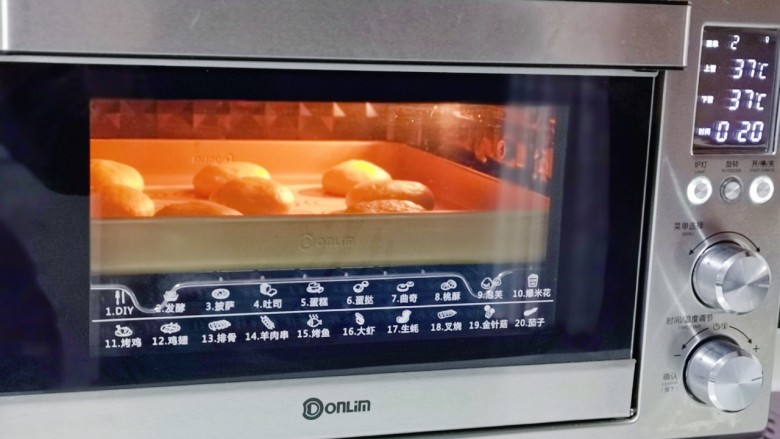
11. Place in the middle rack of the oven at 37° for secondary fermentation for 20 minutes.
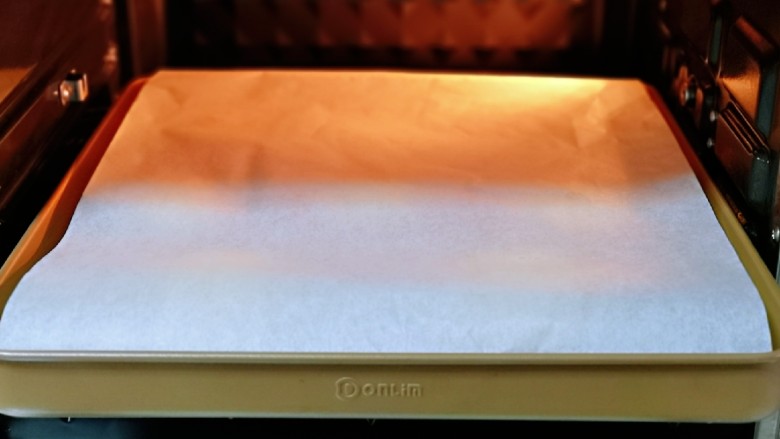
12. The fermented wedding cake embryo is doubled in size and covered with a piece of oil paper.
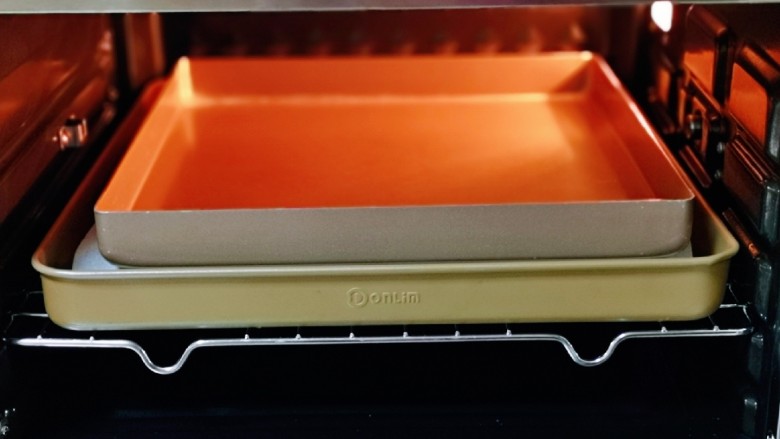
13. Place another baking pan as shown in the picture.
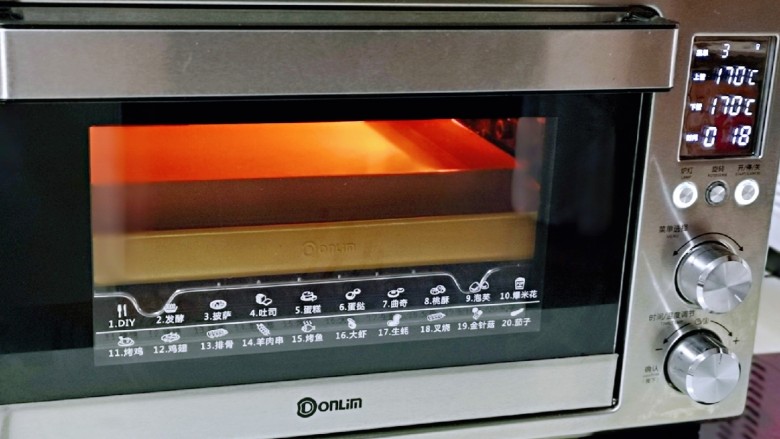
14. Bake at 170° for 18-20 minutes. (Pay attention to the coloring)
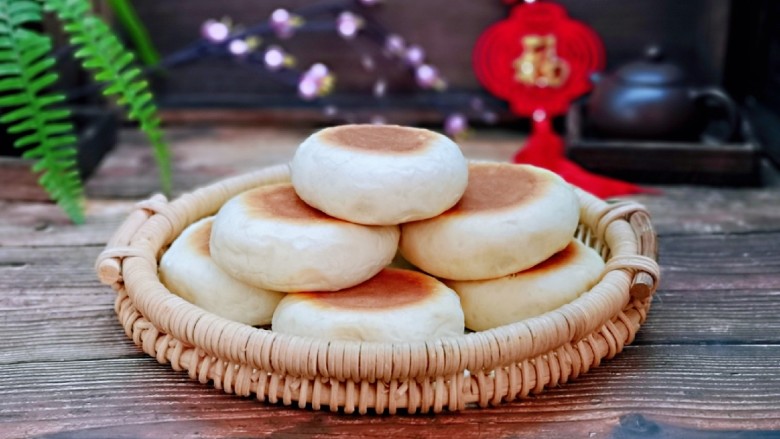
15. It’s out~ 666 is so tempting.
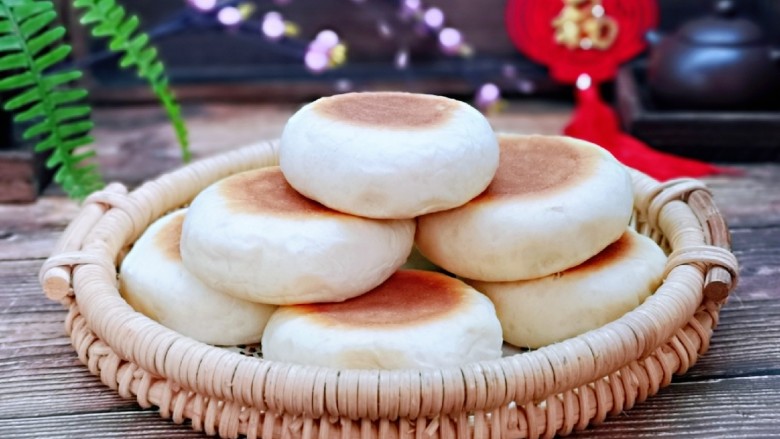
16. First try, zero failures.
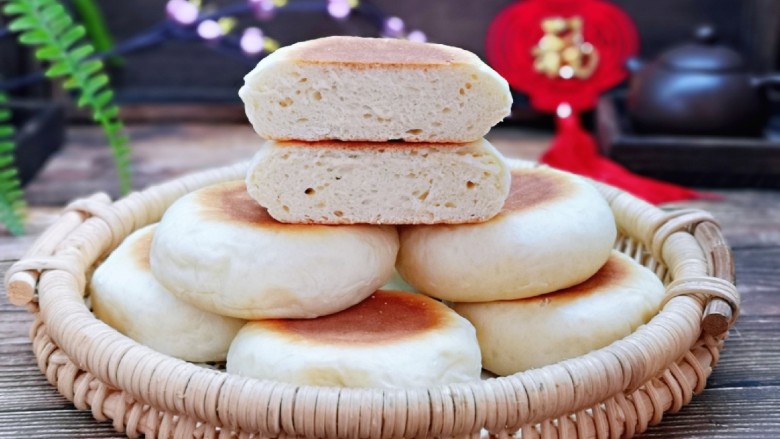
17. Cut it! I've fallen in love with this flavor ever since.
Tips
- The water absorption of flour is different, so increase or decrease the amount of flour or milk according to the actual situation.
- The oven temperature is for reference only. Please determine the specific temperature according to the performance of your own oven.


