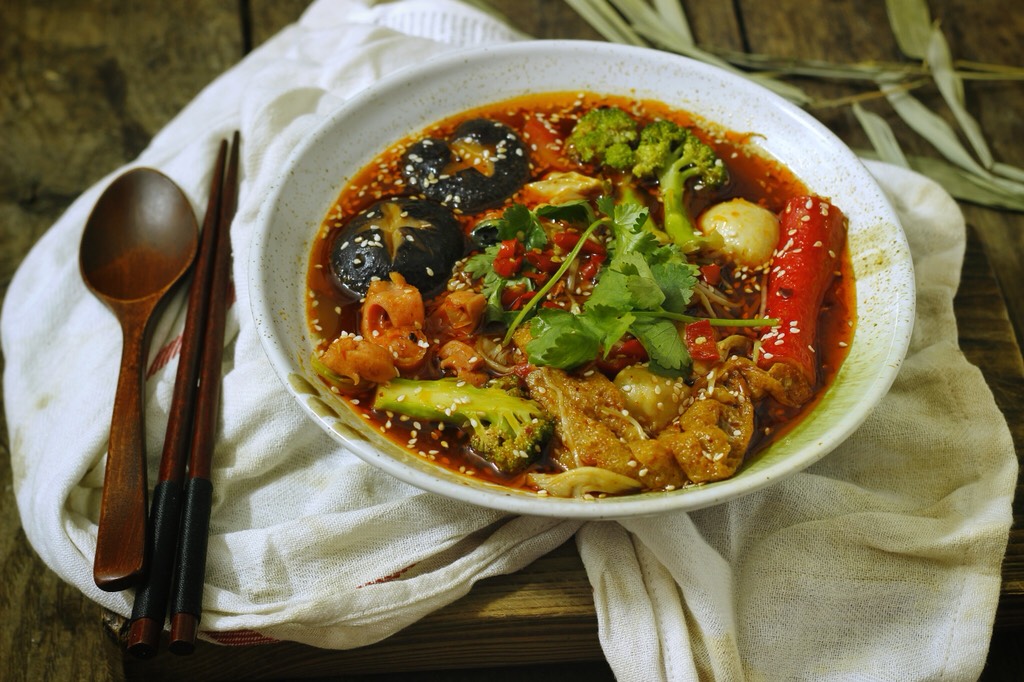
Chiffon Cup
| Egg yolk 3 | Water (milk) 40g |
| Corn oil 20g | Low gluten flour 50g |
| protein 3 | Fine sugar 45g |
Step 1
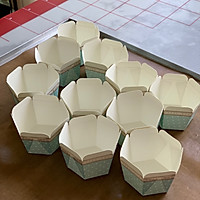
Prepare the paper cups first. The recipe of 3 eggs can make 8 pieces. The egg with shell is about 55g/piece. Do not use wood-fired eggs because they are smaller, which will affect the proportion.
Step 2
Weigh the water and corn oil. You can use equal amounts of milk (or juice) instead of water.
Step 3
Beat to emulsify until the color becomes thicker and whiter.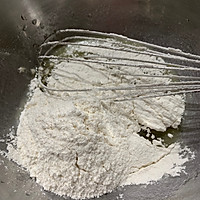
Step 4
Sift in the low-gluten flour and beat in a "z" motion until there are no flour particles.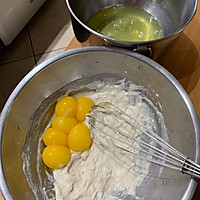
Step 5
Then separate the eggs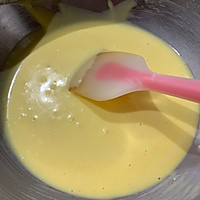
Step 6
Stir evenly again and cover with a damp cloth to prevent dry scab on the wall of the basin.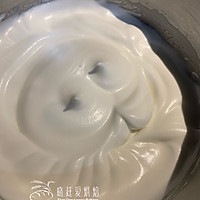
Step 7
Add fine sugar to the egg whites in batches, and beat until the beater pulls out the whisk and has small peaks. This level is the same as that of chiffon cake.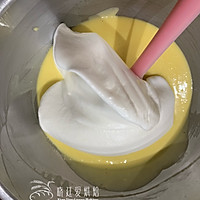
Step 8
Add the beaten meringue to the egg yolk paste in three batches. Stir evenly each time before adding. Be gentle and stir well to avoid any precipitation.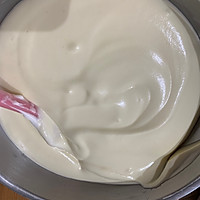
Step 9
After stirring evenly, it will look like this. If the surface is full of bubbles, it means that the egg whites are unstable and are already defoaming.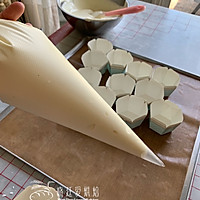
Step 10
Put it into the piping bag that has been prepared in advance.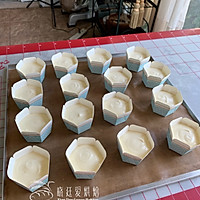
Step 11
Squeeze into each cup until it is about 70% full, not too much. Tap gently to remove large bubbles on the surface. If there are individual large bubbles, use a toothpick to prick them.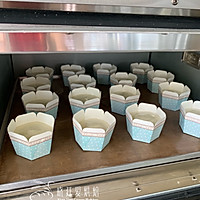
Step 12
Place in preheated oven: Temperature (the two temperatures before and after represent the separate settings of the upper and lower tubes respectively) If the upper and lower tubes cannot be set separately, ignore it. Try lowering the temperature of the upper tube by 10 degrees as a whole. However, you still need to adjust it according to your own oven. You can only refer to this temperature. 130/100 40 minutes (top tube/down tube) 140/110 10 minutes 150/120 20 minutes (This is a gradual temperature roast, it’s not for you to choose. Yes, that’s right, it’s about 60-70 minutes) My cup is big, you have to adjust the time when using a smaller one~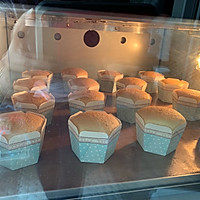
Step 13
Due to low-temperature baking, the cake expands and colors slowly. The cake will have a peak volume expansion point, and then slowly begin to fall back. After about ten minutes, it will be basically stable and will remain in this state. At this time it is fully cooked and will be accompanied by a very attractive cake aroma.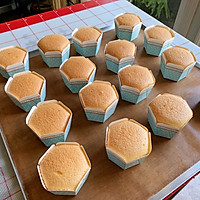
Step 14
Finally, after being satisfied with the coloring, it comes out of the oven. It is shaken first to release the hot air. There is no need to turn it upside down. The condition is very stable.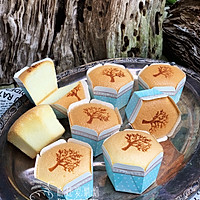
Step 15
If there is hot stamping available, you can hot stamp the pattern you like. Don’tStylish.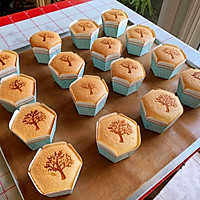
Step 16
Generally, I am very careful when ironing, especially if there are children at home, I must pay attention⚠️ and never let them touch it. Also, after use, be sure to place it on a material that is not afraid of being burned. Last time I accidentally placed it on a scraper and burned a hole in the scraper. The temperature of the fire should reach about 280 degrees. If the temperature is too high, the hot stamping on the surface of the cake will be burned instantly. If the temperature is too low, it will not be hot. If it happens to be 280 degrees we need, then count 1, 2, 3 in your mind. , take it away immediately, it will basically not burn, and the beauty is online.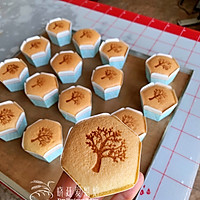
Step 17
It won't wrinkle or collapse when it's cold. It's also very strong for cupcake decorations and won't lose its bearing capacity.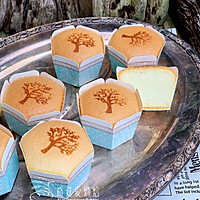
Step 18
The cake has a moist texture and a thin crust. It is very delicious and sweet but not greasy.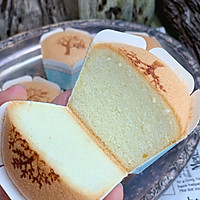
Step 19
The tissue is also super perfect and has no shrinkage. Children who are allergic to milk can use water directly and the taste is very good.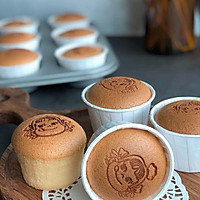
Step 20
If you use the wind oven baking method: bake at 110 degrees for 25 minutes, bake at 120 degrees for 15 minutes, then turn to 140 degrees and bake for 15 minutes, the egg whites will be in the state of chiffon. If you want to be perfect, you must work hard on beating the eggs. The next step is the gradual warming method. Eighty percent is enough, not too much. The wind oven cupcakes will not shrink, crack, or dent (condition and temperature transfer are very important) The first stage: Before entering the oven, the batter can be naturally leveled. If it is uneven, it will be uneven during baking. The second stage: 110 degrees for 25 minutes. The batter rises slowly and forms a round arch shape instead of rising upright. If it rises upright, it means that the oven temperature is too high or the batter is too full, which will cause the oven to be concave. The third stage: 120 degrees for 15 minutes, the dome is basically finalized, and the temperature is changed to make the batter rise upright. The fourth stage: bake at 140 degrees for 15 minutes to set the shape. The advantage of the air oven is that it has a hot fan, so the surface must be baked dry enough so that it will not shrink or crack when it comes out of the oven.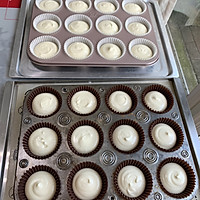
Step 21
In order to use the wind stove for more baking, I turned out an unused mold in my house. It was stained with rust. If you use the 12-piece cake in my picture, one square is exactly one plate. I doubled the amount. If there are many molds, this cake can be baked on four layers in the air oven.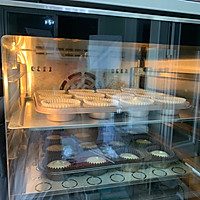
Step 22
First lower the temperature to 110 degrees for 25 minutes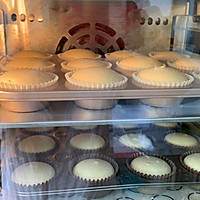
Step 23
Then 120 degrees for 15 minutes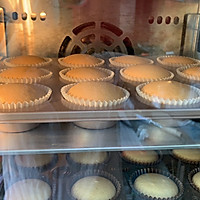
Step 24
140 degrees 15 minutes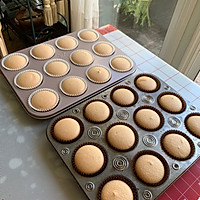
Step 25
Perfectly cooked, give it a gentle shake to release the heat.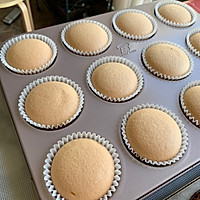
Step 26
The furnace never gets old either.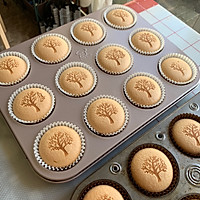
Step 27
1, 2, 3, branding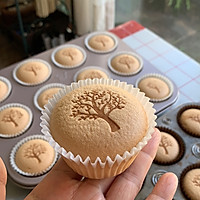
Step 28
It won't shrink when it gets cold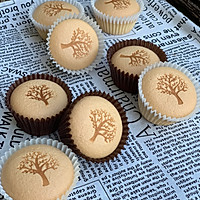
Step 29
Your appearance is online, right?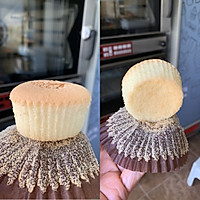
Step 30
It is not hard and thick due to long-term baking at low temperature, but is soft and moist. It is a very good baking method. I recommend everyone to learn it. I personally think it is also suitable for steam-baked cakes such as ancient cakes and light cheesecakes. Use a gradual method. It can definitely hold up when grilled warm.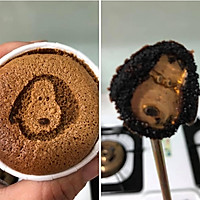
Step 31
When you burn it like this, it's not a problem with the baking, it's because the temperature of the soldering tip is too high and it's burnt. So please pay attention. Qifeng cup cooking tipsThe following is coffee flavored
This is my recipe for four eggs~ (5039 roll cup*14 pieces)
Cake powder 55g
Sugar-free coffee powder 10g
Oil 25g
50g hot water
64g egg yolk (with shell 1 egg 52g-54g)
*20g fine sugar
-
Egg white 128g (1 piece with shell 52g-54g)
Corn flour 5g
*40g fine sugar
Just follow the hurricane method you are used to.
(If you use the hot noodle method, please melt 20g of fine sugar first)
This recipe is neither sweet nor greasy.
Replace the coffee powder with cake flour and it will be the original flavor.
Cocoa flavor-50 cake flour, 12 cocoa powder
Matcha flavor - cake flour 55, matcha powder 8

