Honeycomb briquette cake
| Eggs 5 | Low gluten flour 90g |
| Edible bamboo charcoal powder 7g | Pure milk 55g |
| Corn oil 55g | Fine sugar 65g |
| Lemon juice 3 drops |
Step 1
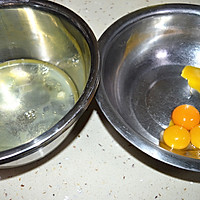
Prepare two oil-free and water-free stainless steel basins, separate the yolks and whites of the eggs and set aside;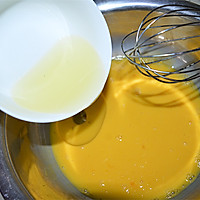
Step 2
Add 55g of corn oil to the separated egg yolks (if you don’t have corn oil at home, you can also use salad oil instead), and mix evenly with a manual egg beater.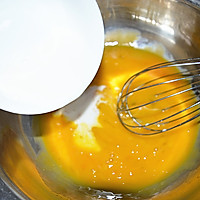
Step 3
Add 55g pure milk and stir evenly.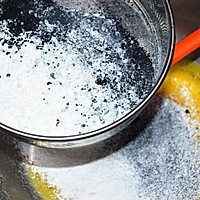
Step 4
Then mix low-gluten flour and edible bamboo charcoal powder, and sift into the egg yolk liquid;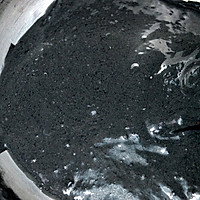
Step 5
Use a hand mixer to stir or mix evenly with a cross cut until there are no lumps: (Do not draw circles, as this will easily cause gluten and affect the taste of the cake)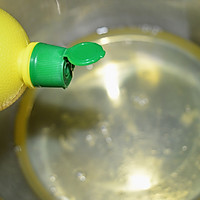
Step 6
Now comes the most important step! That's whipped egg whites. (Whether the egg whites are whipped successfully or not will affect the finished cupcakes) First drop lemon juice into the egg whites, (3 drops is enough!) If you don’t have lemon juice at home, you can use white vinegar instead!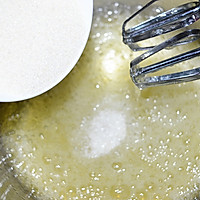
Step 7
First, turn the electric egg beater to low speed (I use the 3rd gear), then beat until it resembles fish-eye bubbles, then add one-third of the fine sugar.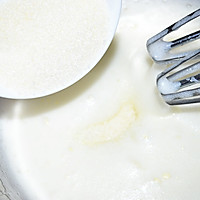
Step 8
Continue to beat the egg whites at a low speed. When the egg whites become thicker and foamy, add one-third of the fine sugar and continue beating.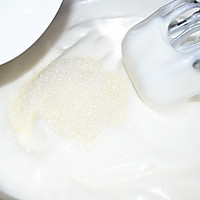
Step 9
When you see that the egg whites are getting thicker and have lines, add the last third of the fine sugar and continue beating;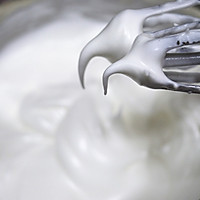
Step 10
When you lift the electric egg beater and find that the egg whites on the egg beater head can pull out curved sharp corners, it means that wet foaming has occurred;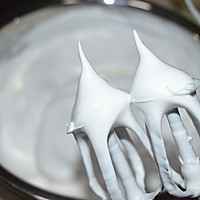
Step 11
After reaching wet foaming, adjust the speed of the electric egg beater from the original low speed to the highest speed and continue beating. When the whisk is lifted up and the two whisk heads appear upright and the short sharp corners are not bent, it means that the egg whites have reached dry foaming, and you can stop whipping.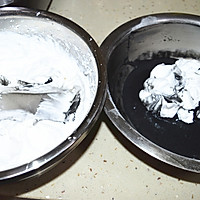
Step 12
Use a silicone spatula to scoop 1/3 of the egg whites into the batter, then quickly mix the batter and egg whites evenly. (Note: Do not make circles when stirring, but also stir evenly until the egg whites and batter are completely combined.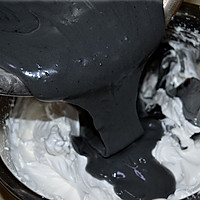
Step 13
Then pour all the mixed batter into the remaining egg whites, and stir evenly using the same method;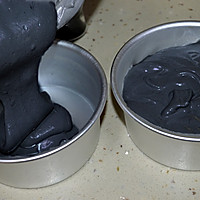
Step 14
Pour the mixed batter into the mold one by one, pick up the cake mold and place it on the countertop and tap it twice to spread the batter evenly;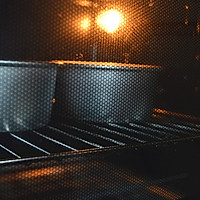
Step 15
Preheat the oven to 150 degrees for 5 minutes in advance, then put the mold into the oven and bake it at 140 degrees for 40 minutes; (the specific temperature should be adjusted according to the temperament of your own oven)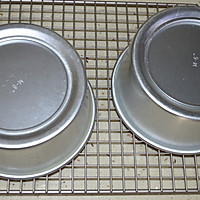
Step 16
Take out the baked cake and turn it upside down while it's hot;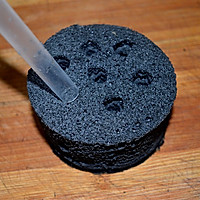
Step 17
After the cake has cooled, remove it from the mold and use a knife to flatten the skin (sharpening or not is optional, but the inside will be darker than the skin and more like briquettes), and use a thick milk tea straw to poke holes in the briquettes.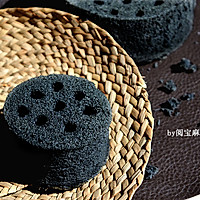
Step 18
Finished product! Not bad! If you eat one, you can eat away any bad luck. I hope everyone will be prosperous and successful in the new year!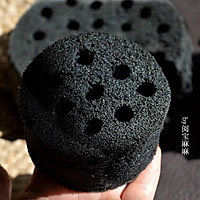
Step 19
One more! Cooking tips for honeycomb briquette cake1. The container containing the egg whites and egg yolks must be oil-free and water-free; 2. The egg whites must be whipped until they are stiff and foamy; 3. The oven must be preheated in advance; 4. The specific temperature depends on the temperament of your own oven. Make adjustments.

