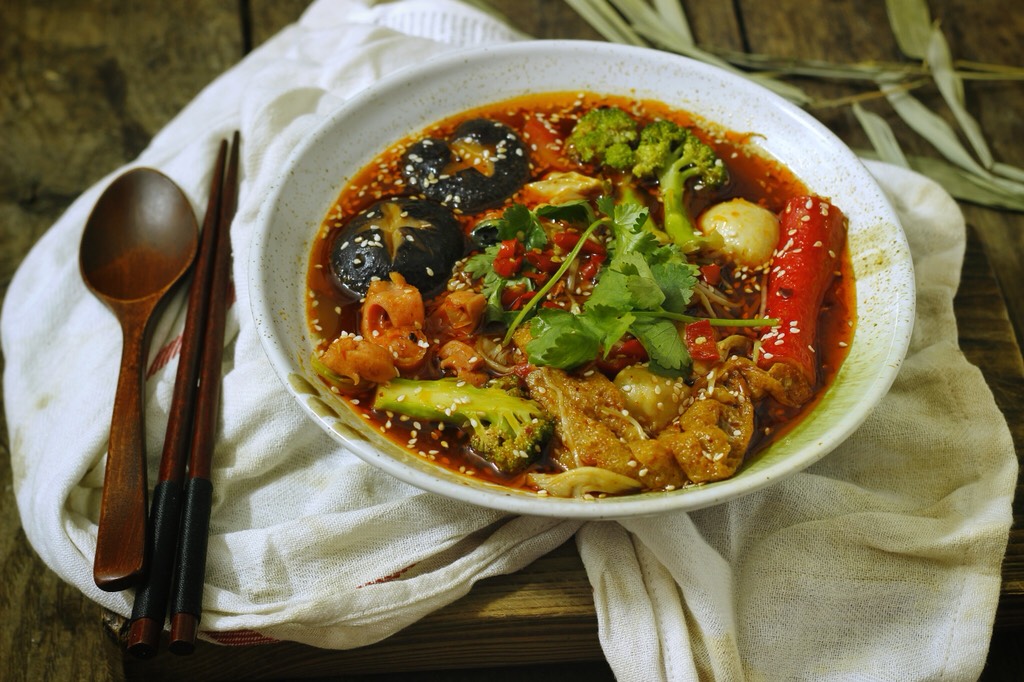
Simple version of rice cooker buns
| High-gluten flour 500g | Highly active dry yeast 5g |
| Eggs 1 piece (about 50g) | Corn oil 20g |
| White sugar 20g | Pure milk 70-80g |
| Walnuts chopped Appropriate amount | Butter About 8g |
Step 1
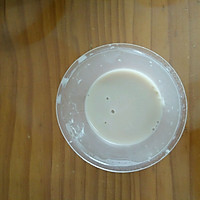
Find a large basin that is oil-free and water-free, and warm the pure milk in advance to about 32°C. Dissolve the yeast powder in advance with a small amount of warm water at about 32°C. Cut the walnut kernels into small cubes in advance and set aside. (The picture shows yeast melted in warm water)Step 2
Sift the high-gluten flour into a large bowl, beat in an egg, add sugar and dissolved yeast water, add warm milk and stir with chopsticks until it becomes fluffy.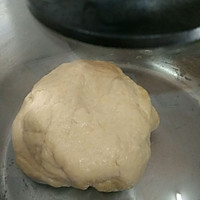
Step 3
Knead the dough with your hands for 5-10 minutes until smooth, cover with a damp cloth or lid and let rise until the dough doubles in size. Since it’s harder to wake up in the winter, I soaked the container containing the dough in a rice cooker filled with warm water and closed the lid. The rice cooker’s heat preservation effect was pretty good!Step 4
After the dough has risen to double its original size, peel off the honeycomb structure and take it out. Knead the dough repeatedly to expel the air inside. Then roll the dough into a thick long stick shape and cut it into several pieces with a knife. A small dose.Step 5
Use a rolling pin to roll the small dough into a ox tongue shape, sprinkle with your favorite chopped nuts or dried fruits, roll it up from one end, and then roll it into a ox tongue shape. Use a knife to cut out the rolled dough from the middle. Cut and set aside.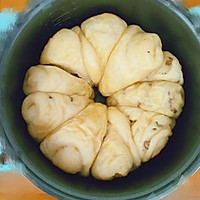
Step 6
Preheat the rice cooker for a short time (I scalded the outside of the pot with hot water), brush the bottom and inside with butter, and place the cut end of the dough downwards into the rice cooker. What I did was just a circle. Cover the lid and use the keep warm function to rise for a second time until the dough expands to twice its original size. If possible, brush a layer of egg yolk liquid on the surface, then sprinkle some cooked white sesame seeds (I didn't prepare it), and finally press the cake Just press the key.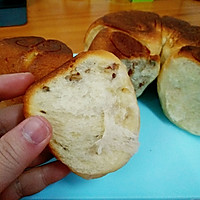
Step 7
The buttery aroma emitted by the bread in the rice cooker is so tempting~ The texture of the baked bread is also good. It can bounce back when pressed with your hand. I like the golden and crispy part at the bottom the most. Although there is more oil in that part, it is delicious~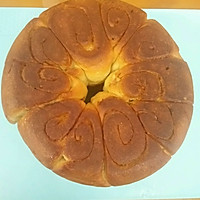
Step 8
Here’s a close-up at the bottom~ Simple version of rice cooker bread cooking techniquesYeast is most active in an environment around 32°C, so do not touch it with overheated water during the entire process to avoid deactivation.
In winter, it only takes about an hour and a half to proof the dough using my method. During the second proofing, the rice cooker has already been warmed by me, so it proofs faster.
The dough will collapse if it ferments for too long, so remember to pay attention to the size of the fermented dough from time to time.
You can also put different chopped dried fruits in different doughs to create a variety of flavors!

