chocolate bread
| High-gluten flour 300g | Low gluten flour 60 grams |
| Fine sugar 30g | Whole egg liquid 35 grams |
| Milk 245 grams | Salt 4.5 grams |
| Milk powder 15 grams | Cocoa powder 12 grams |
| Fresh yeast 11 grams | Butter 25 grams |
| High temperature resistant chocolate beans 35 grams |
Step 1
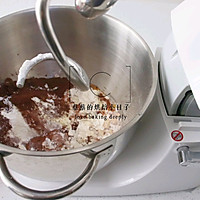
Remove the butter and chocolate beans from the dough ingredients, and put the remaining ingredients into the mixing bowl of a chef's machine to knead the dough. The weather isn't very hot now, so I didn't put the salt and yeast after. In summer, when the temperature is high, putting the salt and yeast after that can better control the surface temperature.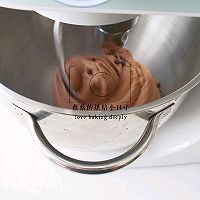
Step 2
After kneading the dough to the expansion stage, add butter and knead until it is complete. Do not beat the glove film too thin.Add the high-temperature resistant chocolate beans to the beaten dough and mix gently at low speed without over-beating.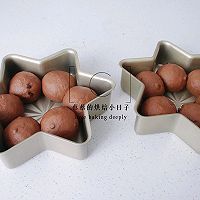
Step 3
The beaten dough does not need to rise once, does not need to rise once, does not need to rise once. What I made is the amount of two six-pointed star molds. After beating the dough, divide it into 12 portions. Just round the 12 pieces of dough and put them into the molds. Just place each piece of dough in one corner of the six-pointed star mold. If you are making a mold, divide it into 6 parts and use half the materials.
Step 4
Carry out secondary fermentation in a warm and humid place with a temperature of 35 degrees and a humidity of about 80%. I fermented it in a fermentation box. If there is no fermentation box, you can turn on the fermentation function in the oven and put warm water in the baking pan for the second fermentation. Note The temperature should not be too high, because if the temperature of some small household ovens is too high, the fermentation temperature will also be much higher.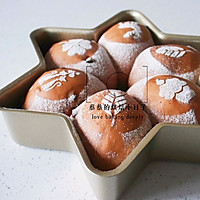
Step 5
Let the dough rise until it is smooth, the surface of the dough does not spring back immediately when pressed lightly, and the dough is relatively elastic, then you can take it out. After taking it out, you don’t need to brush it with egg wash. Just sift a little powder on the surface. You can also decorate it with some patterns like I did.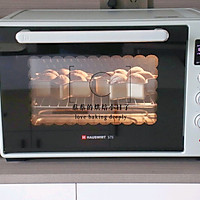
Step 6
Place in a fully preheated oven, turn on the heat to 165, then set the heat to 190, and bake for 26 minutes. The time and temperature are for reference only and are based on the actual adjustments of each oven.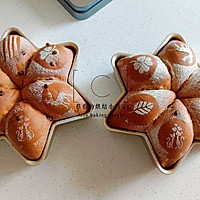
Step 7
After taking it out of the oven, lightly shake the mold, demold it and let it cool on the cooling rack. When it cools down to a little bit of residual temperature, seal it and store it in a bag.
Step 8
This is a chocolate bread that my family makes once a week. Children all like to eat it. It is fluffy and soft. It is very simple to operate and you can do it with your hands.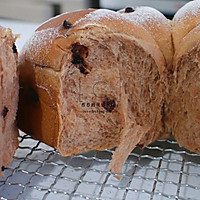
Step 9
The time-saving method of one-time fermentation makes the dough as soft and stringy as bread with controlled fermentation. Chocolate bread cooking tipsPlease be flexible with the liquid in the formula. Flour has different water absorption properties, so please reserve liquid. Check the condition of the dough and add more as appropriate. Many friends said: I made it exactly according to the recipe, why is mine wet? Why is mine dry? Why... why... When making bread, you must flexibly control the liquid in the recipe, because the water absorption of flour is different, and the climate temperature and air humidity are different between the north and the south. You must add it as appropriate according to the state of the dough. This is a commonplace topic. !
The time and temperature should be adjusted according to the actual conditions of your own oven. There is a big difference between a large oven and a small oven. Even if two ovens of the same brand are exactly the same, there will be a temperature difference. The small oven has three layers on the bottom, and the four or five layers. Put it in the middle and lower floors!


